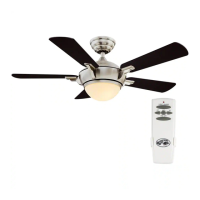
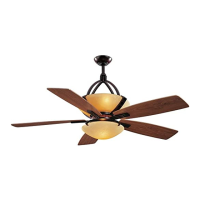
10
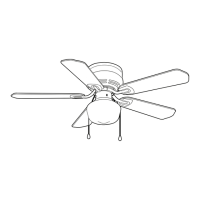
Installing the Light Kit
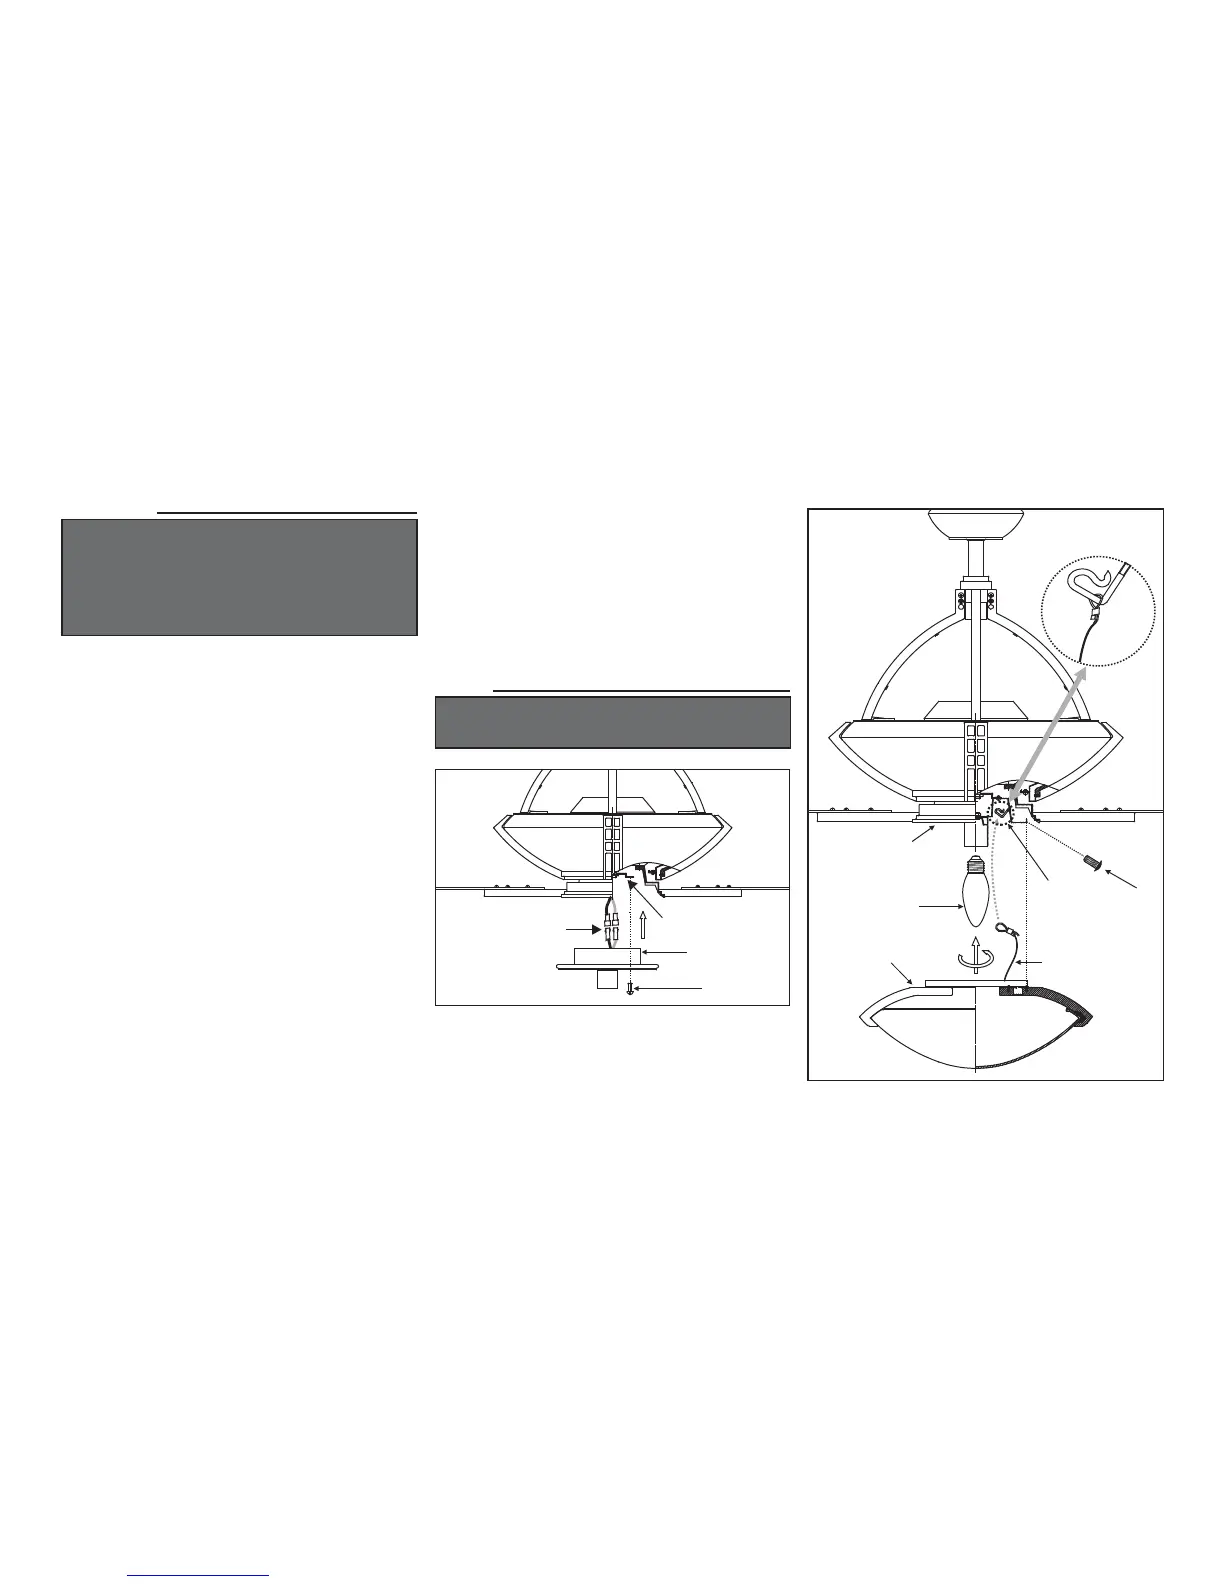
Remove 1 of 4 screws from the mounting ring
and keep it for future use. Loosen the other 3
screws. (Do not remove)
Connect the white wire connector from the
light kit and fan, follow the same procedure
with the black wire connectors. (Fig. 17)
Place the key holes on the light plate over the 3
screws previously loosened from the mounting
ring, turn light plate until it locks in place at the
narrow section of the key holes. Secure by
tightening the 3 screws previously loosened
and the one previously removed. (Fig. 17)
Install 60W candelabra bulb (included). (Fig.
18)
1.
2.
3.
4.
Raise the glass shade up against the light plate,
place looped end of the safety cable over the
hook located on the light plate. Install the glass
shade onto the light plate with 4 screws
provided. Be sure to tighten all screws. (Fig. 18)
Restore power and your light kit is ready for
operation.
5.
6.
CAUTION
BEFORE STARTING INSTALLATION, DISCON-
NECT THE POWER BY TURNING OFF THE
CIRCUIT BREAKER OR REMOVING THE FUSE
AT FUSE BOX. TURNING POWER OFF USING
THE FAN SWITCH IS NOT SUFFICIENT TO
PREVENT ELECTRIC SHOCK.
Figure 17
Mounting Ring
Light Plate
Screws
Wire Connection
Plugs
Figure 18
Screws
Hook
Safety Cable
Light Plate
Bulb
Bottom Glass
Shade
NOTE
LIGHT BULBS HAVE NO WARRANTY; CAN BE
PURCHASED AT ANY HOME DEPOT STORE.
 Loading...