1515
www.jbl.com
English
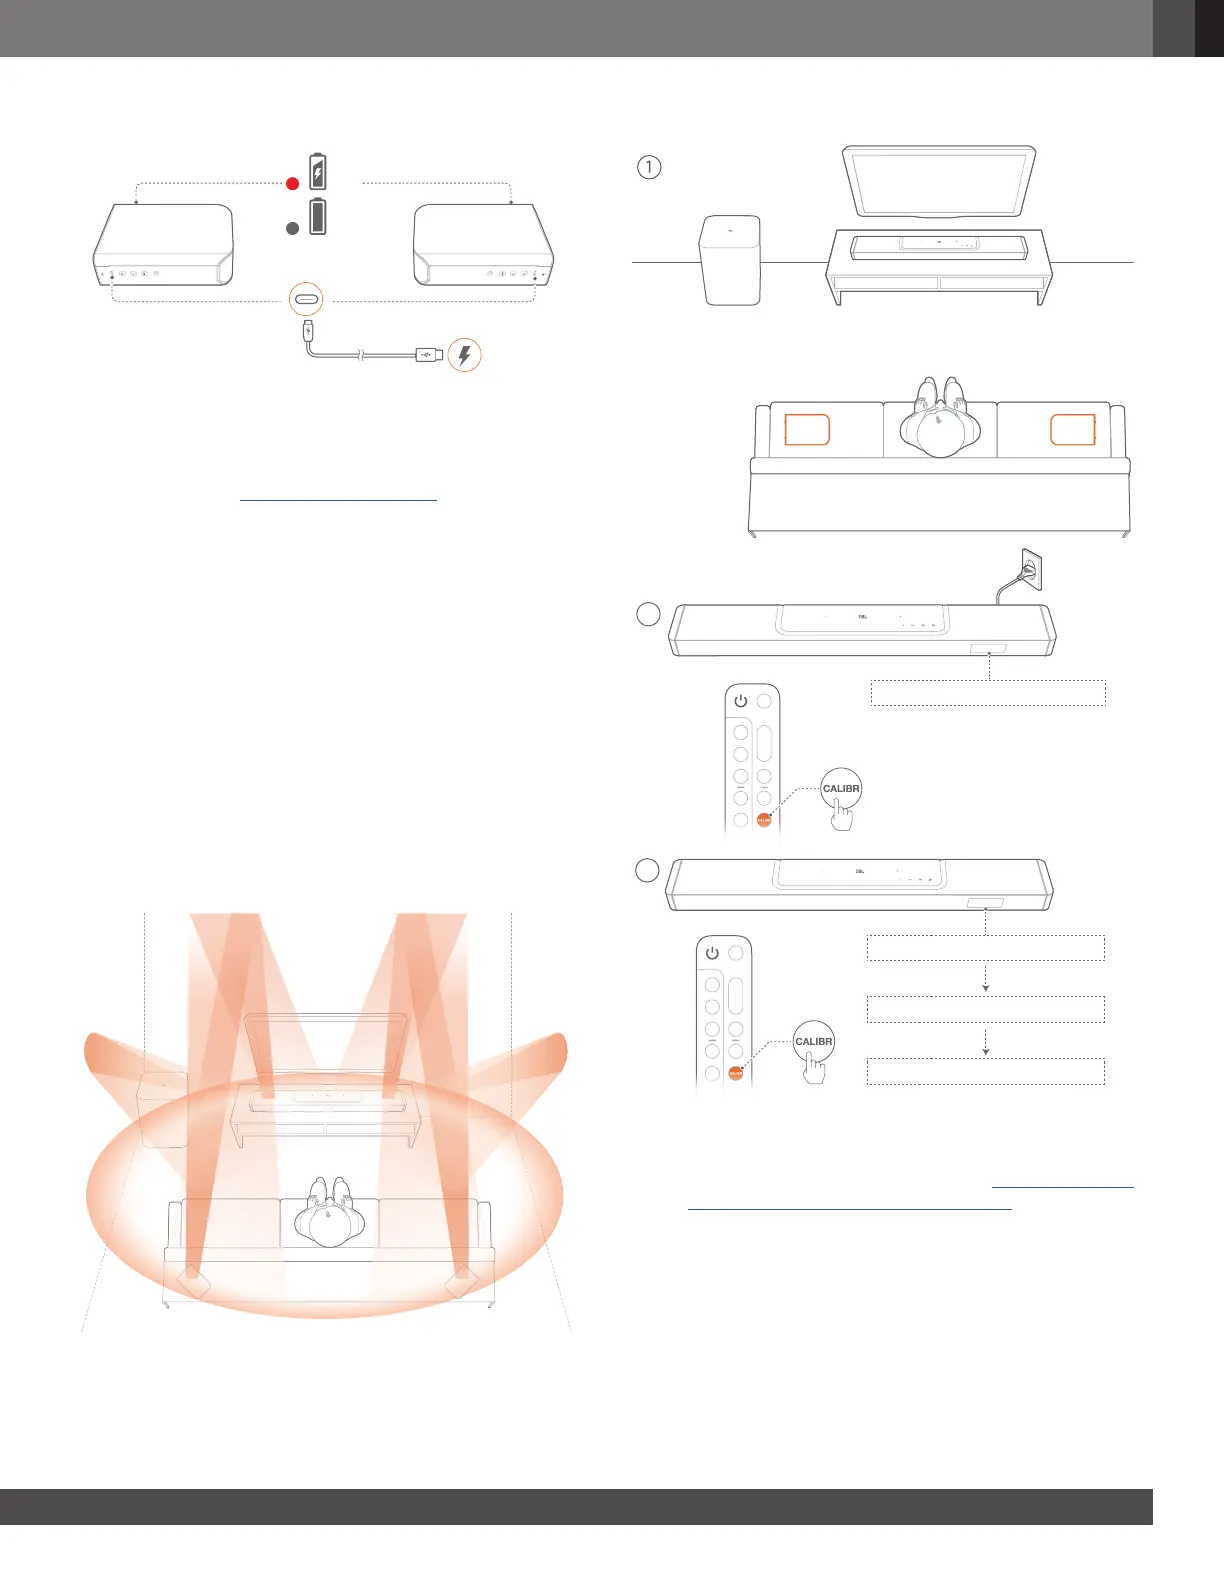
1) Calibrate the listening zone
L R
2
1-CALIBRATION
3
CALIBRATING
PRESS AGAIN TO CONFIRM
1-DONE
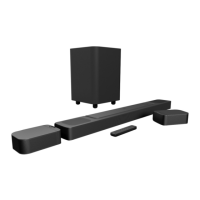
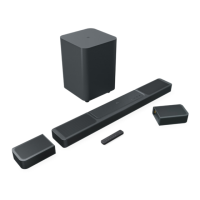
1. Place the detachable rear speakers beside your seating position.
• Make sure that the two detachable speakers have been
connected to the soundbar (See “6.1 Connect the
detachable rear speakers and subwoofer”).
2. On the remote control, press CALIBR to start calibration.
J “1-CALIBRATION” is displayed on the soundbar.
3. When “PRESS AGAIN TO CONFIRM” is displayed, press
CALIBR again.
J Countdown starts from 5 to 1.
J Calibration tone is heard. Audio calibration starts.
“CALIBRATING”: Calibration in progress
“1-DONE”: Calibration of the listening zone is
completed successfully.
6.2.2 Charge through a USB cable
100%
USB-C
*
• Use a USB-C cable to connect the detachable speakers to
power respectively.
• For the detachable speakers, the status indicator is used
for status indication of both battery power and wireless
connection (See “3.2 Detachable speakers”).
NOTES:
– * The USB-C cable is sold separately.
6.3 3D surround sound
6.3.1 Sound calibration
Optimize your 3D surround sound experience for your unique
listening environment.
For sound calibration, do the following:
• Make sure that your room is quiet;
• Make sure that the soundbar and the two detachable rear
speakers are fully in sight of each other, without obstacles
in between.
• Make sure that the left and right rear speakers are properly
placed, the L speaker on the left and the R speaker on the
right.
 Loading...