WWW.HAYWARDPOOL.COM USE ONLY HAYWARD GENUINE REPLACEMENT PARTS
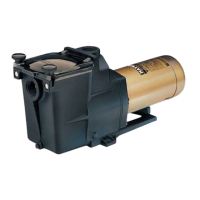
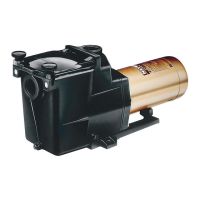
Super Pump
™
Series ___________________ _____________________________ Page 9 of 15
Storing Pump For Winterization
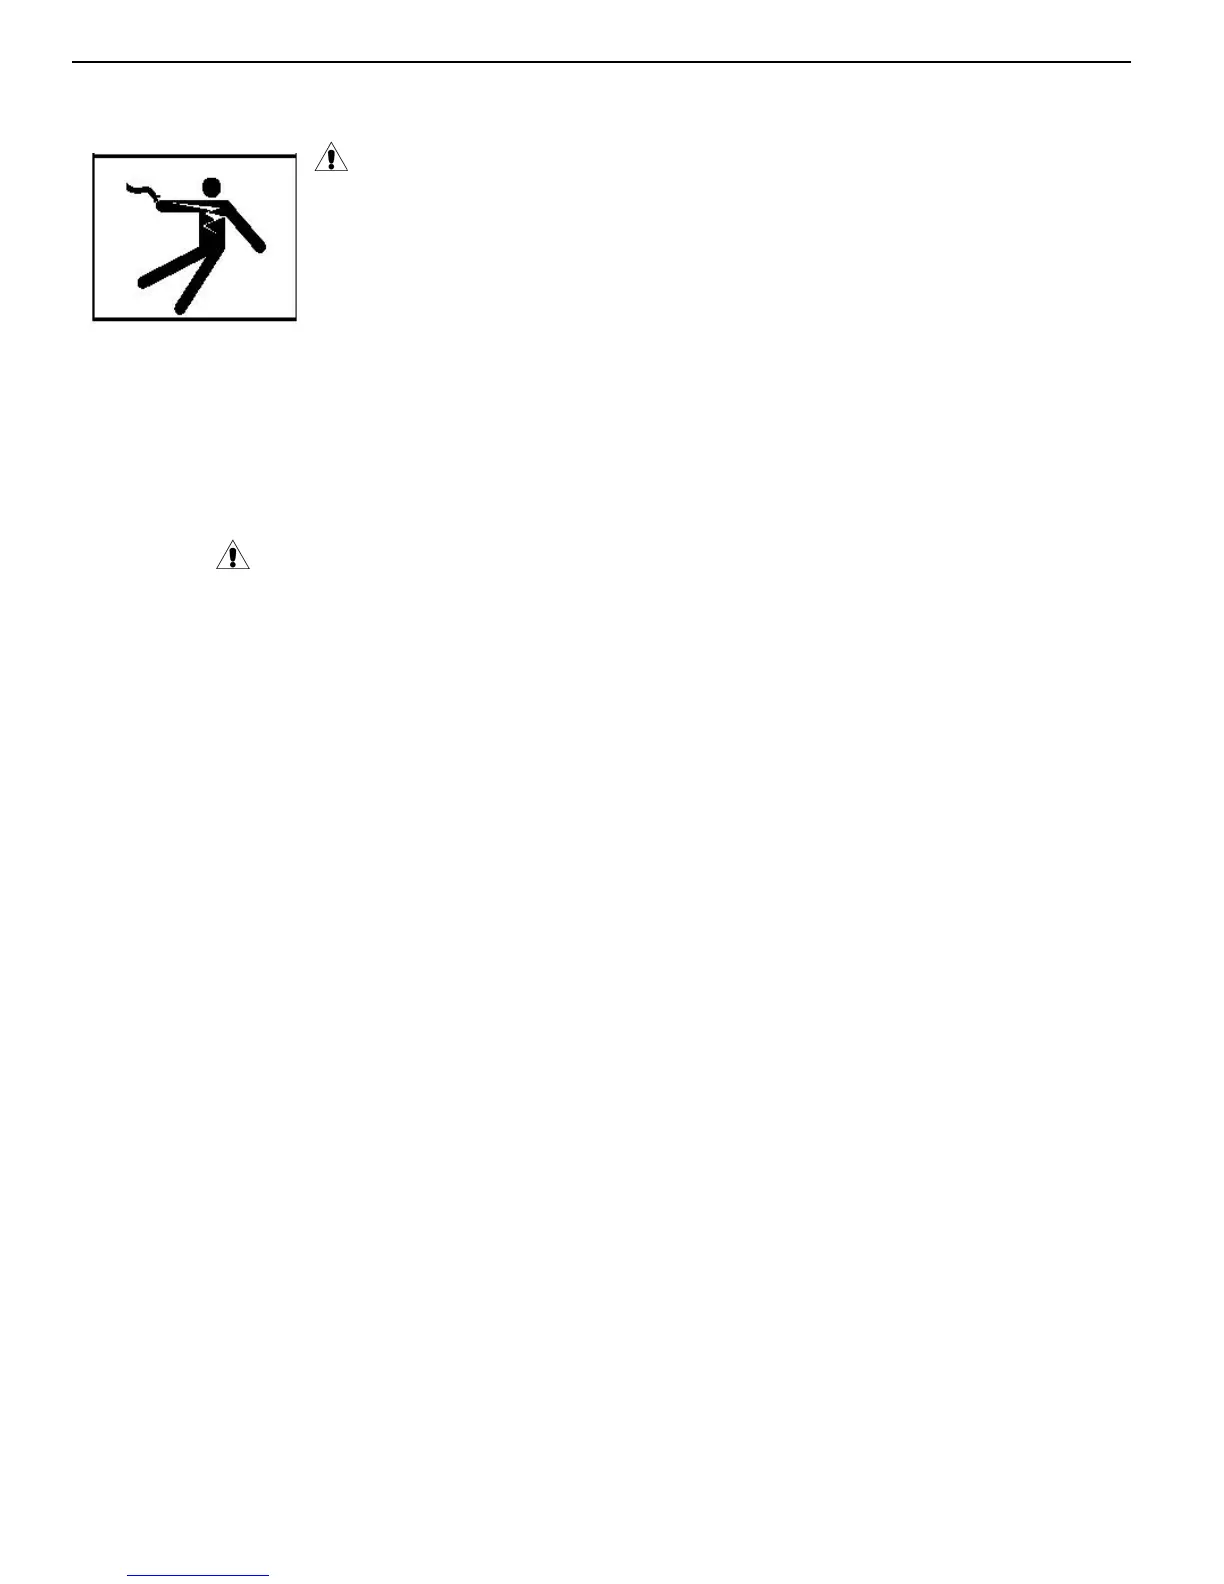
WARNING – To avoid dangerous or fatal electrical shock hazard, turn OFF power to motor
before draining pump. Failure to disconnect power may result in serious personal injury or death.
1. Drain water level below all inlets to the pool.
2. Remove drain plugs from bottom of strainer body, and remove strainer cover from strainer housing.
3. Disconnect pump from mounting pad, wiring system (after power has been turned OFF), and piping
system.
4. Once the pump is removed of water, re-install the strainer cover and drain plugs. Store pump in a
dry area.
Shaft Seal Change Instructions
IMPORTANT SAFETY INSTRUCTIONS
PLEASE READ AND FOLLOW ALL INSTRUCTIONS
When servicing electrical equipment, basic safety precautions should always be observed including the following. Failure to follow
instructions may result in injury.
A.
WARNING – To reduce risk of injury, do not permit children to use this product.
B. Disconnect all electrical power service to pump before beginning shaft seal replacement.
C. Only qualified personnel should attempt rotary seal replacement. Contact your local authorized Hayward Dealer or
service center if you have any questions.
D. The National Electrical Code requires either a three (3) foot maximum twist-lock cord set with a GFCI protected
receptacle or hard wire (conduit) connection for swimming pool pump installation. Do not use extension cords.
Exercise extreme care in handling both the rotating and the stationary sections of the two-part replacement seal. Foreign matter or
improper handling will easily scratch the graphite and ceramic sealing surfaces.
Removing the Motor Assembly (See Parts Diagram on page 11 of this manual for pump component locations.)
1. Remove the four (4) 3/8" x 2" housing cap screws which hold the motor assembly to the pump/strainer
housing.
2. Slide the motor assembly out of the pump/strainer housing, exposing the diffuser. Pull the diffuser off of
the seal plate, exposing the impeller. (The diffuser may remain in the pump/strainer housing. To remove,
pull it straight out of the pump/strainer housing.)
Removing the Impeller (See Parts Diagram on page 11 of this manual for pump component locations.)
3. Remove the motor end cover by removing the two (2) screws or pry off the cap covering the motor shaft. Hex
shaped caps must be twisted off.
4. To prevent motor shaft from turning, carefully slide a 7/16" open-end wrench between the capacitor and the
centrifugal switch (the wrench fits over the two (2) flats on the motor shaft). Some motors may require a larger
wrench be placed in slot at end of shaft to keep motor shaft from turning.
5. Rotate the impeller counterclockwise and remove. The spring portion of the seal assembly is now exposed.
Note carefully the position of the spring seal, and remove it. NOTE - Replace motor cover to protect delicate
motor parts.
Removing the Ceramic Seat (See Parts Diagram on page 11 of this manual for pump component locations.)
6. Remove the seal plate. Note the tabs on the sides of the plate and the mating grooves on the front of the motor
mounting plate.
7. Press the ceramic seat with rubber cup out of the seal plate. If tight, use a small screwdriver to tap seal out.
STOP - Clean all recesses & parts to be reassembled. Inspect gaskets & replace if necessary.
 Loading...