Network Video Recorder Quick Start Guide
15
Chapter 2 Installation and Connections
2.1 NVR Installation
During installation of the NVR:
1. Use brackets for rack mounting.
2. Ensure ample room for audio and video cables.
3. When routing cables, ensure that the bend radius of the cables are no less than five times than its diameter.
4. Connect the alarm cable.
5. Allow at least 2cm (≈0.75-inch) of space between racks mounted devices.
6. Ensure the NVR is grounded.
7. Environmental temperature should be within the range of -10 to +55º C, +14 to +131º F.
8. Environmental humidity should be within the range of 10% to 90%.
2.2 Hard Disk Installation
Before you start:
Disconnect the power from the NVR before installing a hard disk drive (HDD). A factory recommended HDD
should be used for this installation.
Tools Required: Screwdriver.
2.2.1 DS-9600NI Series
Purpose:
The following section introduces the HDD installation for the DS-9600NI-I8 and DS-9600NI-I16 series NVR.
Take the example of DS-9616NI-I16 series to describe installation steps.
Steps:
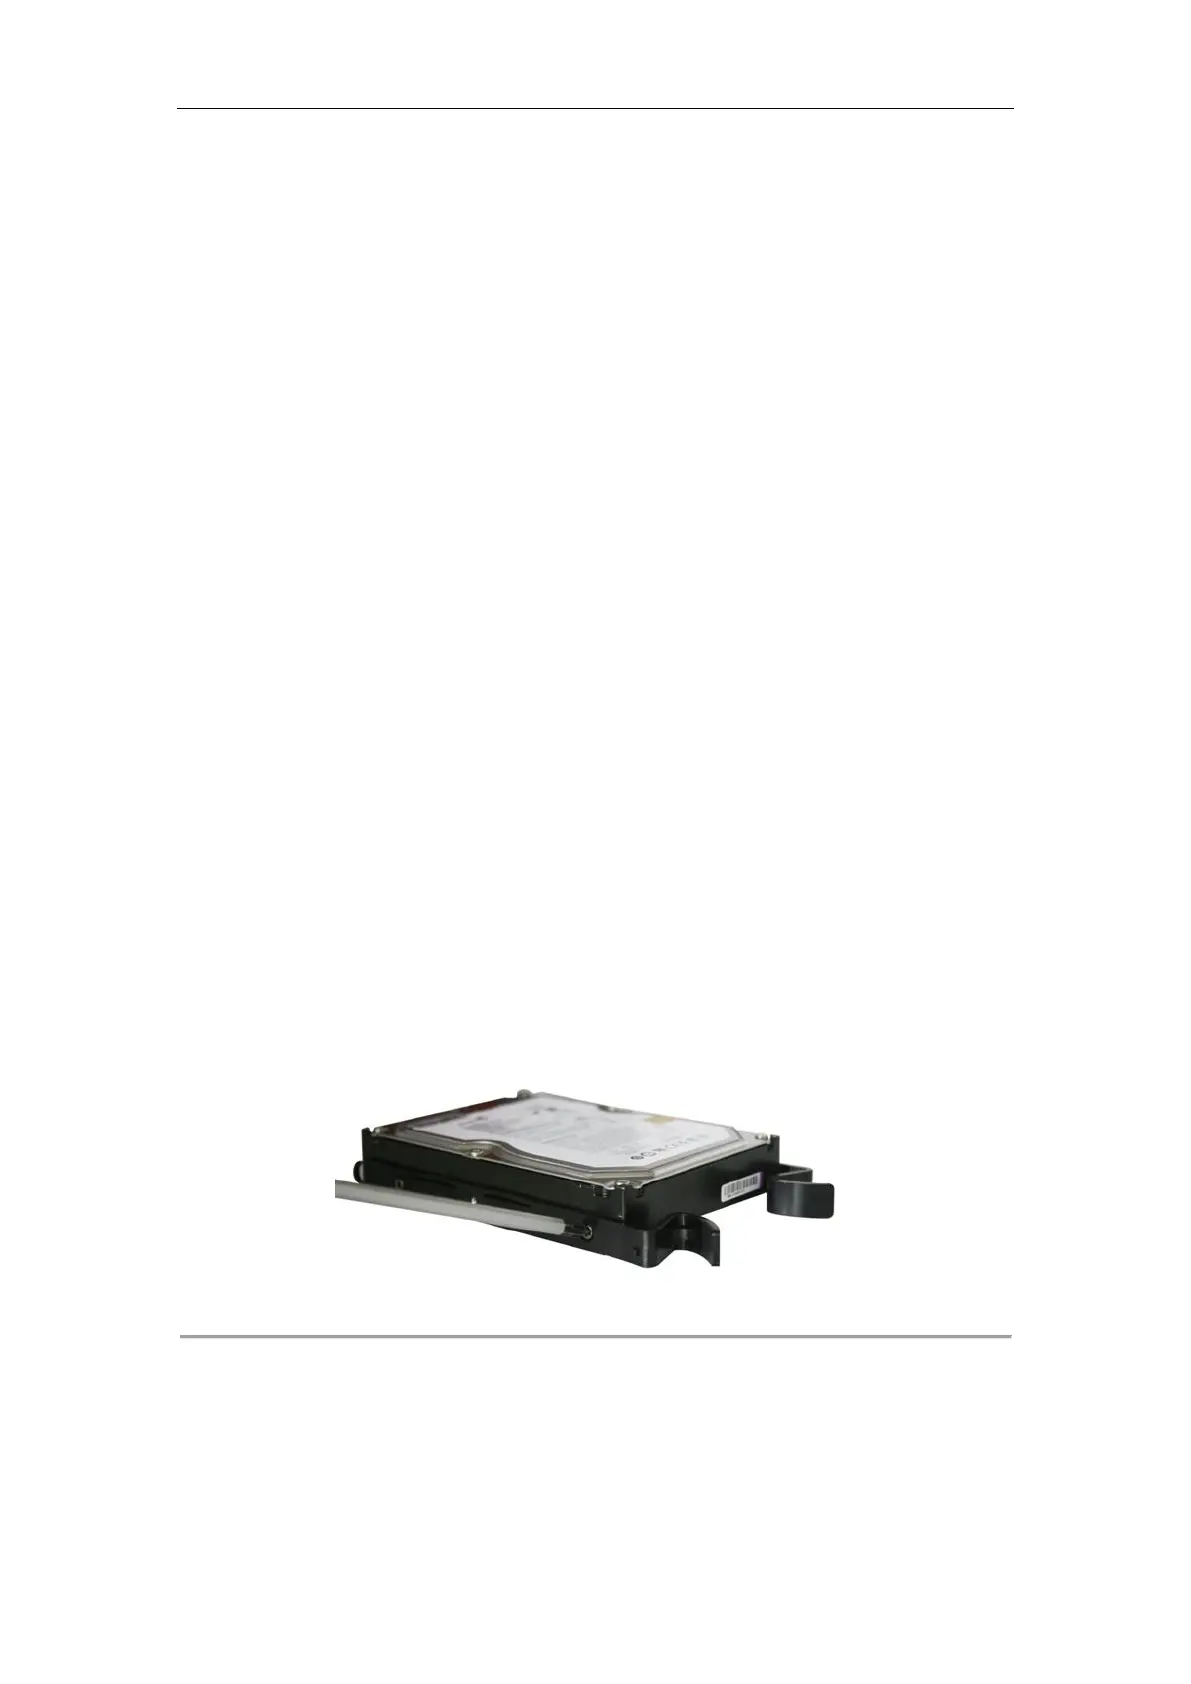
1. Fasten the hard disk mounting handle to the hard disk with screws.
Figure 2. 1 Fasten Hard Disk
2. Insert the key and turn in clockwise direction to open the panel lock.
 Loading...