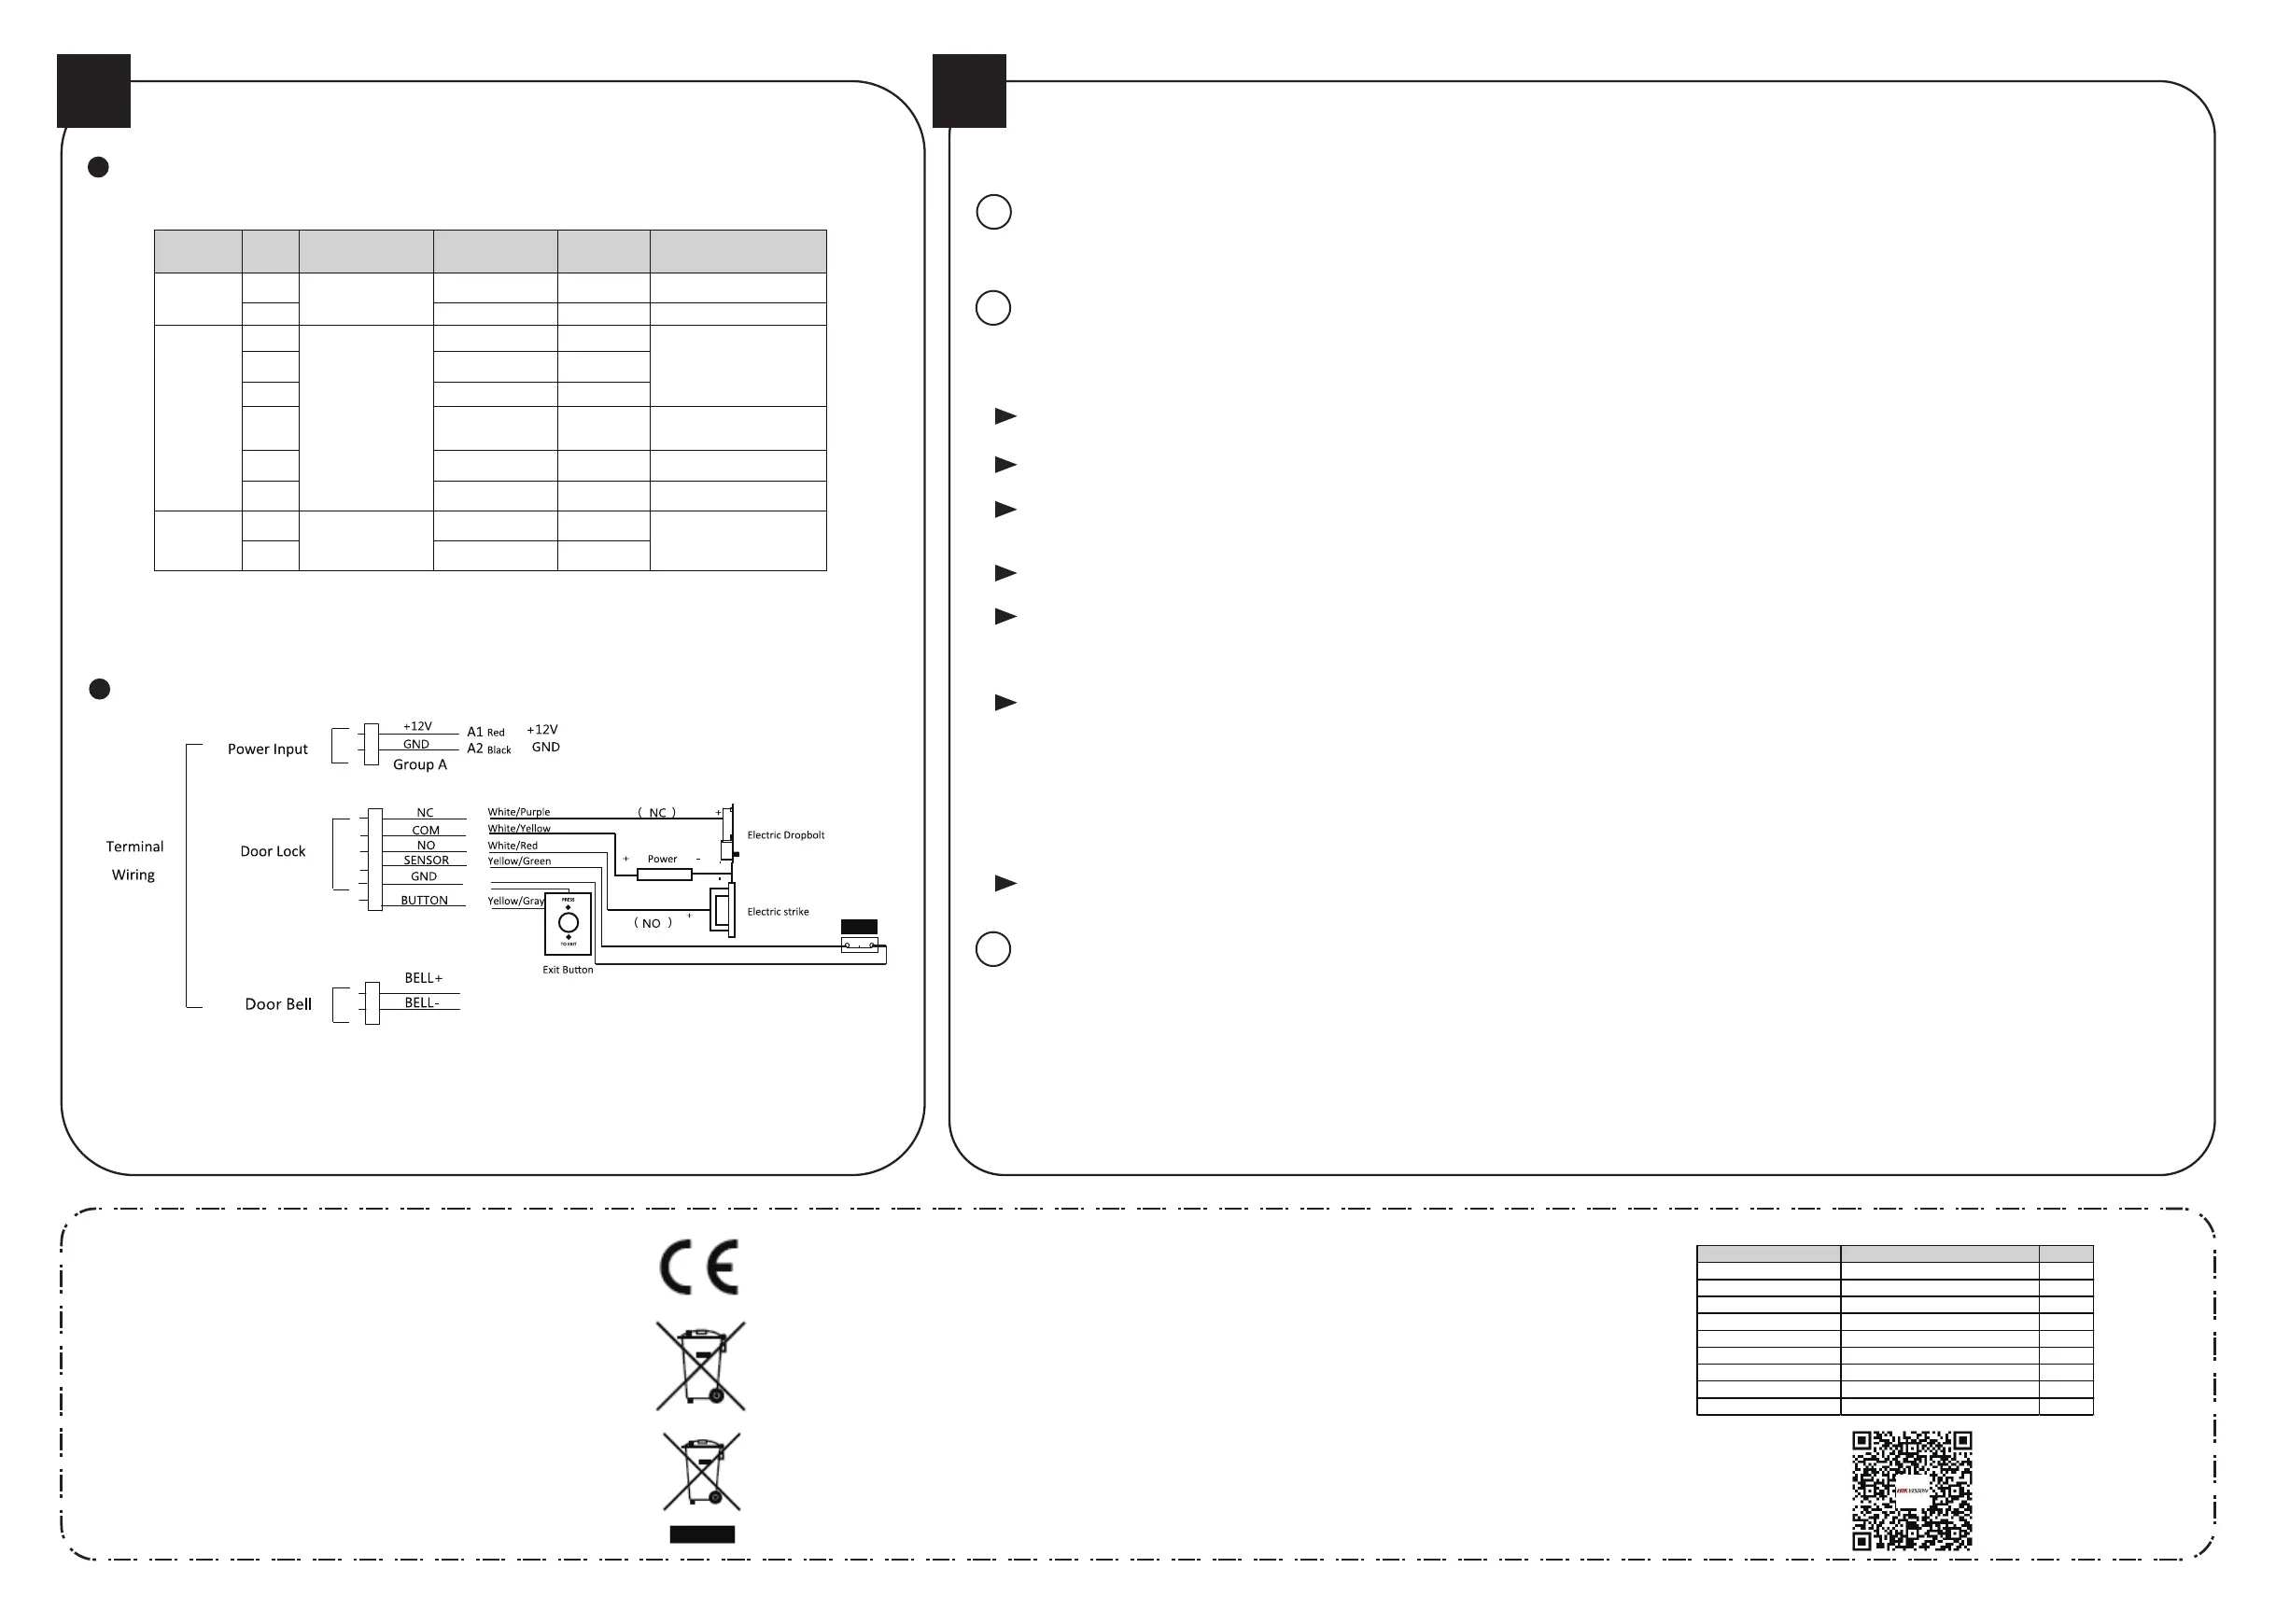
Note: The external power supply and the access control terminal should use the same GND cable.
External Device Wiring Overview
Door Magnec Contact
Gourp B
Gourp C
B1
B2
B3
B4
B5
B6
C1
C2
Black
Red
Yellow
External Device Wiring Terminal Descripon
No. Funcon Color
Descripon
Group A
Group B
Door Contact Signal
Input
Group C
Door Bell Wiring
4
ConfigurationDevice Wiring
Attendance Configuration
2
User Management
1
Manage User: In the New (New User) interface, enter the new user ID No., the user name, the card No. Register the fingerprint, set the password, select the department, set the user permission, select schedule template, set
the authencaon mode and set the duress card. Save the parameters to confirm adding.
Configure the shi via the device. You are able to schedule shi by department or by individual depending on the user property. The working flows are as follows:
Scheduling Shift by Department: Add User (See Step 1) - Edit Department - Configure Shi - Add Holiday - Configure Shi Schedule (by Department).
Edit Department:
Select a department to edit in the department list. Select “Edit”and edit the department name. Save the parameters.
Configure Shift
Normal Shi: In the Normal Shi page, configure the aendance rule, the normal shi aendance. Save the parameters to confirm seng.
Man-Hour Shi: In the Man-Hour Shi page, configure the man-hour shi parameters. Save the parameters to confirm seng.
Add Holiday
In the New (New Holiday) interface, enter the holiday No, the holiday name, the holiday start me and the holiday end me. Save the parameters.
Configure Shift Schedule
Schedule Shi by Department: Select a department to configure in the By Dept. (Schedule by Department) interface. Configure the shi, the start date, the end date and the holiday. Save the parameters.
Schedule Shi by Individual: Select New Individual Shi in the By Indiv. (Schedule by Individual) interface. Select a person to schedule in the New Individual Shi page. Configure the shi, the schedule start date and the
end date. Save the parameters.
Attendance Report
Plug the USB flash drive in the device. Enter Aendance - Report, select a table type, create a device ID, select start date and end date. Press OK to export.
The device will automacally check the USB flahs drive memory. If there is no enough space for exporng, a prompt will be popped up. You can configure the record over threshold prompt and record delete
pafarmeters in the System page.
Record over Threshold Pop up Prompt (%): If the aendance record memory reaches the configured value, the system pops up a prompt to remind you. If configure the threshold to 99%, the system will pop
up a prompt to remind you to delete the aendance data when the capacity reaches the threshold.
The available value: 1 to 99.
Record Delete: When the funcon is enabled, the terminal will delete the first 3000 aendance records when the memory is full, in order to save the new aendance records. By default, the funcon is enabled. See
Secon 5.2 Aendance Record Delete Rule in User Manual of Fingerprint Time Aendance Terminal.
5
Scheduling Shift by Individual: Add User (See Step 1) - Configure Shi - Add Holiday - Configure Shi Schedule (by Individual).
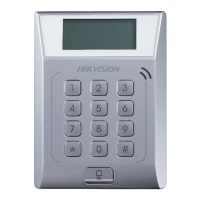
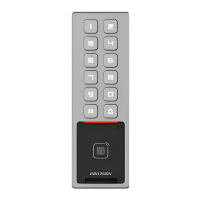
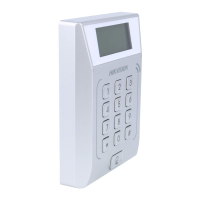
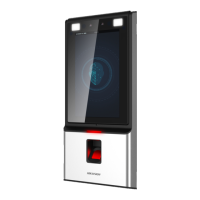
User Management and Aendance Configuraon are two main parts of the Access Control Terminal.
Attendance Status:
Set aendance status as check in, check out, break out, break in, overme in, or overme out.
Regulatory Information
This product and - if applicable - the supplied accessories too are
marked with "CE" and comply therefore with the applicable
harmonized European standards listed under the RE Direcve
2014/53/EU, the EMC Direcve 2014/30/EU, the RoHS Direcve
2011/65/EU.
2012/19/EU (WEEE direcve): Products marked with this symbol
cannot be disposed of as unsorted municipal waste in the European
Union. For proper recycling, return this product to your local
supplier upon the purchase of equivalent new equipment, or
dispose of it at designated collecon points. For more informaon
see: www.recyclethis.info
2006/66/EC (baery direcve): This product contains a baery that
cannot be disposed of as unsorted municipal waste in the European
Union. See the product documentaon for specific baery
informaon. The baery is marked with this symbol, which may
include leering to indicate cadmium (Cd), lead (Pb), or mercury (Hg).
For proper recycling, return the baery to your supplier or to a
designated collecon point. For more informaon see:
www.recyclethis.info
Industry Canada ICES-003 Compliance
This device meets the CAN ICES-3 (B)/NMB-3(B) standards requirements.
This device complies with Industry Canada licence-exempt RSS standard(s). Operaon is subject to the following two
condions:
(1) this device may not cause interference, and
(2) this device must accept any interference, including interference that may cause undesired operaon of the device.
Le présent appareil est conforme aux CNR d'Industrie Canada applicables aux appareils radioexempts de licence.
L'exploitaon est autorisée aux deux condions suivantes :
(1) l'appareil ne doit pas produire de brouillage, et
(2) l'ulisateur de l'appareil doit accepter tout brouillage radioélectrique subi, même si le brouillage est suscepble
d'en compromere le fonconnement.
Under Industry Canada regulaons, this radio transmier may only operate using an antenna of a type and maximum
(or lesser) gain approved for the transmier by Industry Canada. To reduce potenal radio interference to other users,
the antenna type and its gain should be so chosen that the equivalent isotropically radiated power (e.i.r.p.) is not more
than that necessary for successful communicaon.
Conformément à la réglementaon d'Industrie Canada, le présent émeeur radio peut
fonconner avec une antenne d'un type et d'un gain maximal (ou inférieur) approuvé pour l'émeeur par Industrie
Canada. Dans le but de réduire les risques de brouillage radioélectrique à l'intenon des autres ulisateurs, il faut
choisir le type d'antenne et son gain de sorte que la puissance isotrope rayonnée équivalente (p.i.r.e.) ne dépasse pas
l'intensité nécessaire à l'établissement d'une communicaon sasfaisante.
This equipment should be installed and operated with a minimum distance 20cm between the radiator and your body.
Cet équipement doit être installé et ulisé à une distance minimale de 20 cm entre le radiateur et votre corps.
FCC Conditions
This device complies with part 15 of the FCC Rules. Operaon is subject to the following two
condions:
1. This device may not cause harmful interference.
2. This device must accept any interference received, including interference that may cause
undesired operaon.
EU Conformity Statement
FCC Information
Please take aenon that changes or modificaon not expressly approved by the party responsible for compliance could
void the user’s authority to operate the equipment.
FCC compliance: This equipment has been tested and found to comply with the limits for a Class B digital device,
pursuant to part 15 of the FCC Rules. These limits are designed to provide reasonable protecon against harmful
interference in a residenal installaon. This equipment generates, uses and can radiate radio frequency energy and, if
not installed and used in accordance with the instrucons, may cause harmful interference to radio communicaons.
However, there is no guarantee that interference will not occur in a parcular installaon. If this equipment does cause
harmful interference to radio or television recepon, which can be determined by turning the equipment off and on, the
user is encouraged to try to correct the interference by one or more of the following measures:
—Reorient or relocate the receiving antenna.
—Increase the separaon between the equipment and receiver.
—Connect the equipment into an outlet on a circuit different from that to which the receiver is connected.
—Consult the dealer or an experienced radio/TV technician for help.
This equipment should be installed and operated with a minimum distance 20cm between the radiator and your body.
Use only power supplies listed in the user instrucons:
View License:
You can view the device License via the website: hp://opensource.hikvision.com/Home/List?id=46
Scan the QR code to get the
user manual for detailed
informaon.
Note that mobile data
charges may apply if Wi-Fi is
unavailable.
Other Settings
3
Manage Data: Enter System - Data page, and select Delete Event Only, Delete Aendance Data Only, Delete User Only, or Clear Permisison to manage the system data.
Factory Defualts: Enter System - Reset page, and select Factory Defaults. All device parameters will restore to the factory sengs.
Default Settings: Enter System - Reset page, and select Default Sengs. All parameters, excluding the communicaon parameters, and the remote user management paramters, will restore to factory sengs.
Upgrage Device: Plug an USB flash drive to the device USB falsh drive interface. Tap System - Upgrade and tap OK to upgrade the device. The device will reboot automacally aer upgrading is completed.
Notes:
1. The upgrading file should be in the root directoy in the USB flash drive.
2. The upgrading file name should be digicap.dav.
3. Do not power off when device is upgrading.
CAUTION
RISK OF EXPLOSION IF BATTERY IS
REPLACED BY AN INCORRECT TYPE.
DISPOSE OF USED BATTERIES
ACCORDING TO THE INSTRUCTIONS.
Hik-Connect: You can operate the device via the Hik-Connect mobile client.
Model Manufacutrer Standard
DSA-12PFT-12FUK 120100 Dee Van Enterprise Co., Ltd. BS
DSA-12PFT-12FAU 120100 Dee Van Enterprise Co., Ltd. AS
DSA-12PFT-12FIN 120100 Dee Van Enterprise Co., Ltd. IS
DSA-12PFT-12FUS 120100 Dee Van Enterprise Co., Ltd. IEC
DSA-12PFT-12 FBZ 120100 Dee Van Enterprise Co., Ltd. NBR
ADS-12B-12 12012E
Shenzhen Honor Electronics Co., Ltd. IEC
ADS-12B-12 12012E
Shenzhen Honor Electronics Co., Ltd. NEMA
ADS-12B-12 12012E
Shenzhen Honor Electronics Co., Ltd. NBR
ADS-12B-12 12012E
Shenzhen Honor Electronics Co., Ltd. BS
 Loading...