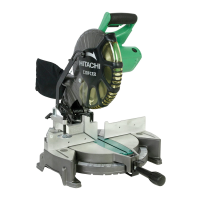
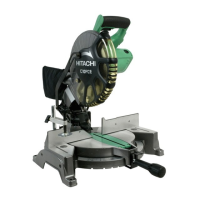
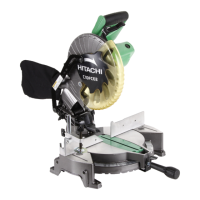
--- 23 ---
1. Remove the two Tapping Screws (W/Flange) D4 x 25 (Black) [151] and the four Tapping Screws (W/Flange)
D4 x 20 (Black) [152], then remove the Switch Handle [153].
2. Remove the wire of the Laser Holder [1] from the Switching Power Supply [157]. (Only the Model C 10FCH2)
3. Remove the Brush Cap [183] and the Carbon Brush [182].
4. Remove the four Machine Screws (W/Washers) M5 x 40 (Black) [178]. Then the Housing Ass'y [179] can be
removed from the Gear Case [123] together with the Switch Handle [153]. The Lock Lever [173] and the
Armature Ass'y [168] can also be removed.
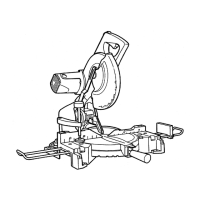
5. Cut the internal wires at the root of the Cord [154] to disconnect the Cord [154] and the Stator Ass'y [176].
Otherwise, the internal wires become short and they cannot be wired in the reassembly work. (See "11-4.
Wiring Diagram" for detail.)
6. Remove the Tapping Screw (W/Flange) D4 x 16 [162]. Then remove the Cord Clip [163], Cord [154] and Cord
Armor D10.7 [155].
7. Remove the two Hex. Hd. Tapping Screws D5 x 50 [175] to remove the Brush Terminal [177] from the Brush
Holder [181]. Gently tap the surface of the Housing Ass'y [179] where the Gear Case [123] was mounted with
a plastic hammer to remove the Stator Ass'y [176].
 Loading...