U-POINTER CONFIGURATION:
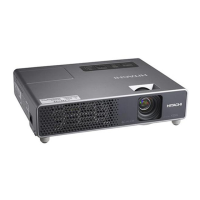
1. Set U-Pointer configuration as shown below
2. Once the confirmation screen is displayed,
click [Finish]
Getting Started: Installation and Configuration (continued)
3. Click [Next] [Alignment View] to open the
Alignment View.
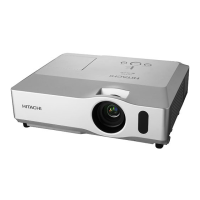
4. Secure the supplied adjusting bars to the right
and left edges of the projector display screen.
Align the white print surface of the adjusting bar
toward the direction of the finger touch unit and
use the double sided tape to secure
Adjusting bar
approx. 8mm
1
2
3
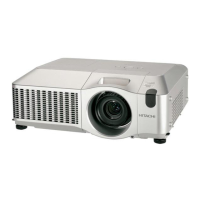
5. Turn the adjusting knob 2 until the reflection line
appears on the screen.
6. Turn the adjusting knob 3 clockwise until the
reflection line is horizontal.
7. Turn the adjusting knob 1 clockwise so the
reflection line moves near the vertical center.
8. If the reflection line is not horizontal, use the
adjusting knobs 2 or 3 to make the reflection
line horizontal
9. Turn the adjusting knob 1 counterclockwise
until two adjusting bars each appear at the
bottom right and left of the screen. You are
looking for two white dots on either side.
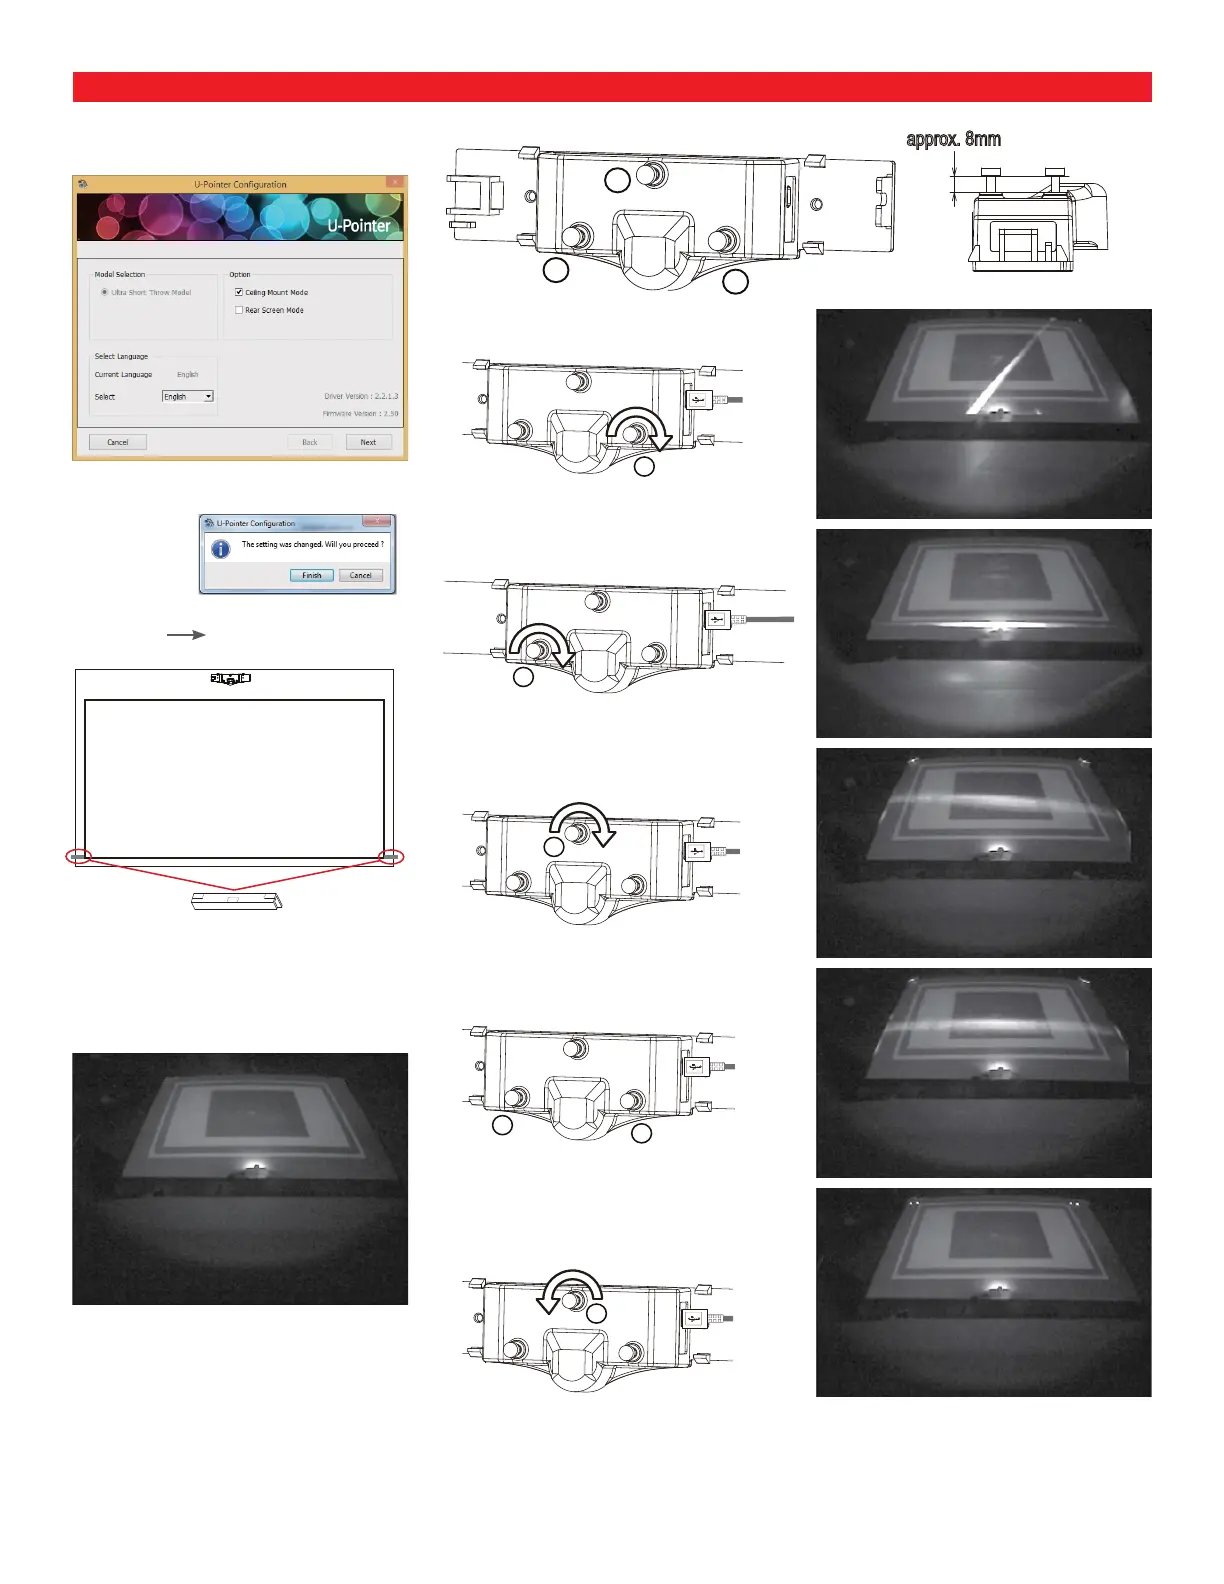
Touch your finger on the projector display and check that your fingertip is lit up within
the display
2
3
1
2
3
1
Configuration continued on next page
 Loading...