--- 26 ---
Remove the Hex. Socket Hd. Bolt M5 x 8 [30] and remove the Guard [31] from the Nose [32].
From Body Ass'y [24], extract the Roll Pin D3 x 30 [47] which fastens and guides the Pushing Lever [38].
Then remove the Nylock Hex. Socket Hd. Bolt M5 x 16 [34] which fasten the Nose [32], and remove the
Nose [32] together with Pushing Lever [38] from Body Ass'y [24]. (Opening the Nail Guide [78]
beforehand makes it is easier to remove the Nylock Hex. Socket Hd. Bolt M5 x 16 [34].)
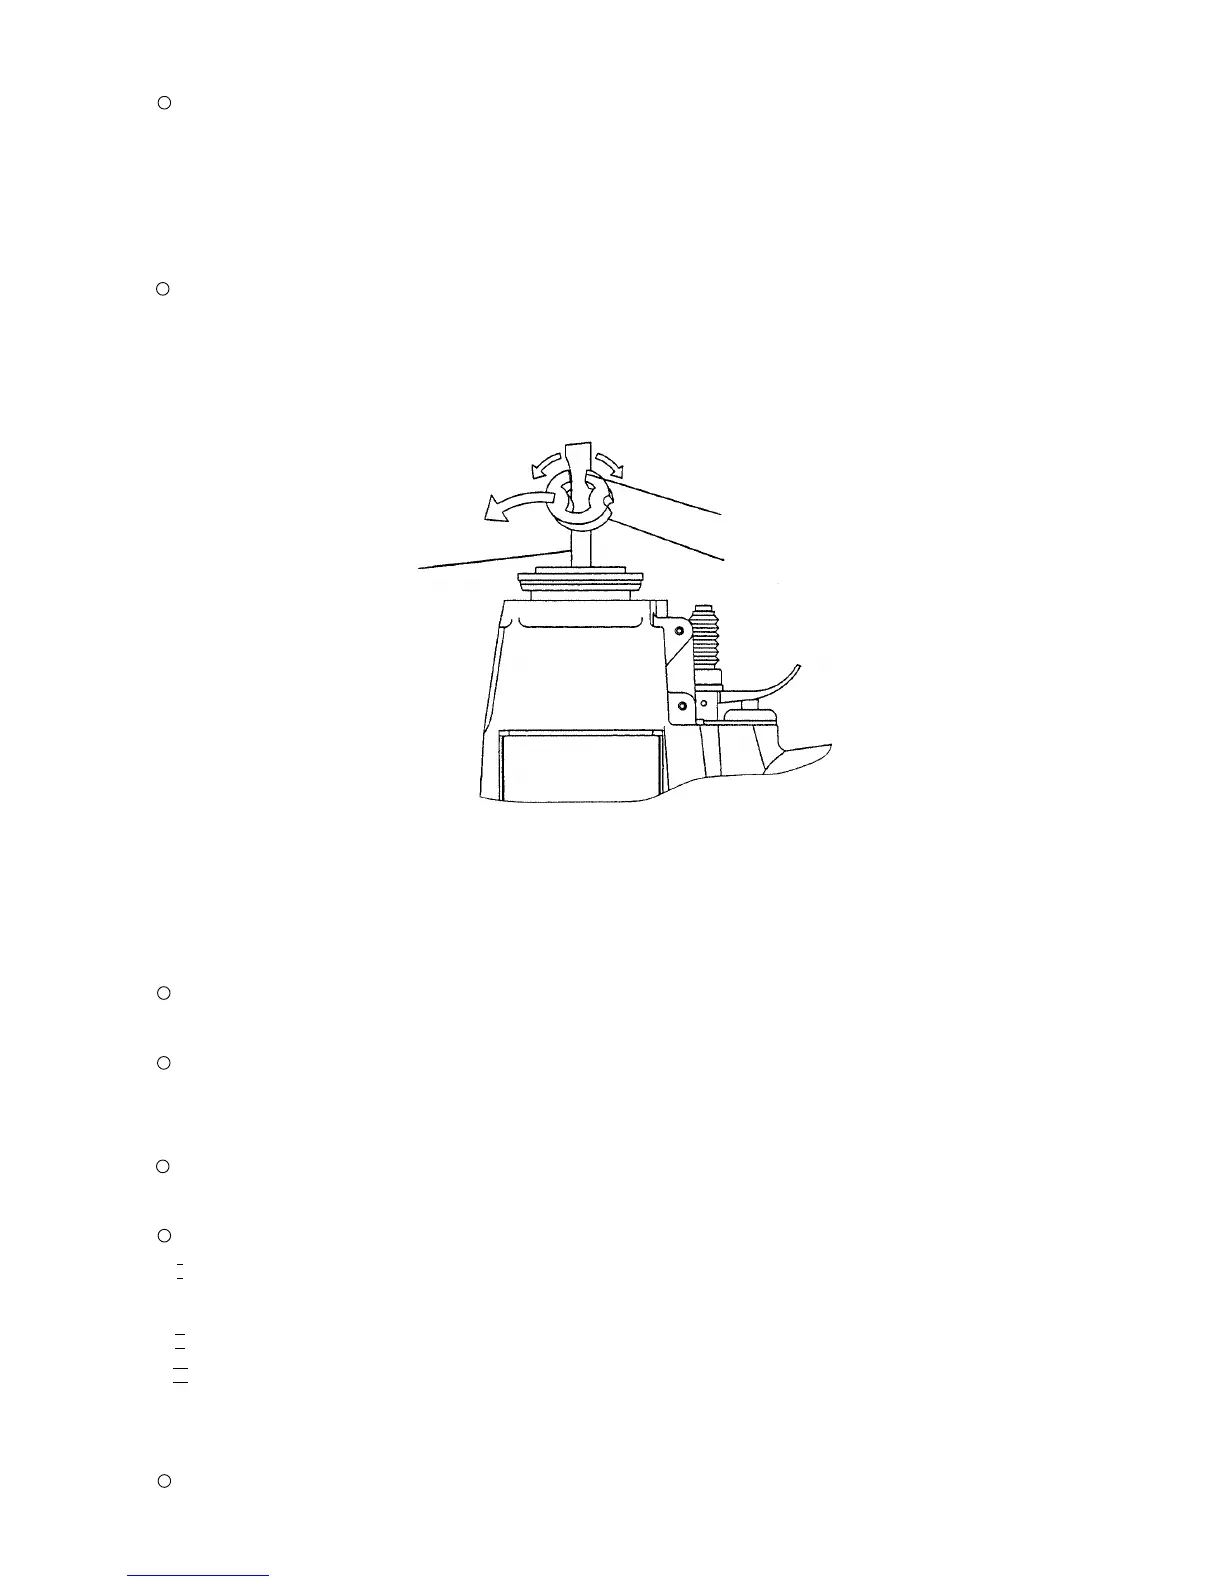
When disassembly as described above is completed, Gasket (A) [29], Bumper Sheet [28], Piston Bumper
[27] can be taken out in sequence from the lower portion of Body Ass'y [24]. Remove the Bumper Sheet
[28] from Piston (H) [13] by opening the cut of the Bumper Sheet [28] (Fig. 10). At this time, be careful not
to scratch the hole of the Bumper Sheet [28].
(b) Reassembly
Reassembly can be accomplished by following the disassembly procedures in reverse. However, special
attention should be given to the following items.
When reassembling Piston (H) [13], ensure that the semi-circular grooved side is facing toward the
Magazine side. (See Fig. 11.)
When mounting the Bumper Sheet [28] to Piston (H) [13], open the cut of the Bumper Sheet [28] and put
the driver blade in the Bumper Sheet [28] from its thin side facing the groove on the circumference of the
Bumper Sheet [28] to the semi-circular grooved side at the tip of Piston (H) [13] surely.
Reassemble Gasket (A) [29] so that its air vents are properly aligned with the matching air vents on the
Nose [32] and Body Ass'y [24].
Assemble Body Ass'y [24], Nose [32] and Magazine Ass'y [109] in accordance with the following procedures:
( I ) First, assemble the Nose [32] and Pushing Lever [38]. Then, fasten Body Ass'y [24] and the Nose [32]
with the four Nylock Hex. Socket Hd. Bolts M5 x 16 [34], and tighten them to rated torque.
(II) Fasten the Pushing Lever [38] with the Roll Pin D3 x 30 [47].
(III) With the Magazine Bushing [67], assemble the Nose [32] and Magazine Ass'y [109] and confirm that
they are securely fastened. Then, fasten the Magazine Ass'y [109] to Body Ass'y [24] with the Machine
Screw M5 x 22 [39].
Confirm that each fastening nut and screw is tightened to rated torque as set forth in paragraph 10-1.
Open the cut.
Piston (H) [13]
Bumper Sheet [28]
Fig. 8
 Loading...