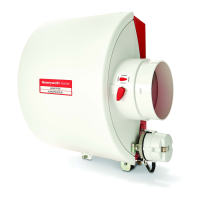
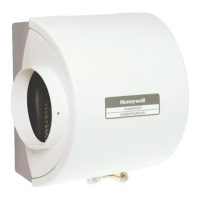
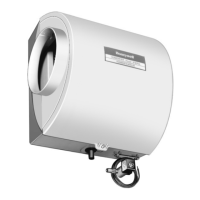
HE220 AND HE260 BY-PASS FLOW-THROUGH HUMIDIFIER
69-1111EF—05 14
Installing the Sail Switch
Adapting Switch to Air Flow Direction
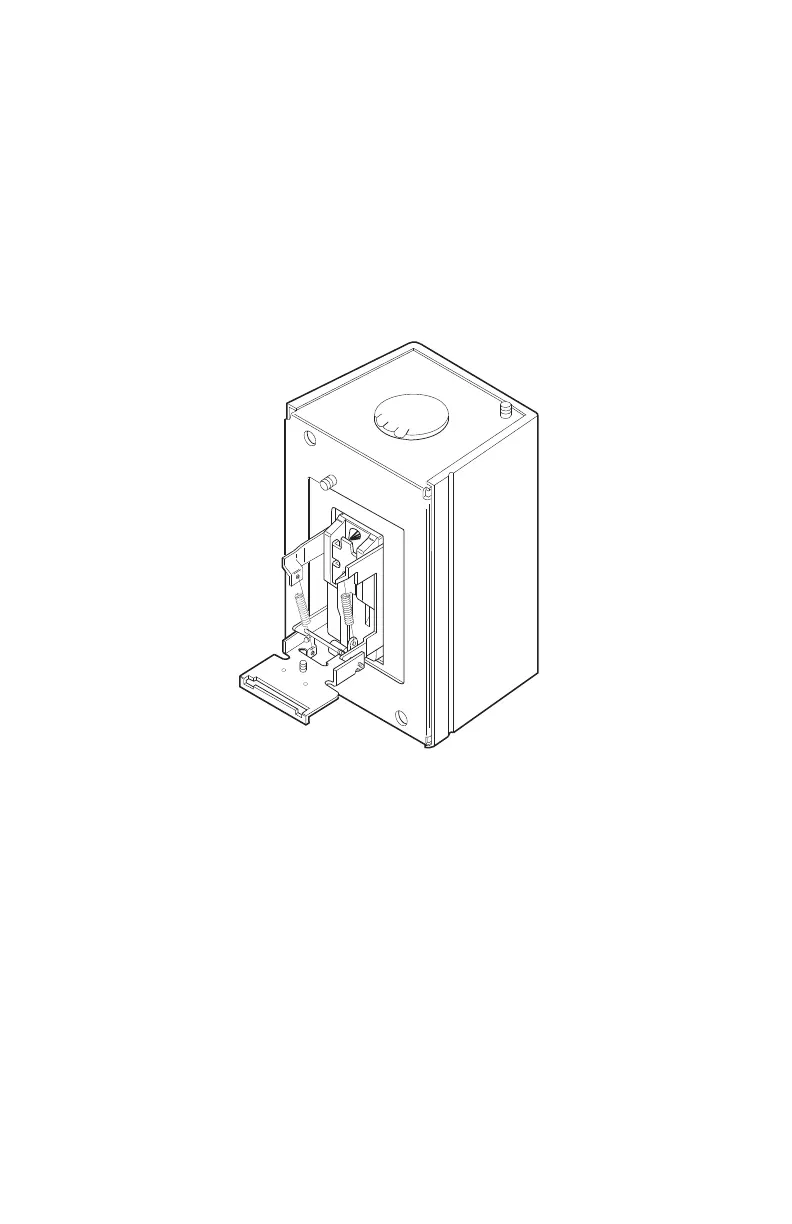
The S688A Sail Switch has two counterbalancing springs in place as shown in Fig 11.
These springs offset the effect of gravity for air flow direction.
IMPORTANT
Do not use the sail switch with both springs attached. Be sure to select air
flow direction and remove spring(s) not required for installation.
Fig. 11. Adapting sail switch to air flow direction or mounting position.
• Vertical downward air flow: Leave the spring in place that is attached to the
bracket marked Down. Remove the spring that is attached to the bracket marked
Up.
• Vertical upward air flow: Leave the spring in place that is attached to the bracket
marked Up. Remove the spring that is attached to the bracket marked Down.
• Horizontal air flow: Remove both springs.
1. Mount the template (provided with the sail switch) at the desired location.
NOTE: Be sure the arrow (indicating air flow) points in the correct direction.
a. For horizontal mounting, level the long dimension shown on the template.
b. For vertical mounting, plumb the long dimension.
2. Cut the hole (indicated on the template) in the ductwork.
UP
M3014A
69-1111E_C.fm Page 14 Monday, August 10, 2009 10:53 AM
 Loading...