WIRING
NOTE: All wiring must conform to applicable local codes, ordinances, and
regulations.
1. Install module wiring in accordance with the job drawings and appropri-
ate wiring diagrams.
2. Set the address on the module per job drawings.
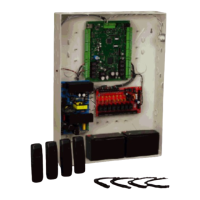
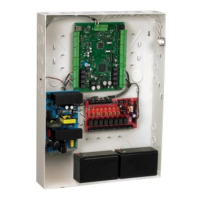
3. Secure module to electrical box (supplied by installer), as shown in
Figure 2.
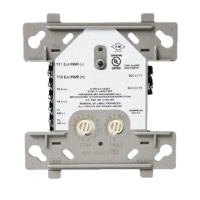
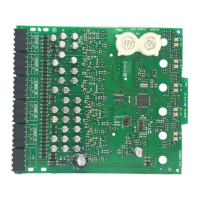
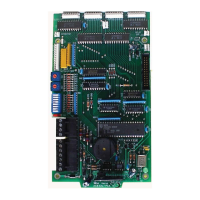
IMPORTANT: When using the FCM-1-REL for Class B applications, remove
Jumper (J1) and discard. The Jumper is located on the back as shown in
Figure 1B.
FIGURE 2. MODULE MOUNTING:
C1060-00
NO-460-002 1 I56-2992-004
FCM-1-REL Releasing Control Module
BEFORE INSTALLING
This information is included as a quick reference installation guide. Refer to
the control panel installation manual for detailed system information. If the
modules will be installed in an existing operational system, inform the opera-
tor and local authority that the system will be temporarily out of service. Dis-
connect power to the control panel before installing the modules.
NOTICE: This manual should be left with the owner/user of this equipment.
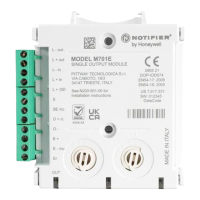
GENERAL DESCRIPTION
FCM-1-REL Releasing Control Modules are intended for use in intelligent, two-
wire systems, where the individual address of each module is selected using
the built-in rotary switches. This module is used to switch an external power
supply, which can be a DC power supply to a solenoid. It also supervises the
wiring to the connected load and reports the status to the panel as NORMAL,
OPEN, or SHORT CIRCUIT. The FCM-1-REL has two pairs of output termination
points available for fault-tolerant wiring and a panel-controlled LED indicator.
COMPATIBILITY REQUIREMENTS
To ensure proper operation, this module shall be connected to a compatible
Notifier system control panels only (list available from Notifier). In addition,
please refer to Notifier Device Compatibility document number 15378 for the
list of compatible solenoids.
MOUNTING
The FCM-1-REL mounts directly to 4-inch square electrical boxes (see Figure
2). The box must have a minimum depth of 2
1
/8 inches. Surface mounted elec-
trical boxes (SMB500) are available (for indoor dry applications only).
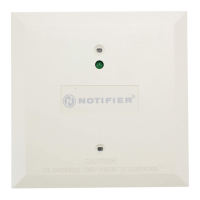
FIGURE 1A. CONTROLS AND FIGURE 1B. JUMPER LOCATION:
INDICATORS:
C1059-00 C0910-00
I56-2992-004
SPECIFICATIONS
SLC
Normal Operating Voltage: 15 to 32 VDC Nominal
Average Operating Current: 700µA (LED flashing)
Maximum Activation Current: 9.0 mA (red LED on)
External Supply
Normal Operating Voltage: 24 VDC Nominal
Maximum Line Loss: 2.3 VDC (total allowable loss from power supply to module and from module to solenoid)
Minimum Operating Voltage to Activate Solenoid: 18 VDC (at solenoid)
Standby Current: 6.4 mA
Activation Current: 10 mA
Maximum Activation Current: 2 A
Solenoid
Supervisory Loop Voltage: 3.3 V
Supervisory Loop Current (Normal): 30 mA
Maximum Activation Current: 2 A
Temperature Range: 14°F to 140°F (-10°C to 60°C)
Humidity: 10% to 95% RH Non-condensing
Dimensions: 4
1
/2˝ H × 4˝ W × 1
1
/4˝ D; (106 mm H × 108 mm W × 31 mm D)
Accessories: Wall cover plate (included); SMB500 Surface Mount Electrical Box (for indoor dry applications only)
12 Clintonville Road
Northford, CT 06472-1653
Phone: 203.484.7161
INSTALLATION AND MAINTENANCE INSTRUCTIONS