37
ENGLISH
Part 3: For the technician
3.1 INSTALLATION (Fig. 5)
- After having removed the packing, check that the
machine is in a perfect condition and that all the parts
have been included.
- Position the machine in the required setting and level
it by means of the feet (13).
3.1.a Drain pipe connection
- Connect one end of the drain pipe to the overflow
(27) and the other to an already prepared drain trap.
IMPORTANT
It is essential to ensure that the drain pipe runs along the
floor and that it is not throttled in any part.
3.1.b Connection to the water main (Fig. 6)
- Connect one end of the supplied inlet pipe (14) to the
solenoid valve and the other end (14) to a 3/4” G
threaded cock, installing the filter in between.
ATTENTION
It is essential to connect the cold water delivery pipe to a
throttle cock in order to separate the water main from the
machine itself. Also check that there are no sharp bends.
If there is sand in the water main, it will be necessary to
install a filter between the water main and the machine. If
the water main is without, it is advisable to install a
decalcifier prior to the machine with a setting of min. 4 and
max. 8 French degrees.
The manufacturer declines all responsibility for
damage to the machines caused by failure to comply
with the above listed provisions.
3.1.c Electrical connection (Fig. 4)
DANGER
- Before connecting to the electricity main, always
check that the data pertaining to the power source
correspond to those indicated on the identification
plate (12 Fig. 4) and that the main electric power
switch installed prior to the machine is
disconnected “0” OFF.
- An appropriately sized omnipolar circuit-breaker
with a minimum 3 mm gap between its contacts
must be installed between the power supply main
and the machine.
- The manufacturer declines all responsibility for
accidents or damage to persons or property caused
by failure to comply with the above listed provisions.
• Connect the electrical power cable (16) to the main
switch installed prior to the machine.
• Connect the equipotential ground conductor to the
terminal .
• The electrical power cable(not supplied) must have the
following characteristics: Tipe H07RN-F 5G2,5.
3.2 Viewing and Setting
PARAMETERS (MACHINE PRESET)
There are three types of parameters that can be set:
P function settings
(valid for all cycles)
T temperature settings
(for each single cycle)
L wash-cycle length settings
(for each single cycle)
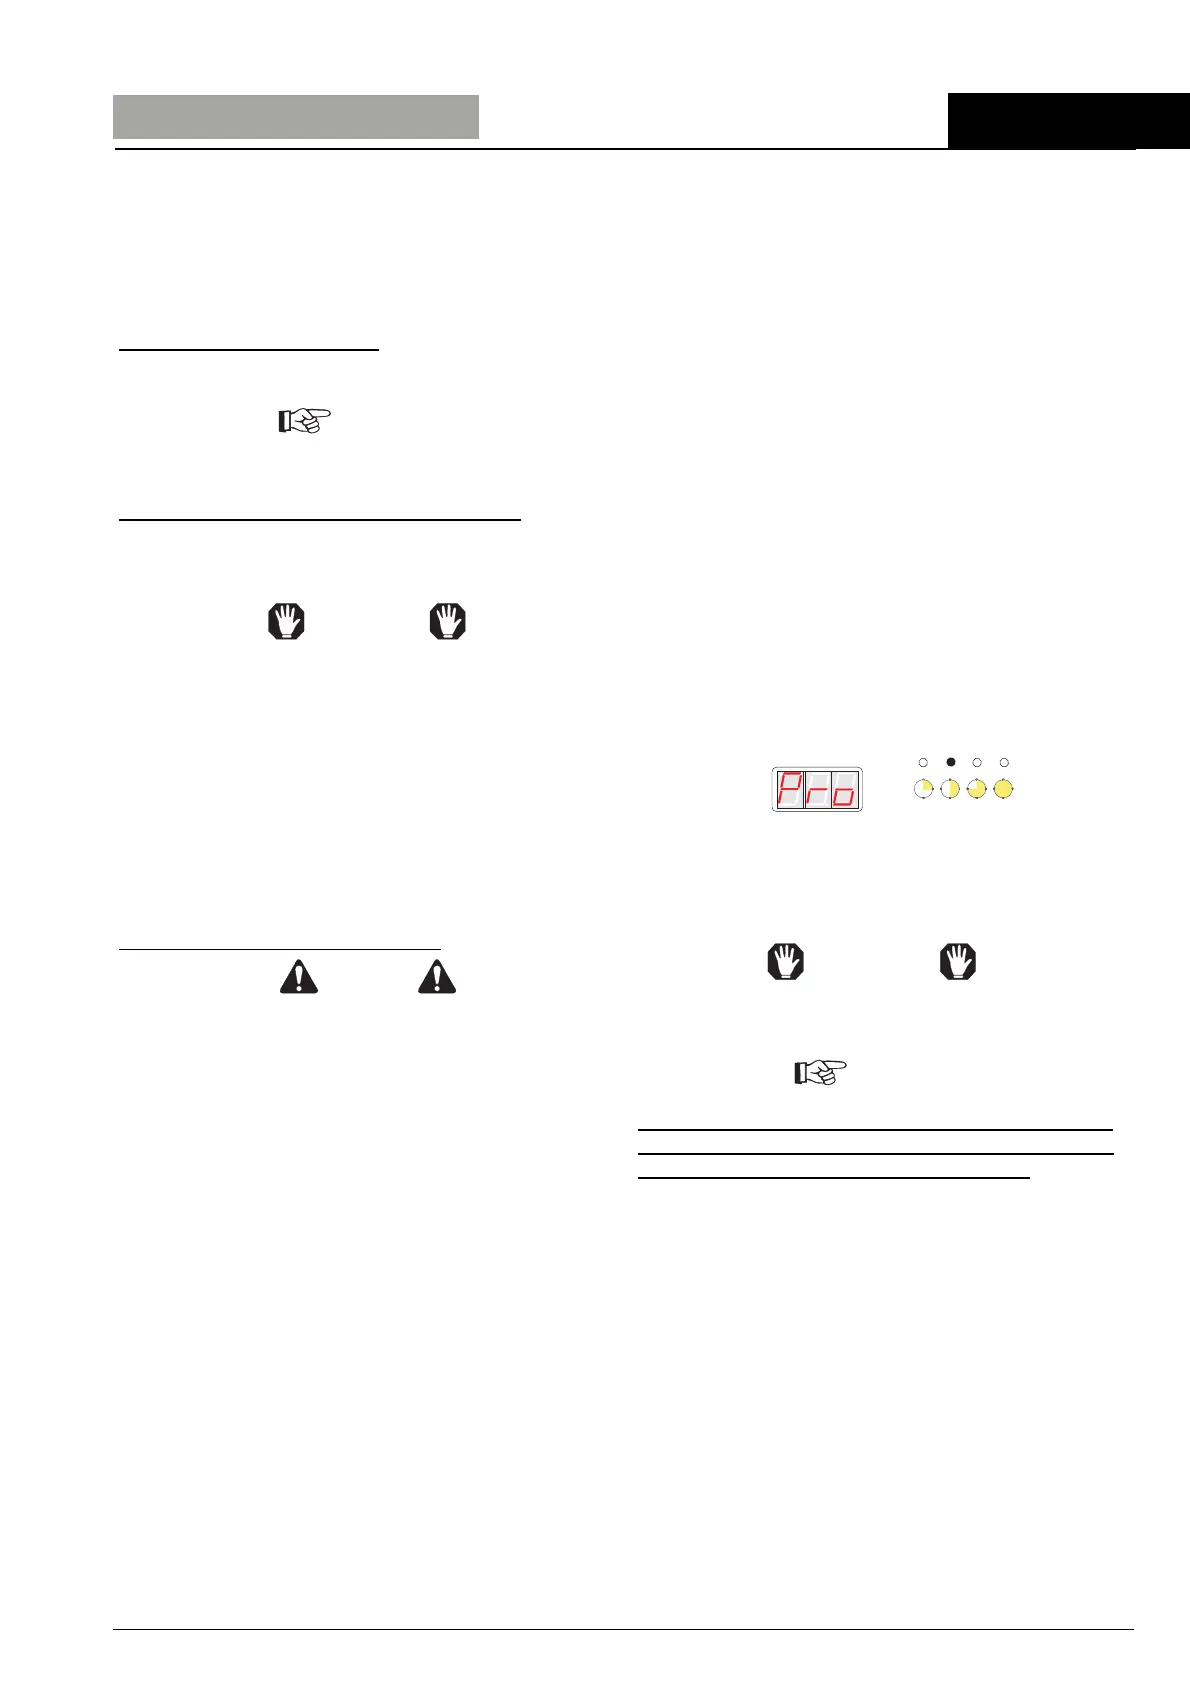
To access the SETTINGS function with the machine
SWITCHED OFF:
Press and hold the START “ST” button for 10 sec., until
the message “Pro” appears on the display, and the
selected LED begins to flash.
Using the “SD” or CYCLE button, select the cycle to
be programmed (as indicated by FLASHING LED).
ATTENTION
From this position it is possible to access SETTINGS
for PARAMETERS in SEQUENCE.
IMPORTANT
If you do not press any pushbutton within 10 sec.,
automatically you get out of the programming and
the writing "OFF" appears on the display.
LC1
LC2 LC3
LC4
 Loading...