 Loading...
Do you have a question about the Hoover BH52120 and is the answer not in the manual?
| Maximum input power | - W |
|---|---|
| Annual energy consumption | - kWh |
| Certification | UL |
| Dust capacity | - L |
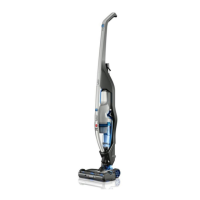
| Product color | Gray |
| Tube material | - |
| Dust container type | Bagless |
| Noise level | - dB |
| Cleaning surfaces | Carpet, Hard floor |
| Cord length | - m |
| Crevice tool | Yes |
| Weight | 3129.79 g |
|---|
Basic precautions for appliance use, including avoiding wet surfaces, not allowing children to play, and using recommended parts.
Instructions on cord management, charger handling, avoiding object insertion, and safe stair cleaning practices.
Prohibits picking up flammable liquids, smoking materials; advises on charger/battery handling and charging environment.
Alerts to chemicals known by California to cause cancer, birth defects, or reproductive harm.
Explains the polarized plug and instructions for use in outlets for safety.
Advice on avoiding damage from sharp objects, proper storage, and brush roll usage on floors.
Covers risks of explosion/toxic material from batteries and proper disposal methods.
Information on environmentally sound collection, recycling, and disposal of lithium-ion batteries.
Instructions on how to place the battery on the charger for full charge, indicating charge time and progress.
Step-by-step guide on how to safely remove the battery from the charger.
Explanation of charger light status and battery LED indicators for charging progress and errors.
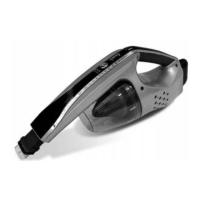
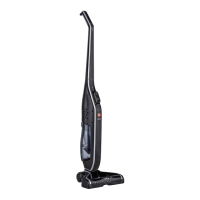
Instructions for turning on the power switch and attaching the crevice tool for cleaning.
Guidance on attaching the Motorized Turbo Tool for stairs and upholstery.
Steps to remove tools and return the Hand Vac to its original configuration after use.
Steps to empty the dirt cup when it reaches the max fill line, including removal and reassembly.
Instructions on how to squeeze tabs, lift out, and empty the dirt cup separator.
Instructions for cleaning the filter every 4-6 uses, including removal, rinsing, and drying.
Steps to open the tool, remove the brush roll, clear debris, and reassemble.
Instructions for inserting the handle, attaching the Crevice Tool Holder, and securing the battery.
Guidance on pivoting the battery and setting the Hand Vac nozzle into place.
Steps to press a button and pivot forward to detach the hand vac from the stick.
Indicates the easiest points to carry the vacuum unit.
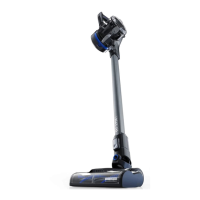
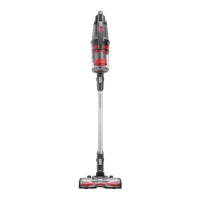
Explains how to select Hard Floor Mode, Carpet Mode, and turn the brush roll on/off.
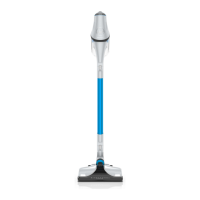
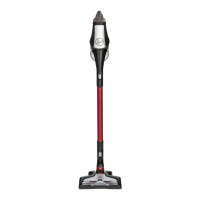
Instructions on stepping and pulling the handle back to recline the vacuum for use.
Steps to lower the handle, flip over, and push plates/tabs to remove the brush roll.
Instructions on pulling out the brush roll, replacing it into the belt, and securing the plate.
Notes that bearings have sufficient lubrication and adding more could cause damage.
Troubleshooting steps for when the vacuum does not power on, including battery charge checks.
Guidance for issues with picking up dirt, including filter cleaning and hose clogs.
Troubleshooting brush roll not spinning on carpets and potential causes like obstructions.
Information on how to get further assistance via phone, website, or social media.
Details on obtaining service from authorized representatives and identifying product information.
Covers what the five-year limited warranty includes for product and battery defects.
Steps on how to make a warranty claim, including proof of purchase and contacting Hoover.
Lists what the warranty does not cover, such as normal wear, commercial use, and consequential damages.