* Certain Models Only
** May vary according to model
USING YOUR ROBO.COM² CLEANER
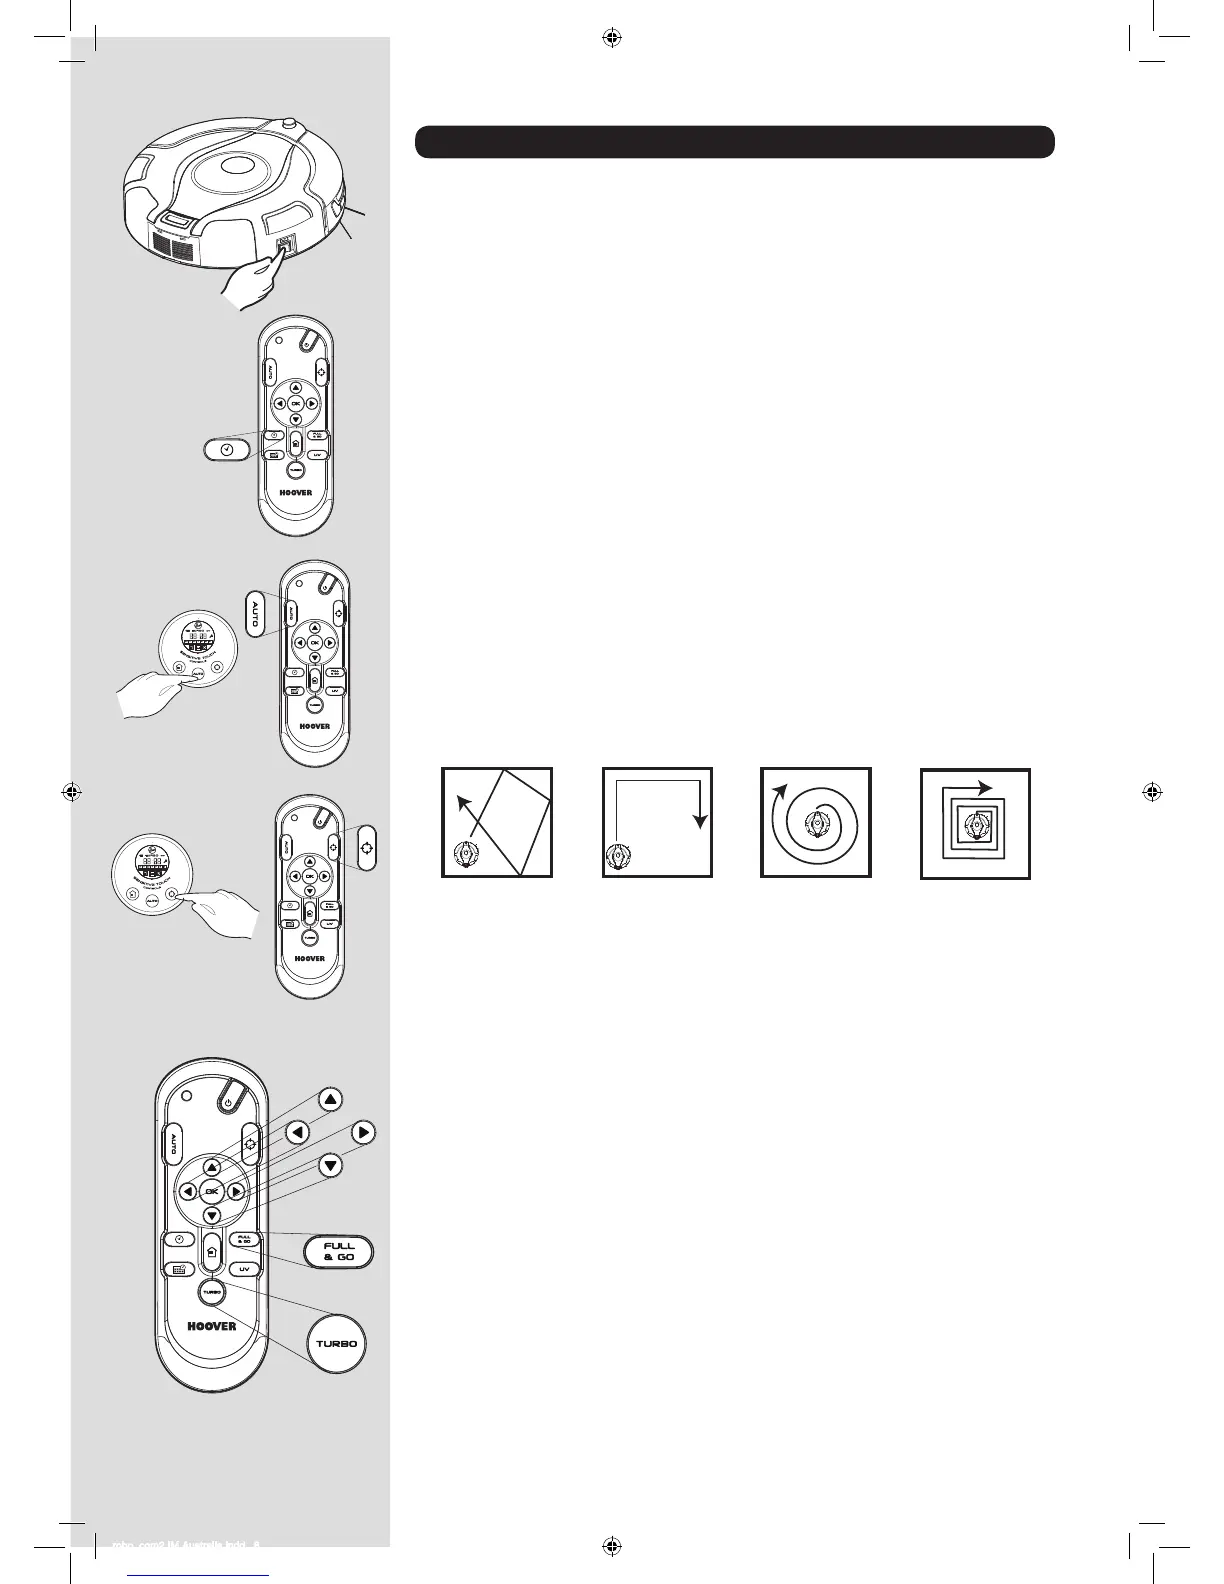
Power On
1. Press the on / off switch on the side of the Robo.com².
2. The LCD screen will illuminate.
NOTE: If your robot is already switched On, but in standby mode, it can be activated from the remote
control** or pressing one of the touch sensitive keys.
NOTE: The touch sensitive controls on the Robo.com² can be unreliable if your hands are wet.
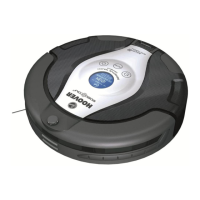
Setting the Day / Time on the Robo.com²
1. Using the Remote Control** press the time set button. A ashing line will appear below the day.
2. Use the up and down arrow on the Remote Control** until the line appears below the correct day.
Press the OK Conrmation Button.
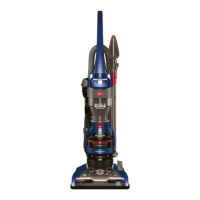
3. The hour display will ash. Press the up and down arrow on the Remote Control** until the correct
hour is displayed. Press the OK Conrmation Button.
4. The minute display will ash. Press up and down arrow on the Remote Control** until the correct
minute is displayed. Press the OK Conrmation Button.
5. Day and time are now set.
Cleaning Programs
Robo.com² uses AAI™ Infrared Navigation, an advanced navigation system that uses the algorithmic
calculation to dene the best path to efciently clean your room.
Press the AUTO Sensitive touch control on the robot or press the AUTO button on the remote control to
activate the Automatic cleaning mode. Robo.com² will automatically choose the best cleaning mode to
clean your room. It will use 4 different cleaning patterns:
ZIG ZAG EDGE ELLIPTICAL SQUARE
Press the SPOT Sensitive touch control on the robot or press the SPOT button on the remote control
to activate the SPOT cleaning mode. Use this mode to intensively clean a conned area. Robo.com²
will move following a elliptical pattern, where the radius will continuously increase for approximately 3
minutes.
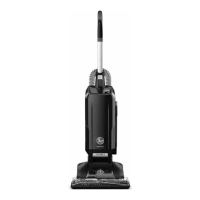
With the Remote Control**, you can also activate all the other cleaning programs:
Manual Navigation: The Robot can be controlled manually at any time during a cleaning program.
The navigation arrow keys in the remote control will move the Robot in the
desired direction with the suction activated. With the remote control, the
Robo.com² can be controlled up to a distance of 10m, even behind a wall.
Full & GO: When the robot is charging, press the FULL & GO button on the remote control
to activate this cleaning mode. On the display the AUTO indicator will start
ashing. When the battery is fully charged, the Robo.com² will automatically
start a cleaning cycle. Once complete, the Robo.com² will automatically return
to the Charger Base Station.
TURBO*: Press the TURBO* button on the remote control to activate the TURBO*
speed. The TURBO* indicator will light on in the LCD display. Robo.com² will
start to work at a faster speed, covering quicker the area to clean.
Scheduled Cleaning*: You can decide what time the Robo.com² will start cleaning, daily or weekly.
To set a cleaning schedule follow see ‘Setting Up The Cleaning Schedule’.
S
E
N
S
I
T
I
V
E
T
O
U
C
H
C
O
N
T
R
O
L
S