How to replace
Turn cleaner off and disconnect from
electrical outlet. Disconnect power
nozzle from extension wands.
1. Remove the hood as shown in Fig.
3-10.
What to buy
When purchasing a new agitator brush
roll, ask for HOOVER part no. 59134225.
How to replace
Turn cleaner off and disconnect from
electrical outlet.
1. Remove hood, headlight assembly,
brush roll cover, belt and brush roll as
shown in Figs. 3-10 to 3-13.
2. Discard old brush roll.
3. Replace new brush roll and belt as
shown in Figs. 3-14 to 3-17.
Agitator brush roll
replacement
When to replace
Turn cleaner off and disconnect from
electrical outlet.
When agitator brush roll brushes are
worn, the brush roll should be replaced.
To check condition of brushes, move
edge of a card across bottom plate while
turning brush roll. To maintain cleaning
effectiveness, replace brush roll if brush-
es do not touch card.
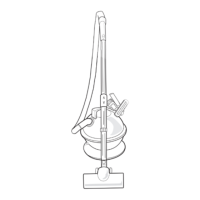
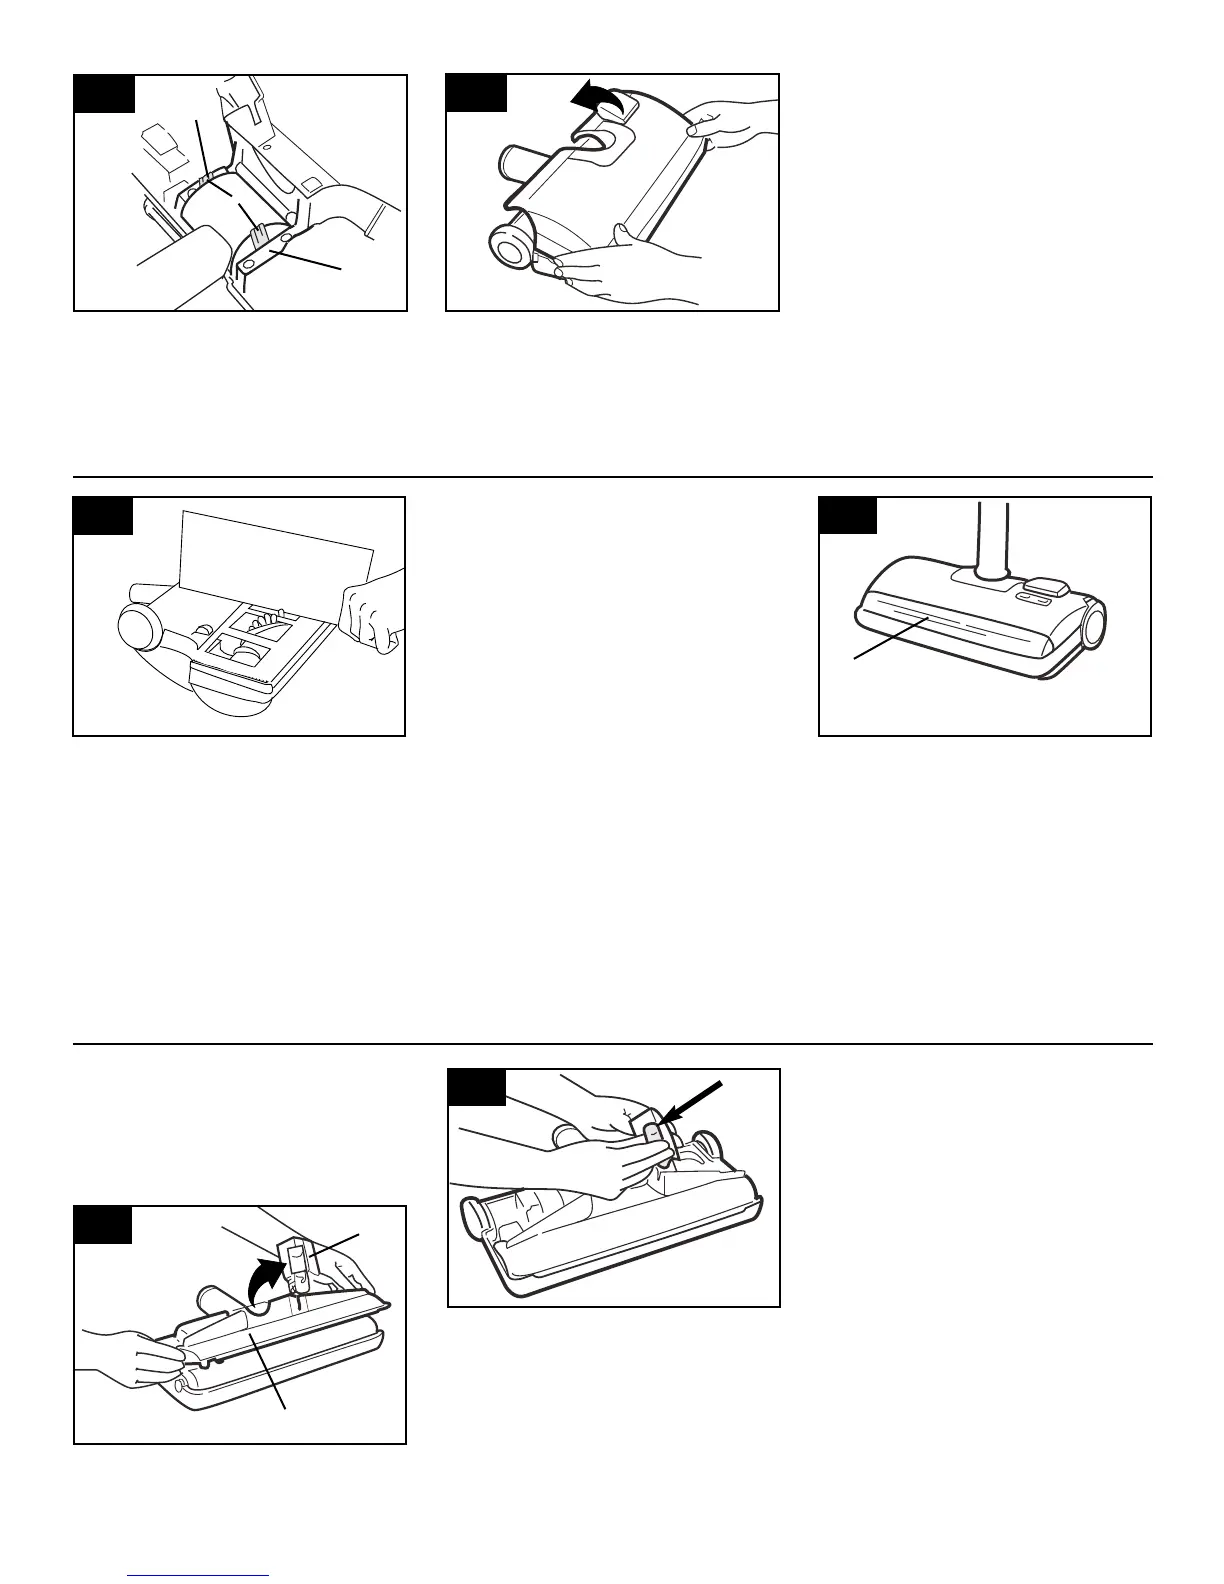
Headlight replace-
ment
The headlight (A), located on top of the
power nozzle, operates when the clean-
er is turned on, except when the power
nozzle switch is in the OFF position. Use
only HOOVER part no. 59134219 when
replacing the headlight.
Position hood on top of nozzle base.
Turn nozzle over. Replace 2 screws.
3-18
3-17
3-16
3-19
3-21
3-20
A
K
J
J
B
A
8
3. Push old bulb into socket and twist to
remove. Push new bulb into socket and
twist into place.
4. Replace the headlight assembly.
5. Position hood on top of nozzle base.
Turn nozzle over. Replace 2 screws.
Lubrication
The motor is equipped with two bear-
ings that contain sufficient lubrication for
the life of the motor. The addition of
lubricant could cause damage.
Therefore, do not add lubricant to
either motor bearing.
2. Rotate headlight assembly (A) away
from the brush roll cover (B).
Reposition two metal brackets (J), making
sure back of post (K) is facing toward the
center as shown. Replace four screws.
Rotate the headlight assembly back into
positon.
 Loading...