Installing the chassis 15
Installing the chassis
Installation overview
To set up and install the chassis:
1. Unpack the system ("Unpacking the system" on page 15).
2. Determine the chassis rack spacing ("Determining the chassis rack spacing" on page 15).
3. Install the rack rails ("Installing the rack rails" on page 15).
4. Install the chassis in the rack ("Installing the chassis in the rack" on page 15).
5. Install the system components ("Installing the system components" on page 17).
6. Install the power shelf ("Installing the power shelf" on page 23).
Unpacking the system
Unpack the following hardware and prepare for installation:
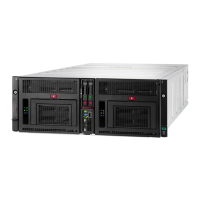
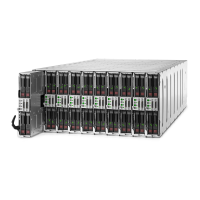
• HPE Apollo 6000 System
• Accessory kit
• HPE Apollo a6000 Chassis Rail Kit
• HPE Apollo 6000 Power Shelf Rack Rail Kit
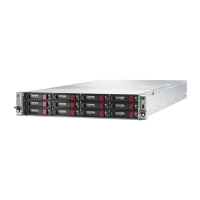
• HPE Apollo 6000 Power Shelf
The following documents also ship with the Apollo a6000 Chassis:
• Start Here for Important Setup Information
• Safety, Compliance, and Warranty Information
Determining the chassis rack spacing
When planning rack spacing, allow enough space for the 5U chassis and the 1.5U power shelf. For more
information, see the Apollo a6000 Chassis Rail in HPE Racks Installation Instructions.
Installing the rack rails
The chassis requires installation in a rack. To install the rack rails, see the Apollo a6000 Chassis Rail in
HPE Racks Installation Instructions on the Hewlett Packard Enterprise website
(http://www.hpe.com/info/Apollo_6000/docs).
Installing the chassis in the rack
 Loading...