2 Hardware Upgrades
Removing the Computer Access Panel and Front Bezel
1. Remove/disengage any security devices that prohibit opening the computer.
2. Remove all removable media, such as diskettes or compact discs, from the computer.
3. Turn off the computer properly through the operating system, then turn off any external devices.
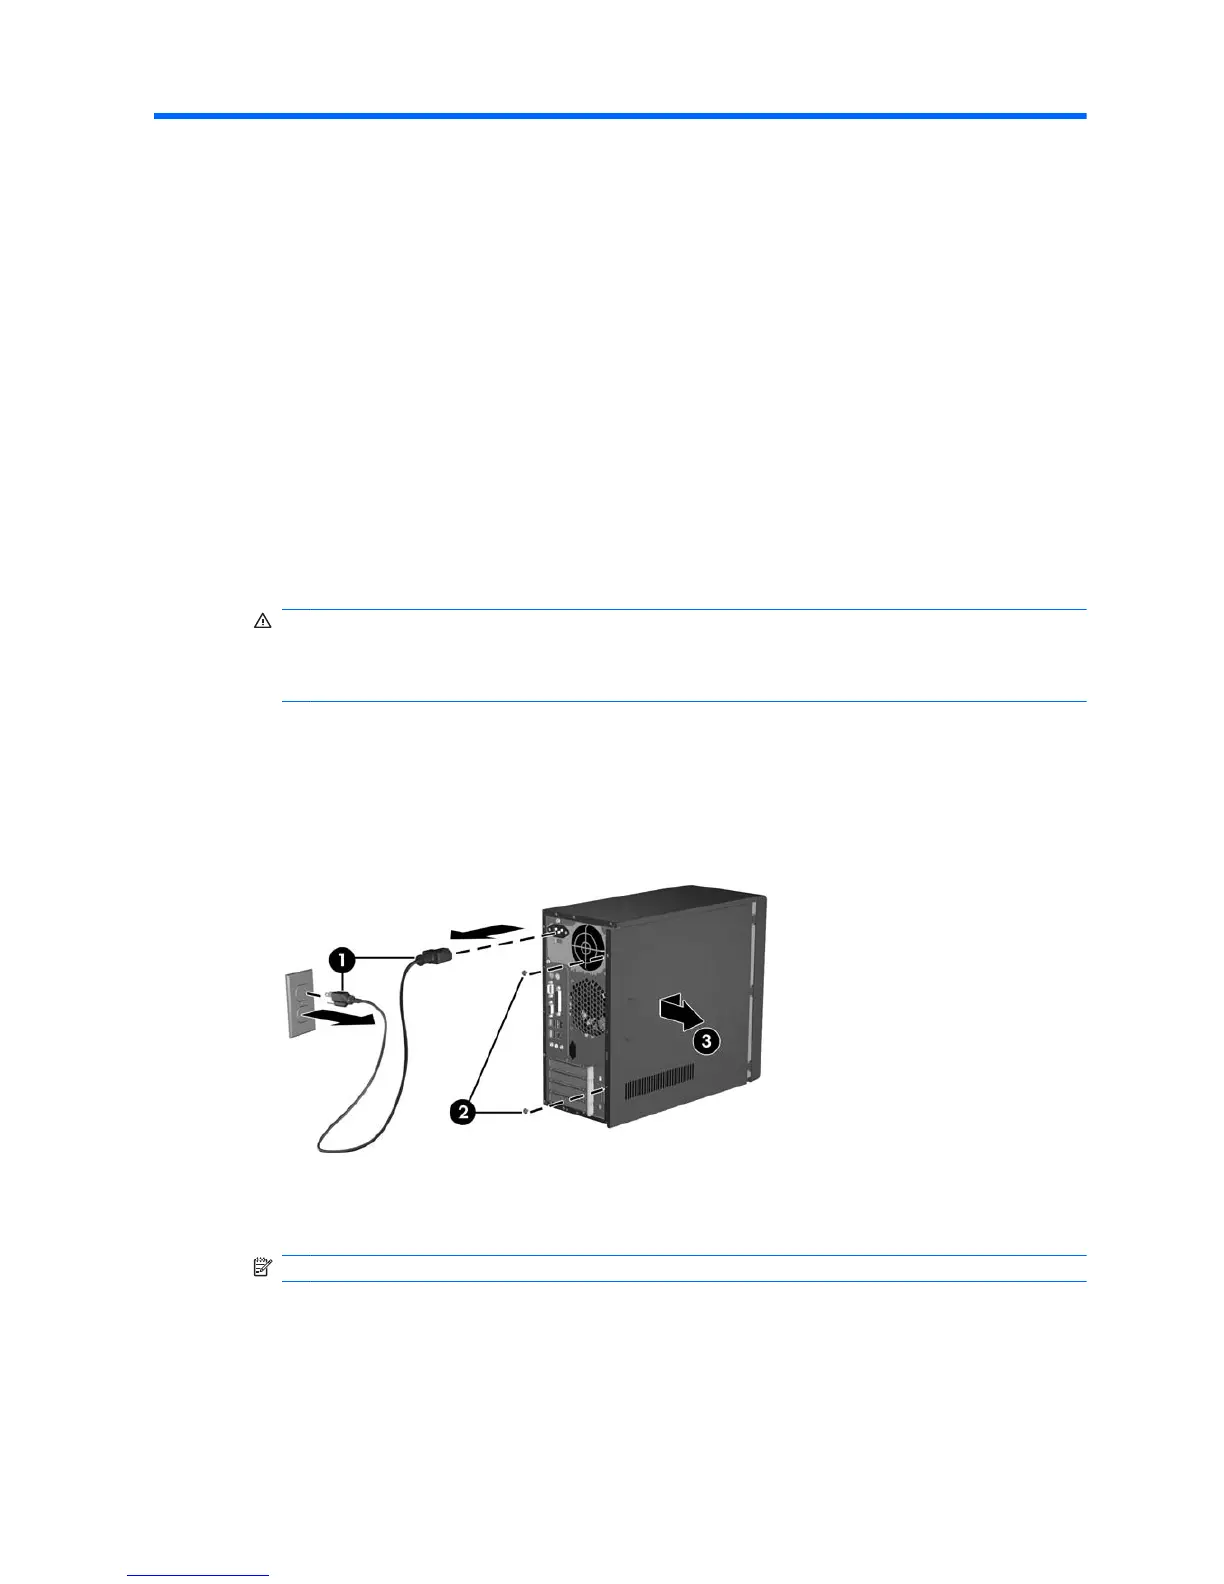
4. Disconnect the power cord from the power outlet and the computer (1), and disconnect any external
devices.
WARNING! When the computer is plugged into an AC power source, voltage is always applied
to the system board. To reduce the risk of personal injury from electrical shock and/or hot surfaces,
be sure to disconnect the power cord from the wall outlet and allow the internal system components
to cool before touching.
5. Remove the two screws that secure the access panel to the computer chassis (2).
6. Slide the access panel back about 1.3 cm (1/2 inch), then lift it away from and off the unit (3).
Figure 2-1 Removing the Power Cord and Access Panel
NOTE: To replace the access panel, reverse the removal steps.
ENWW Removing the Computer Access Panel and Front Bezel 5
 Loading...