4
Installing the switch
ARNING!
Before installing or moving the switch, remove the power cord.
You can install an HP 1920 switch in a 19-inch rack, on a workbench, or on a wall.
Mounting the switch in a 19-inch rack by using
mounting brackets
1. Wear an ESD wrist strap and make sure it makes good skin contact and is reliably grounded.
2. Verify that the rack is securely grounded and is stable.
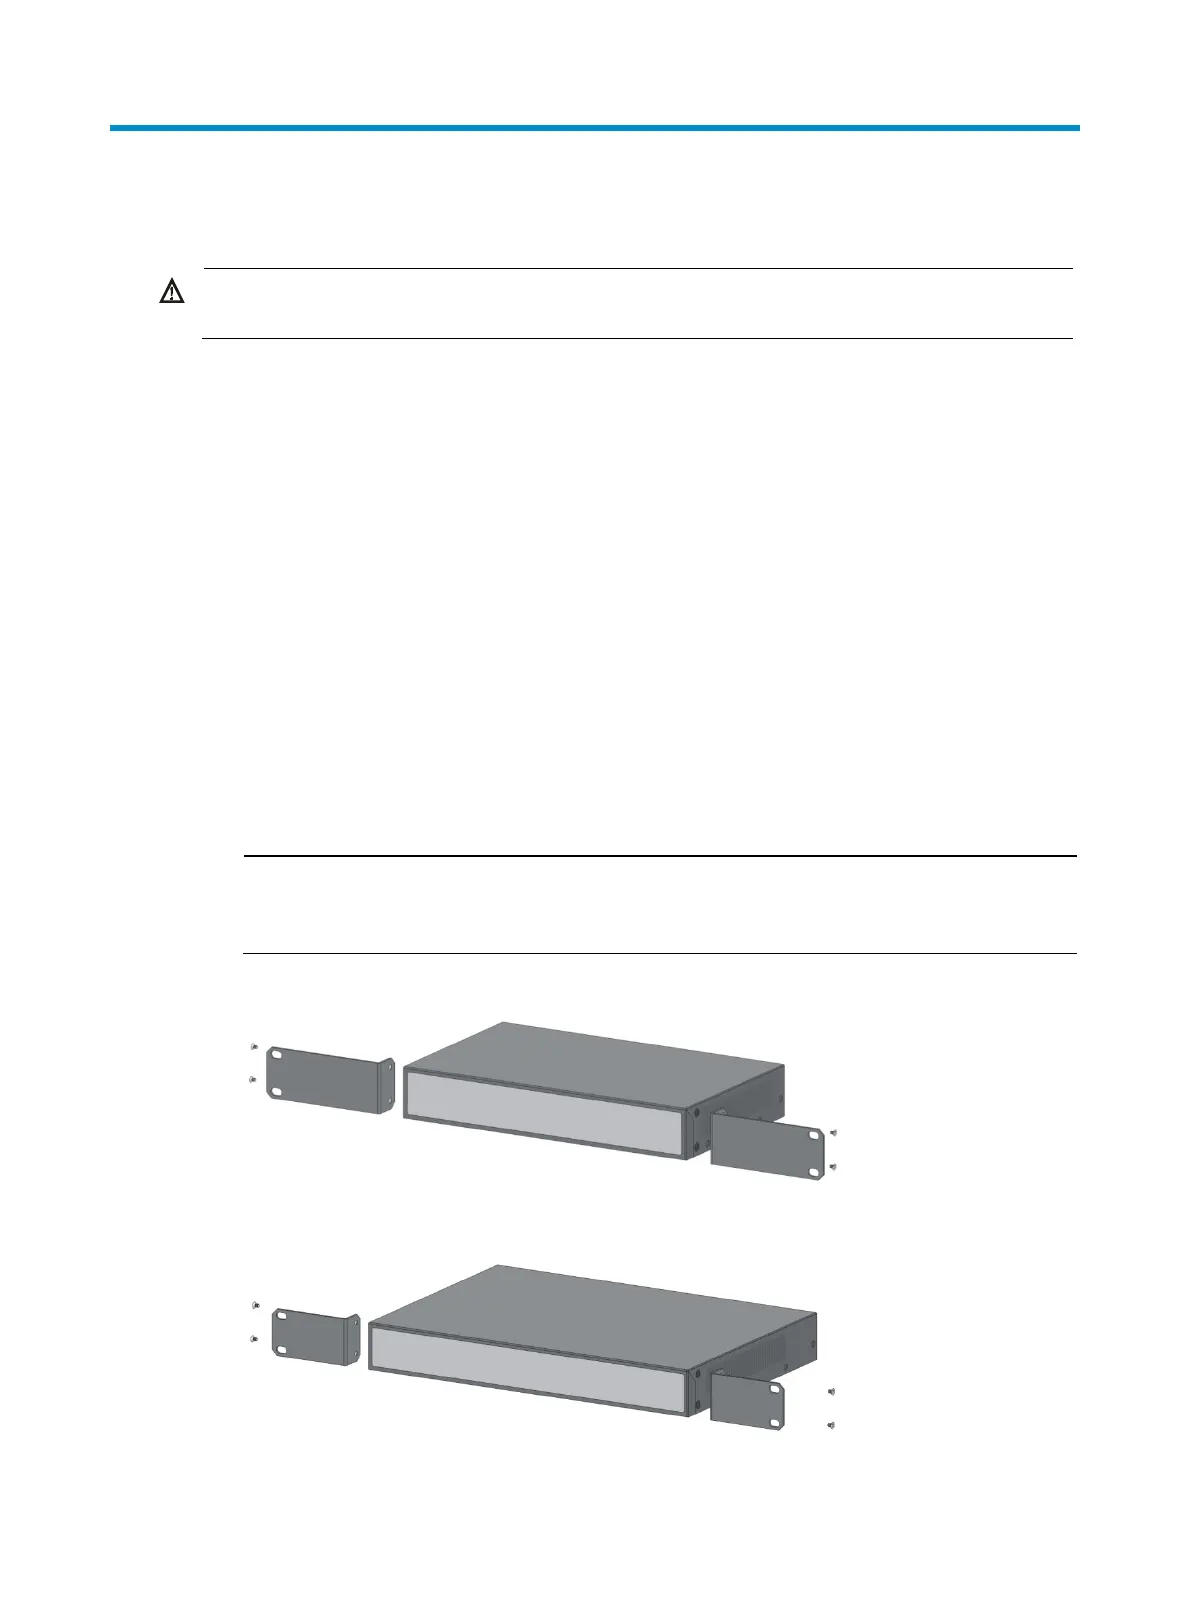
3. Select mounting brackets for the switch.
{ The HP 1920-8G switch uses Type-A mounting brackets, as shown in Figure 1.
{ The HP 1920-8G-PoE+ (65W) and 1920-8G-PoE+ (180W) switches use Type-B mounting
brackets, as shown in Figure 2.
{ The HP 1920-16G, 1920-24G, 1920-24G-PoE+ (180W), 1920-24G-PoE+ (370W) and
1920-48G switches use Type-C mounting brackets, as shown in Figure 3.
4. Attach the mounting brackets to both side
s of the chassis with screws.
NOTE:
Mounting brackets are used only for securing the switch to the rack. A rack shelf on the rack is used
to bear the switch weight.
Figure 1 Attaching Type-A mounting brackets to the switch
Figure 2 Attaching Type-B mounting brackets to the switch
 Loading...