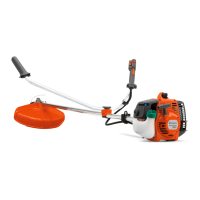
5. Make sure that the drive disc and support flange
engages correctly in the center hole of the grass
blade.
6. Attach the nut (G).
7. Tighten the nut with the socket wrench. Hold the
shaft of the socket wrench near the cutting
attachment guard. Tighten in the opposite direction
to how the cutting attachment rotates. Torque the nut
to 35–50 Nm.
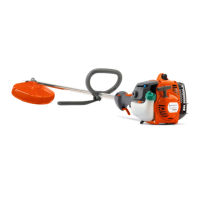
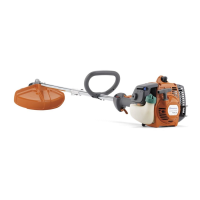
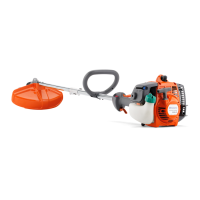
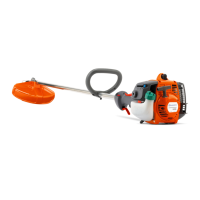
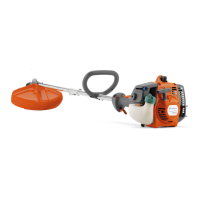
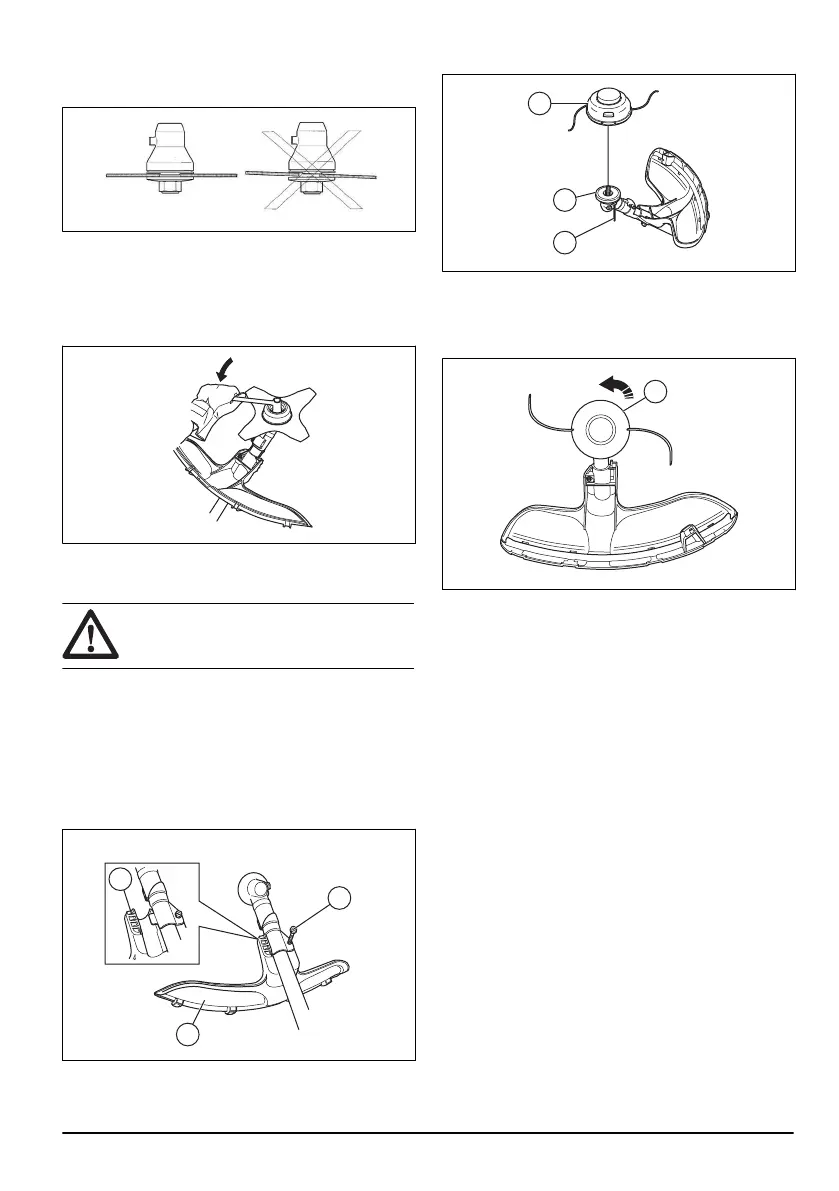
To install the cutting attachment guard and the
trimmer head
CAUTION: Make sure that the guard
extension is assembled.
1. Install the cutting attachment guard (A) intended for
operation with the trimmer head.
2. Hang the cutting attachment guard on the 2 hooks
on the plate holder (B).
3. Bend the cutting attachment guard around the shaft
and tighten the screw (C) on the opposite side of the
shaft. Use the combination wrench to tighten the
screw.
4. Install the drive disc (D) on the output shaft.
5. Turn the output shaft until 1 of the holes in the drive
disc aligns with the related hole in the gear housing.
6. Put the locking pin (E) in the hole to lock the shaft.
7. Install the trimmer head (F) counterclockwise.
8. To remove the trimmer head and the cutting
attachment guard, follow the instructions in the
opposite sequence.
1570 - 001 - 14.10.2020
13
 Loading...