 Loading...
Do you have a question about the Husqvarna Automower 405X and is the answer not in the manual?
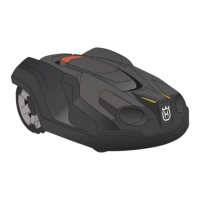
| Product Name | Husqvarna Automower 405X |
|---|---|
| Category | Lawn Mower |
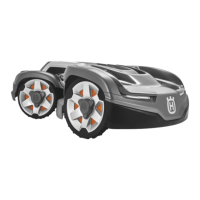
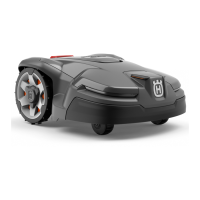
| Cutting Width | 22 cm |
| Cutting Height, min-max | 20-50 mm |
| Battery Type | Li-Ion |
| Typical Charging Time | 60 min |
| Sound Level | 62 dB(A) |
| Working Area Capacity | 600 m² |
| Maximum Slope Performance Inside Installation | 40% |
| Maximum Slope Performance at Boundary | 15% |
| GPS-assisted Navigation | Yes |
| Automower Connect | Yes |
| Battery Voltage | 18 V |
| Connectivity | Bluetooth, Cellular |
| Weather Resistance | Yes |
| Smartphone App | Yes |
| Blade Type | Pivoting razor blades |