ENGLISH 8
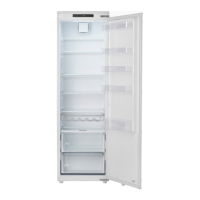
Product description
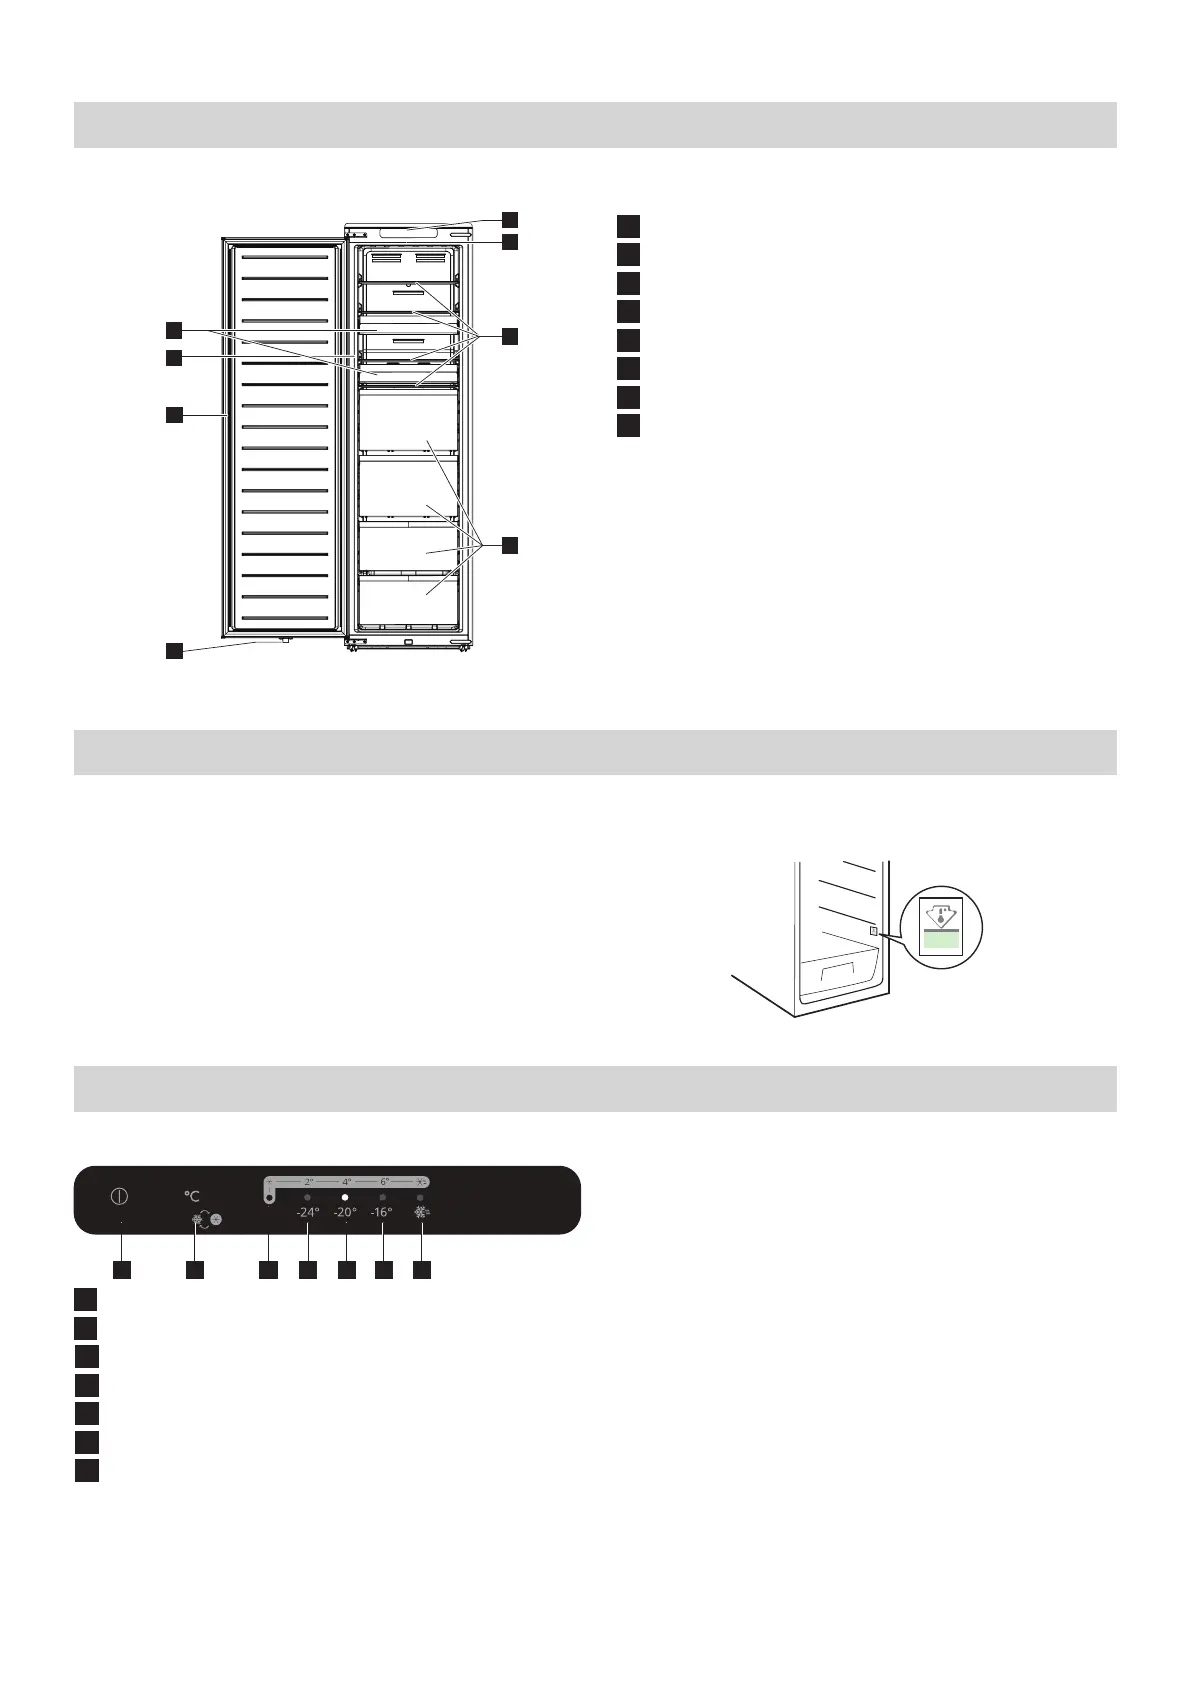
Product overview
8
4
3
2
6
7
5
1 Control panel
2 LED light
3 Glass shelves
4
Drawers
5 Storage boxes
6
LED light switch
7 Door gasket
8
Rating plate
First use
Connect the appliance to the power supply. The ideal
food storage temperatures are already factory-set
(intermediate).
Note: After being switched on, the appliance needs
4-5 hours in order to reach the correct temperature to
store a typical volume of food.
Important!
This appliance is sold in France.
In accordance with regulations valid in this country
it must be provided with a special device (see gure)
placed in the lower compartment of the fridge to
indicate the coldest zone of it.
Operation
Control panel
5 sec10 sec
A
Power button
B
Temperature setting button
1
-24°C (+2°C) indicator
2 -20°C (+4°C) indicator
3 -16°C (+6°C) indicator
4 Super mode indicator
5 Fridge mode indicator
Notes:
• The negative temperatures are applicable when
the appliance is in freezer mode.
• The positive temperatures in the parentheses are
applicable when the appliance is in fridge mode.
• Do not use sharp objects to operate the control
panel. They can scratch or damage the control
panel.
Switching on
When you connect the mains plug to a power socket,
the appliance switches on and starts operating.
Display
• After you plug in the appliance, it emits a ring
and all indicators light up for 3 seconds. Then all
 Loading...