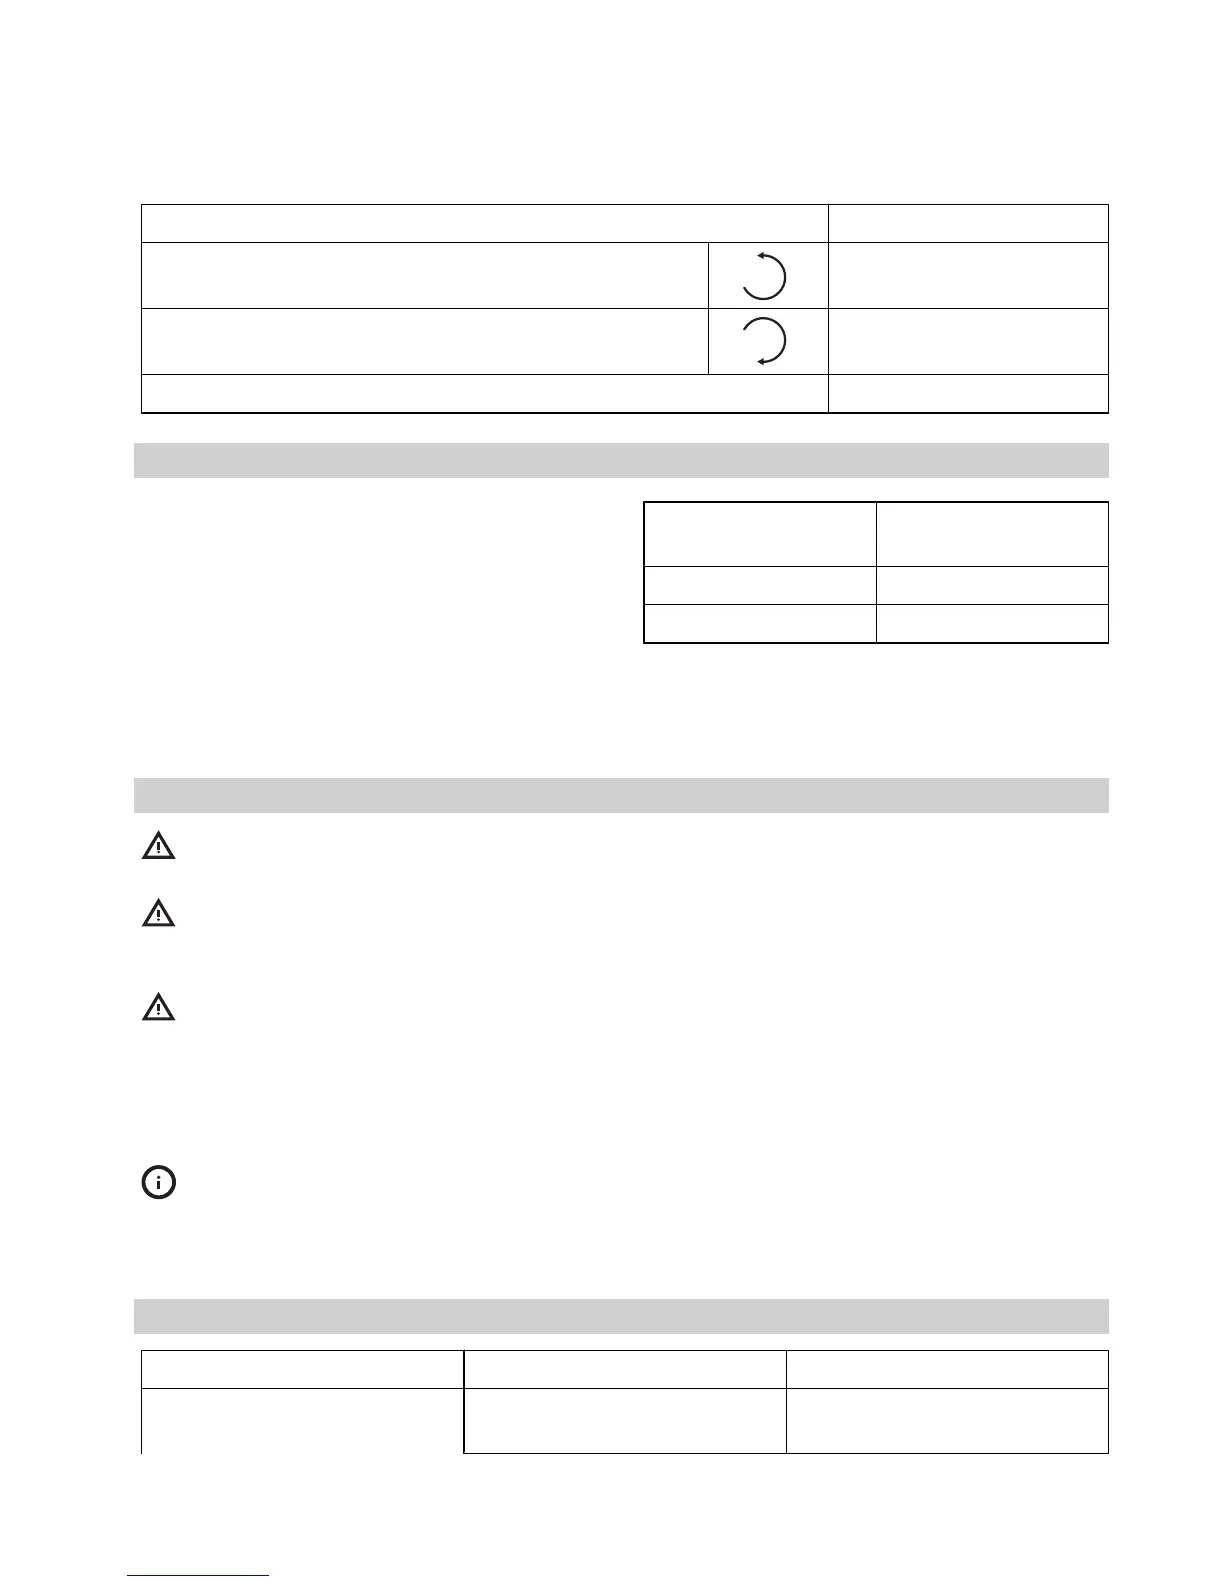
Function Knob setting
Turn counter-clockwise to increase
1 - 6
Turn clockwise to reduce
6 - 1
Turn to 0 to switch off 0
Helpful hints and tips
Energy saving
• If possible, always place lids on the pans.
• Place cookware on the cooking zone before
you switch it on.
• The bottom of the cookware should be as
thick and flat as possible.
Cookware sizes
The cookware should match the cooking zone
or be slightly larger.
Cooking zone Diameter of pans
[mm]
Rear cooking zone 180
Front cooking zone 145
Care and cleaning
Warning! Switch the appliance off and
let it cool down before you clean it.
Warning! For safety reasons, do not
clean the appliance with steam blasters
or high-pressure cleaners.
Warning! Sharp objects and abrasive
cleaning agents will damage the
appliance. Clean the appliance and remove
the residues with water and washing up liquid
after each use. Remove also the remnants of
the cleaning agents!
Scratches or dark stains on the glass ce-
ramic that cannot be removed do not af-
fect the functioning of the appliance.
Removing the residues and stubborn
residues:
1. Food containing sugar, plastics, tin foil res-
idues should be removed at once, best tool
for cleaning glass surface is a scraper (not
included with the appliance) . Place a scra-
per on the glass ceramic surface at an an-
gle and remove residues by sliding the
blade over the surface. Wipe the appli-
ance with a damp cloth and a little washing
up liquid. Finally, rub the appliance dry us-
ing a clean cloth.
2. Limescale rings, water rings, fat splashes,
shiny metallic discolorations should be re-
moved after the appliance has cooled
down using cleaner for glass ceramic or
stainless steel.
What to do if…
Problem Possible cause and Remedy
The cooking zones are not
functioning.
The desired heat setting is not
set.
Set the heat setting.
ENGLISH 6
 Loading...