87PO
SAVE THESE INSTRUCTIONS
Page 12
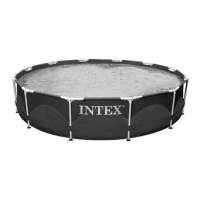
(87PO) ROUND METAL FRAME POOL ENGLISH 7.5” X 10.3” PANTONE 295U 06/27/2008
POOL MAINTENANCE
POOL MAINTENANCE & DRAINAGE
Do not replenish chemicals in pool while pool is occupied. Skin or eye irritations may
occur. Concentrated chlorine solutions may damage the pool liner. In NO event shall Intex
Recreation Corp., Intex Development Co. Ltd., their related companies, authorized agents
and service centers, retailers or employees be liable to the buyer or any other party for the
costs associated with the loss of pool water, chemicals or water damage. Keep spare filter
cartridges on hand. Replace cartridges every two weeks. We recommend that a
Krystal Clear™ Intex Filter Pump be used with all of our above-ground-pools. To
purchase an Intex Filter Pump or other accessories see your local retailer, visit our
website or call the Intex Consumer Services Department at the number below and
have your Visa or Mastercard ready.
www.intexcorp.com
1-800-234-6839
Consumer Service 8:30 am to 5:00 pm PT (Mon.-Fri.)
CAUTION
ALWAYS FOLLOW THE CHEMICAL MANUFACTURER'S
DIRECTIONS, AND THE HEALTH AND HAZARD WARNINGS.
EXCESSIVE RAIN: To avoid damage to the pool, immediately drain rain water that causes the
water level to be higher than the maximum.
How to Drain Your Pool and Long Term Storage
1. Check local regulations for specific directions regarding disposal of swimming pool water.
2. Check to make sure that the drain plug inside the pool is plugged in place.
3. Remove the cap from the drain valve on the outside pool wall.
4. Attach the female end of the garden hose to the patented hose adapter.
5. Place the other end of the hose in an area where the water can be safely drained away from the
house.
6. Attach the hose adapter to the drain valve. NOTE: The adapter will push the drain plug open
inside the pool and water will start to drain immediately.
7. Disconnect hose and adapter when finished.
8. Re-insert drain plug in drain valve on inside of pool for storage.
9. Replace drain cap on outside of pool.
10. Reverse set up instructions to disassemble the pool, and remove all plumbing parts.
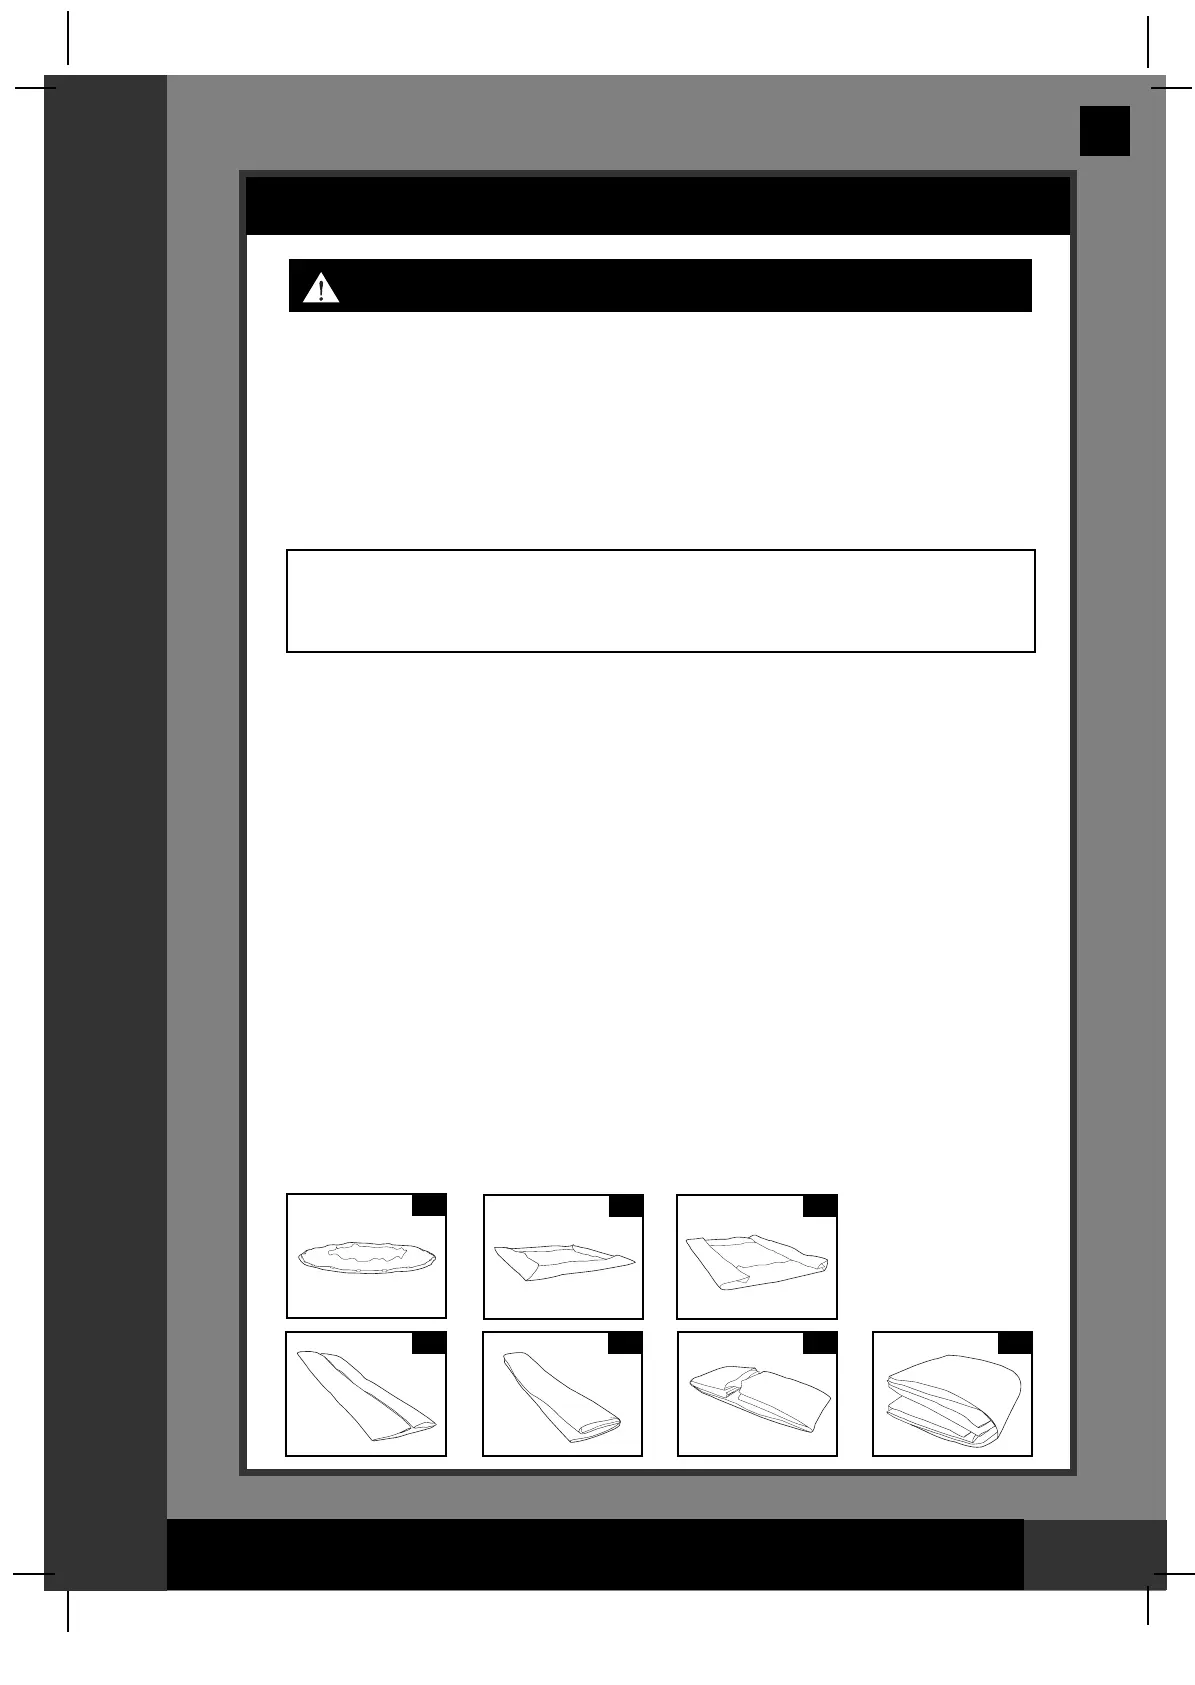
11. Be sure pool and all parts are completely dry before folding, let it sit under the sun for an hour
(see drawing 5). Sprinkle talcum powder to prevent vinyl from sticking together and to absorb any
water you may have missed.
12. Create a square shape. Starting at one side, fold one-sixth of liner in on itself twice. Do the same on
the opposite side (see drawing 6.1 & 6.2).
13. Once you have created two opposing folded sides, simply fold one over the other like closing a book
(see drawing 7.1 & 7.2).
14. Fold two long ends to the middle (see drawing 8).
15. Fold one over the other like closing a book and compact the liner (see drawing 9).
16. Store the liner and accessories in a dry, temperature controlled, between 32 degrees Fahrenheit
(0 degrees Celsius) and 104 degrees Fahrenheit (40 degrees Celsius), storage location.
17. The original packing carton can be used for storage.
7.1
5
6.1 6.2
7.2 8 9
English
 Loading...