120
PO
SAVE THESE INSTRUCTIONS
(120PO) ENGLISH 7.5” X 10.3” PANTONE 295U 10/10/2018
English
Page 19
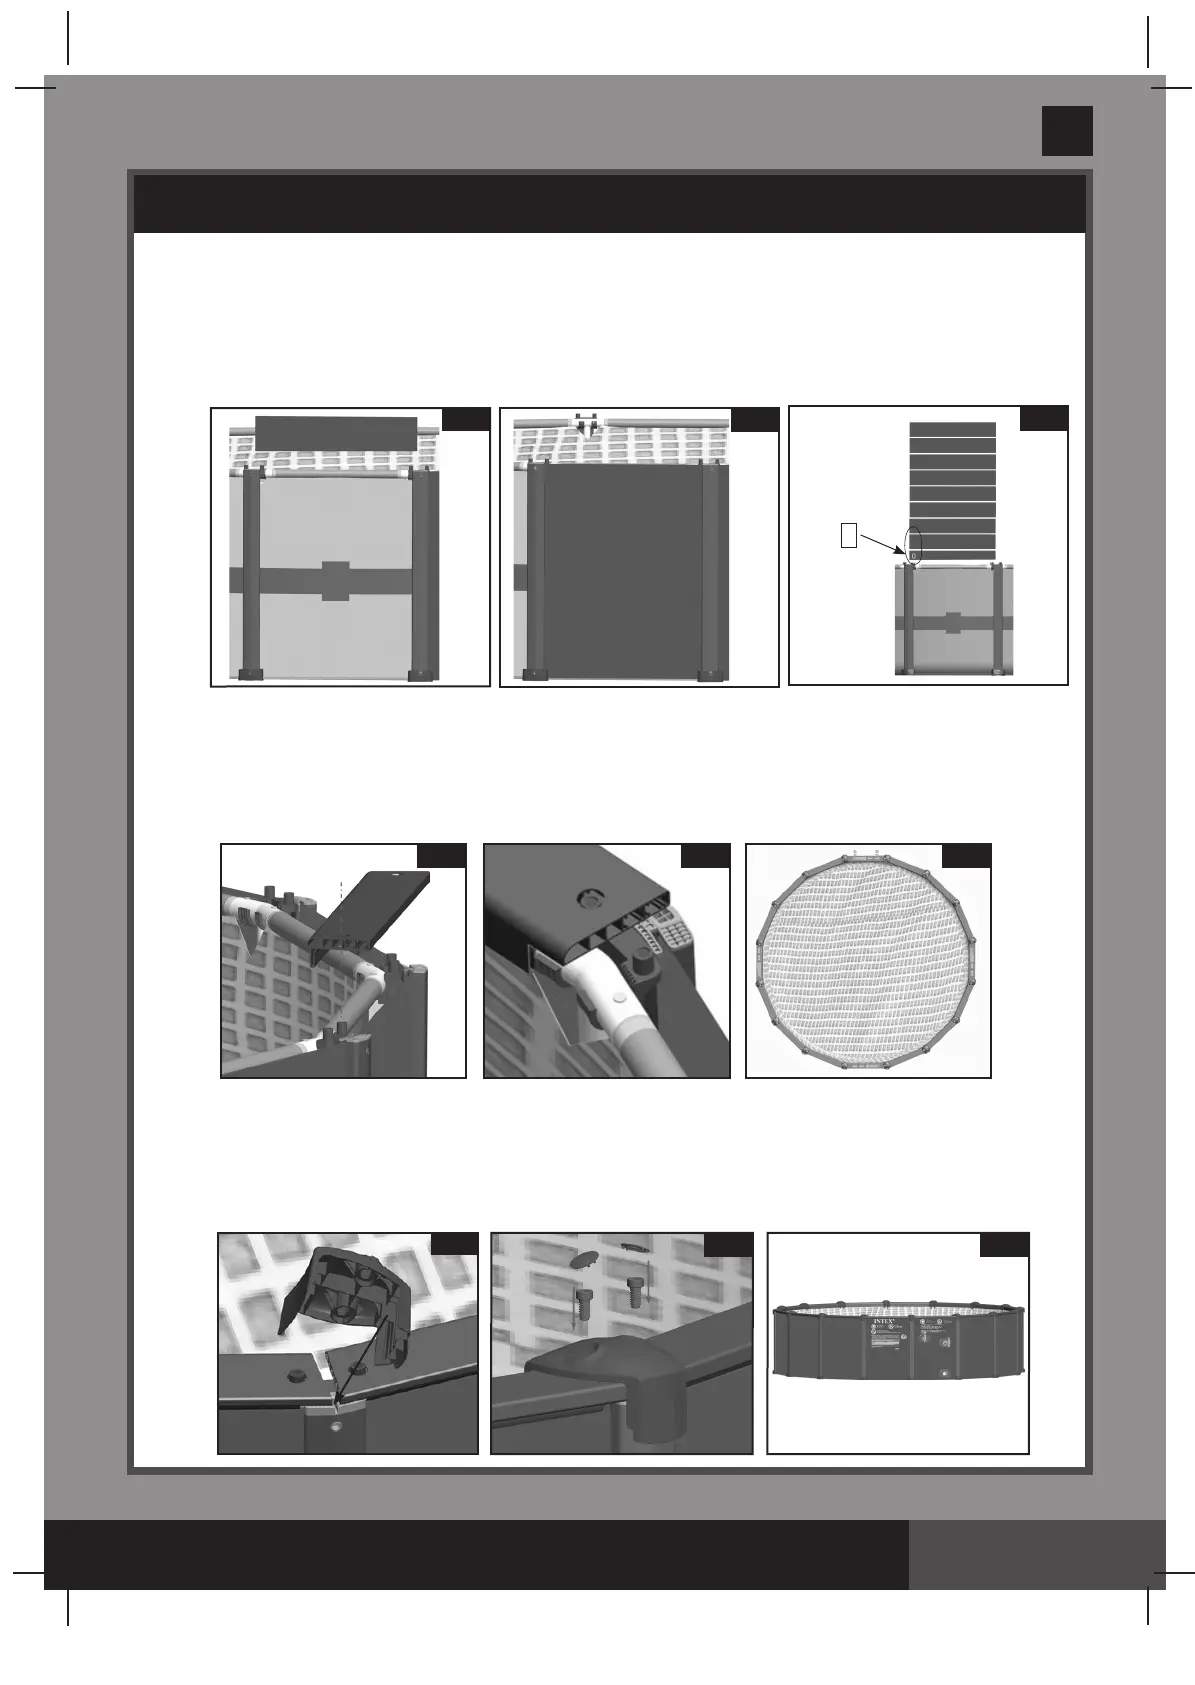
5. Top Board Installation
Attach the top board
(15) on the top of the side panel, with the holes at its two ends aligning with the nuts
on the top clamps
(16)
.Makesurethegrooveunderneaththetopboardfitsfirmlyontothetongueofthe
top board
(15). Repeat this procedure until all the top boards are fixed to the top clamps and side boards.
NOTE: There are four pieces of top board which are printed with warnings. Install those four top boards
threepiecesapartfromeachother(seedrawings15.1,15.2&15.3).
6. Top Clamp Cover Installation
Installthetopclampcover
(14)
wherethetwotopboardsmeet.Inserttheridgeoftopclampcoverinto
theslotonthetopendofthesupportpost.Alignthetopholesontopclampcoverwiththenutsofthetop
clamp. Insert and screw bolt
(13) to each of the threaded holes by using the wrench (26)
provided,and
thencoverwiththewaterproofcaps
(12)
.Repeatthisprocedureuntilallthetopclampcoversarefixedto
thetopclampsandsupportposts(seedrawings16.1,16.2&16.3).
15.1
15.2
15.3
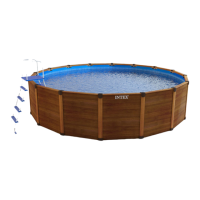
4c. Other side panel installation
• For49"heightpool,installtherestofthesidepanelsbyusingeightpiecesofsideboardsA
(20) each.
For53"heightpool,installtherestofthesidepanelsbyusingonepieceofsideboardB
(21) at the
bottom plus eight pieces of side boards A
(20) each. Install the side boards one by one from bottom to
top.Insertthegrooveofthefirstsideboardontotheverticaledgeofthebottomrail,andthegroove
oftheothersideboardsontothetongueofeachpreviousboard.Thesideboardswithwoodveins
printedneedtobefacedoutward(seedrawings14.1&14.2).
POOL ENCLOSURE SETUP (continued)
14.1
14.2
14.3
18’8”x53”
0
16.2
16.1
16.3
NOTE:
Drawingsforillustration
purpose only.
 Loading...