W
W
a
a
t
t
e
e
r
r
S
S
y
y
s
s
t
t
e
e
m
m
s
s
,
,
L
L
L
L
C
C
www.123filter.com
- Page 9 of 12 -
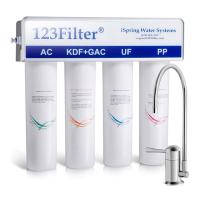
REPLACE INLINE CARBON FILTER / DI FILTER /ALKALINE FILTER
* if you have compression fitting
*unscrew fitting off to replace filter
For inline carbon filter, remove fittings from both ends of the filter
then replace new filter.
After all housings are tight, turn on the water supply and tank
valve.
Check for leaks, if there is a leak; tighten the housing or
re-aligning the o-ring.
Open the spigot to drain all the water out of the storage tank.
If you are changing a carbon filter or membrane, you must drain
the first tank of water after restart the system.
Refer to the next page for recharging tank procedure (if
necessary)
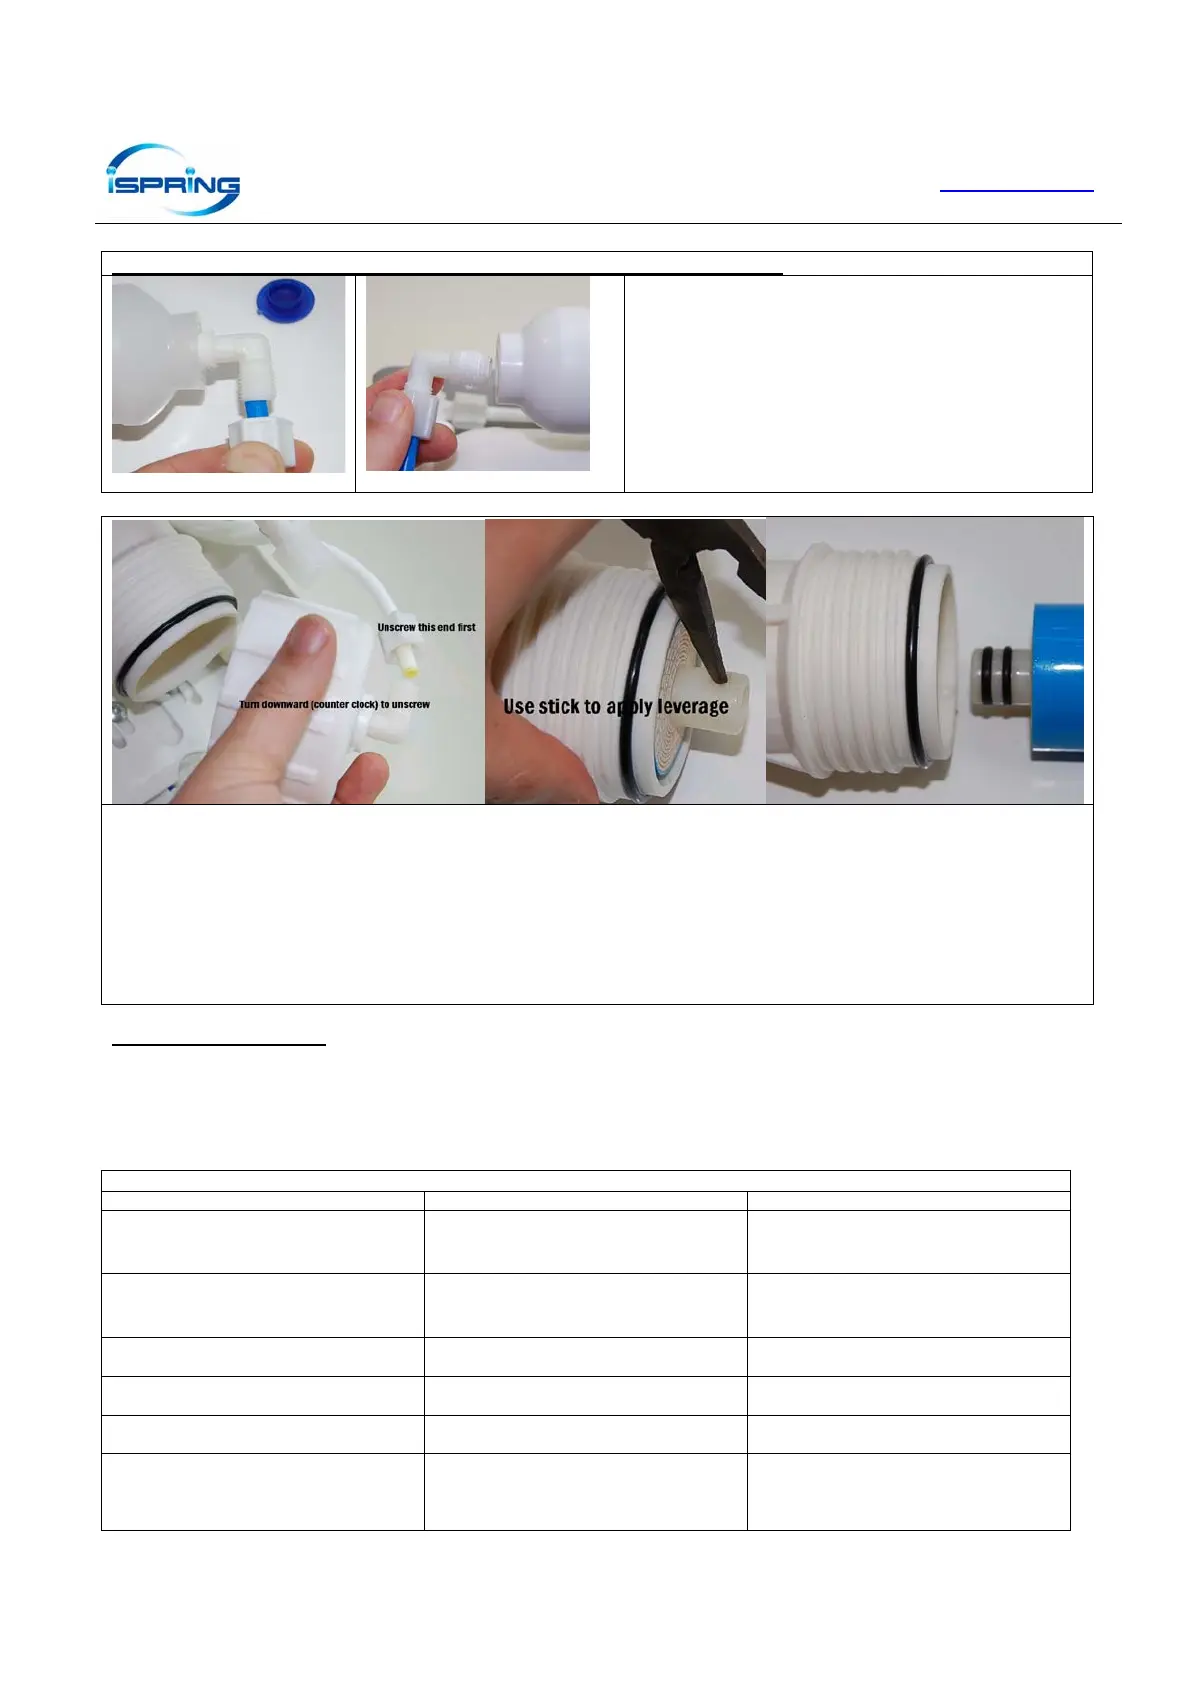
CHANGING MEMBRANE PROCEDURE
• Lift the membrane housing from the U-clips, and remove the tubing from the membrane fitting (the inlet side of the membrane housing,
or the side with the membrane housing cap). Unscrew the membrane housing cap off (counter-clockwise)
• Use pliers to pull the membrane out of the membrane housing, and discard the used membrane.
• Put some Vaseline or lubricant on the small black O-rings. Insert the new membrane into the membrane housing (THE SIDE WITH
DOUBLE BLACK O-RINGS SHOULD GO IN FIRST) Push the membrane all the way in (some force is required to make sure the
membrane is all the way in). Put some Vaseline or silicon based lubricant to the side of the housing threads.
• Screw the membrane-housing cap back (clockwise). Make sure O-ring is in place. Connect the tubing to its elbow fittings.
• Turn on the water supply and tank valve to restart the system. Check for leaks, if there is a leak, tighten the cap
• Wait 2 to 3 hours for the tank to be filled then you must drain the first tank of water by opening up the spigot to flush the system.
CHANGING UV LAMP
Unplug the transformer of UV filter, turn counter-clockwise to remove the UV ballast, replace the UV lamp with the new one. For details, please
refer to the UV booklet.
TROUBLE SHOOTING
NOTE: Turn off the system before servicing (for both source water and electricity).
INSTALLATION TROUBLESHOOTING
PROBLEM POSSIBLE CAUSE SOLUTION
No or low water production
1. Feed water valve in not turn on
2. Tank valve is not turn on
3. Tubing is kinked
1. Turn on feed water valve
2. Turn on tank valve
3. Straighten the tubing
Leak at filter housing
1. Housing is not tighten
2. Damaged or misaligned O-ring
3. Housing has cracks
1. Tighten housing
2. Re-align O-ring or replace
3. Replace housing
Leak at fitting thread 1. Not properly tighten
2. Fitting has cracks
1. Use Teflon tape, re-tighten
2. Replace it
Bad-tasting water 1. Not yet flush the system
2. Tubing connection incorrect
1. Discharge water from tank
2. Check flow diagram
Milky/Cloudy water 1. Air in system/filters
1. This is normal, continue use it for 2
weeks
Noise from drain
1. Saddle valve mounted too high
1. Lower the saddle valve when system is
making water, waste water to drain is
normal, when storage tank is full, drain
should stop
 Loading...