Thank you for choosing the JBL BassPro Micro. To ensure maximum
performance, we strongly recommend that you have it installed by a
qualified professional – while these instructions offer general
installation guidance , they do not show specific installation methods
for your particular vehicle. If you do not have the necessary tools or
hands-on experience, do not attempt the installation yourself; instead,
ask your authorized JBL car-audio dealer about professional
installation options.
INSTALLATION
IMPORTANT: Disconnect the vehicle’s negative (–) battery terminal
before beginning the installation.
• Always wear protective eyewear when using tools.
• Check clearances on both sides of the planned mounting
surface. Be sure that screws will not puncture brake lines, or
fuel lines, and that routing of the wiring harness will not interfere
with the safe vehicle operation.
• When making electrical connections, make sure they are
secure and properly insulated.
• If you must replace the fuse, be sure to use the same type of
fuse and current rating as that of the original.
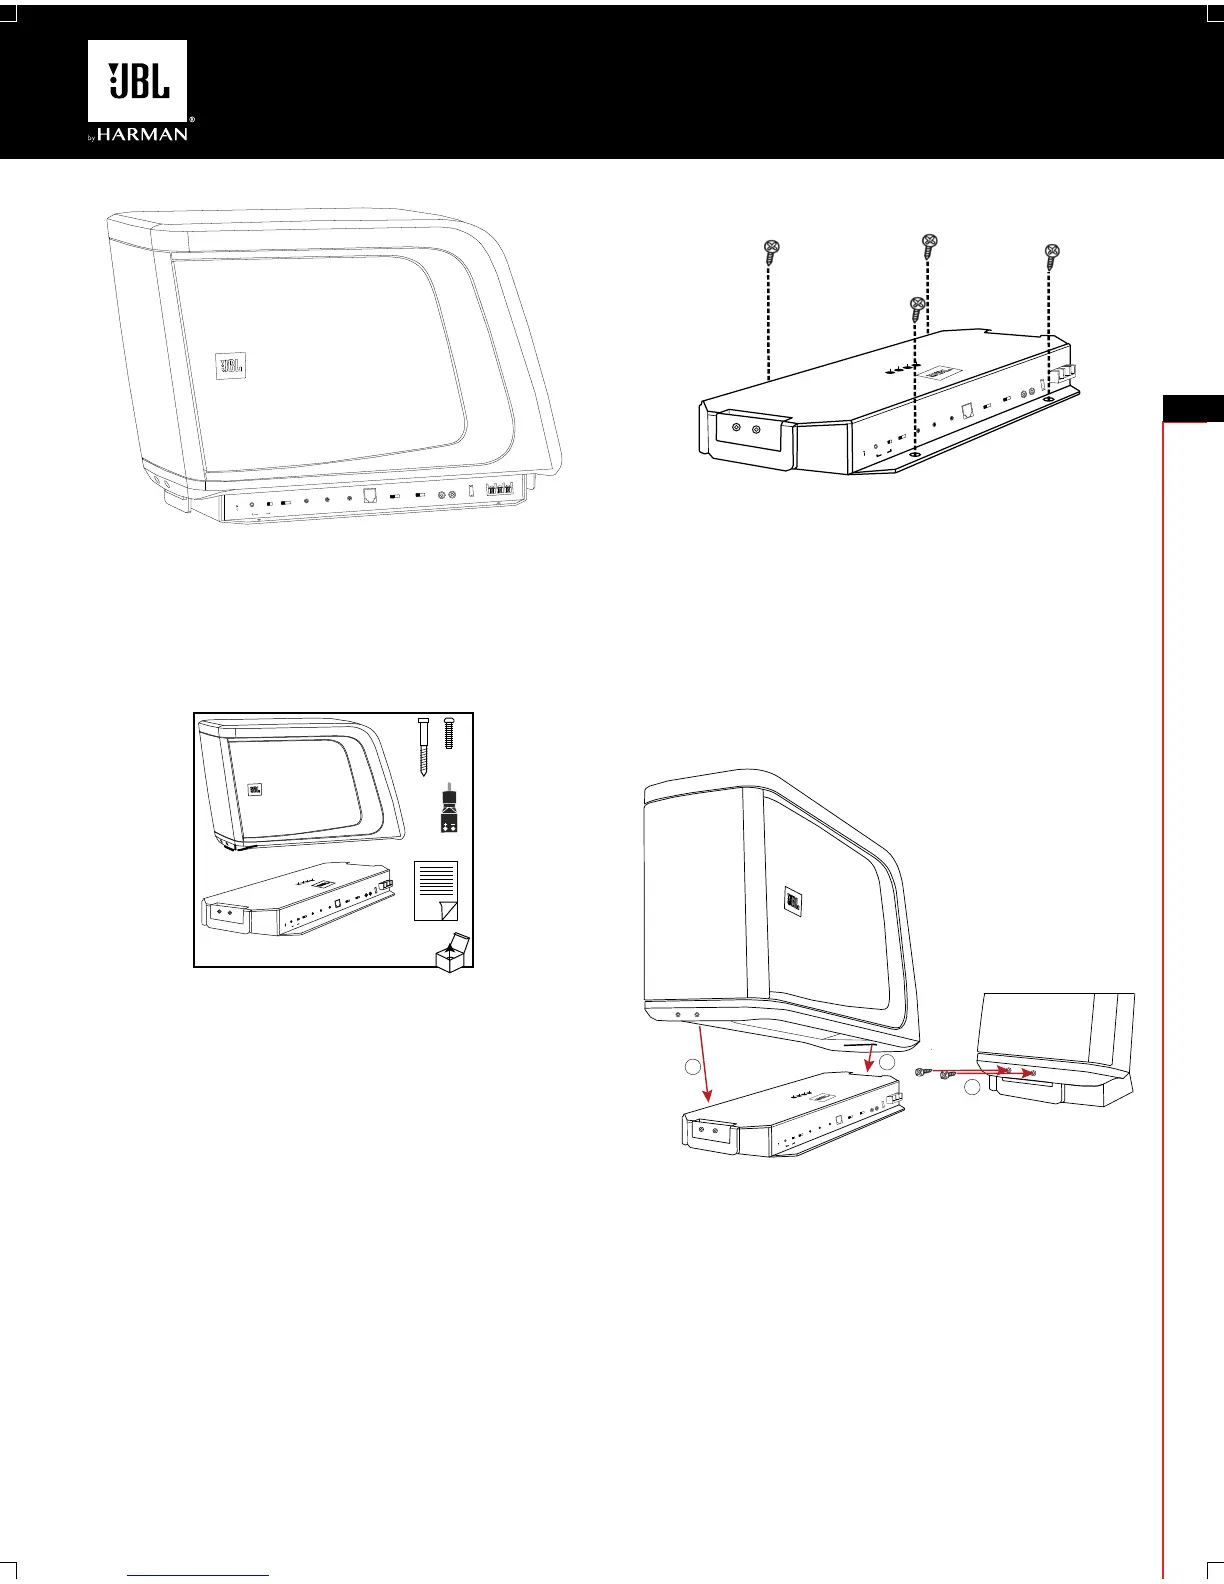
• Drill pilot holes in the mounting surface.
• Attach the BassPro Micro amplifier base to the mounting
surface with the four included mounting screws.
NOTE:
You may find it more convenient to make all of the connections
to the amplifier base before you permanently mount it.
CHOOSING A MOUNTING LOCATION
Choose a location that doesn’t prevent you from loading or unloading
cargo, interfere with fold-down seats, or keep you from being able to open
or close the trunk lid, or interfere with the safe operation of the vehicle.
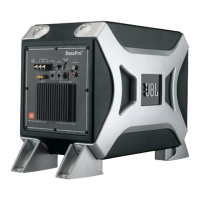
MOUNTING THE BASSPRO MICRO
Once you’ve chosen a mounting location, secure the quick-release
amplifier base using the four included screws in the slots at each of
its four corners. It will be more convenient to mount the base without
the BassPro Micro speaker enclosure in place. Remember to test-fit
the entire assembly with the speaker enclosure in the final location
prior to completing the mounting process.
To attach the BassPro Micro to the quick-release amplifier base:
1. Slide the rear tab of the BassPro Micro into the slot at the rear of
the base.
2. Lower the BassPro Micro onto the base.
3. Secure the BassPro Micro by inserting the included setscrews
into the two holes in the front.
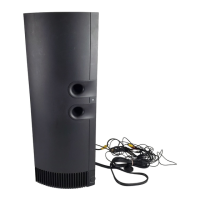
BASSPRO MICRO WIRING
FOR POWER: Connect one end of an 10-gauge power wire (not
included) to your vehicle’s + (positive) battery terminal. Slide the other
end into the +12V terminal of the BassPro Micro amplifier base, then
tighten the setscrew to secure. You must also install a fuse holder
with a 20A fuse in-line and within 18" of the battery.
FOR GROUND: Connect one end of an 10-gauge ground wire to the
GND terminal of the BassPro Micro amplifier base, then tighten the
setscrew to secure. Attach the other end to a solid, metal point on the
vehicle’s chassis using a ring terminal. Use sandpaper to clear the
paint from the metal surface at the chassis location. Use a star-type
lock washer to secure the wire.
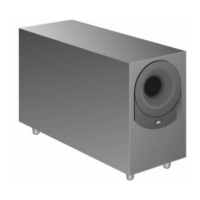
BassPro Micro
 Loading...