EN
EN-17
Operating your Receiver
For information display we recommend you use the OSD
(On-Screen Display) on your display device whenever
possible. For set up and configuration we recommend
accessing the internal webpage using a tablet or computer,
or using the front panel display.
For more information on accessing the internal set up page
visit www.jblsynthesis.com.
Switching on
Press the front panel power button in. The power LED
will glow white. When initialization is complete, the
display shows the volume setting and the name of the
selected input.
Please wait until the unit has finished initializing before
operating the Receiver. It is recommended that if the unit
is switched off, you should wait at least 10 seconds before
switching the unit back on.
Standby
The Receiver has a standby mode which can be entered by
pressing STANDBY on the remote control. When in standby
mode, the display is blank and the LED glows red.
If the unit is to be left unused for an extended period,
we recommend that you disconnect it from AC power to
save power.
To switch on from standby
Press the STANDBY button on the remote control, any key on
the front panel (other than the power button) or rotate the
volume knob.
Front panel display
The Receiver is ready for use after about four seconds.
The display window shows the currently selected source and
the last selected information view setting (this information
line can be changed using the button).
The current volume setting for Zone 1 is displayed on the
front panel. The volume setting for Zone 2 is displayed
temporarily whenever it is adjusted.
The front panel display is also used for unit setup after
pressing the key on the front panel or remote.
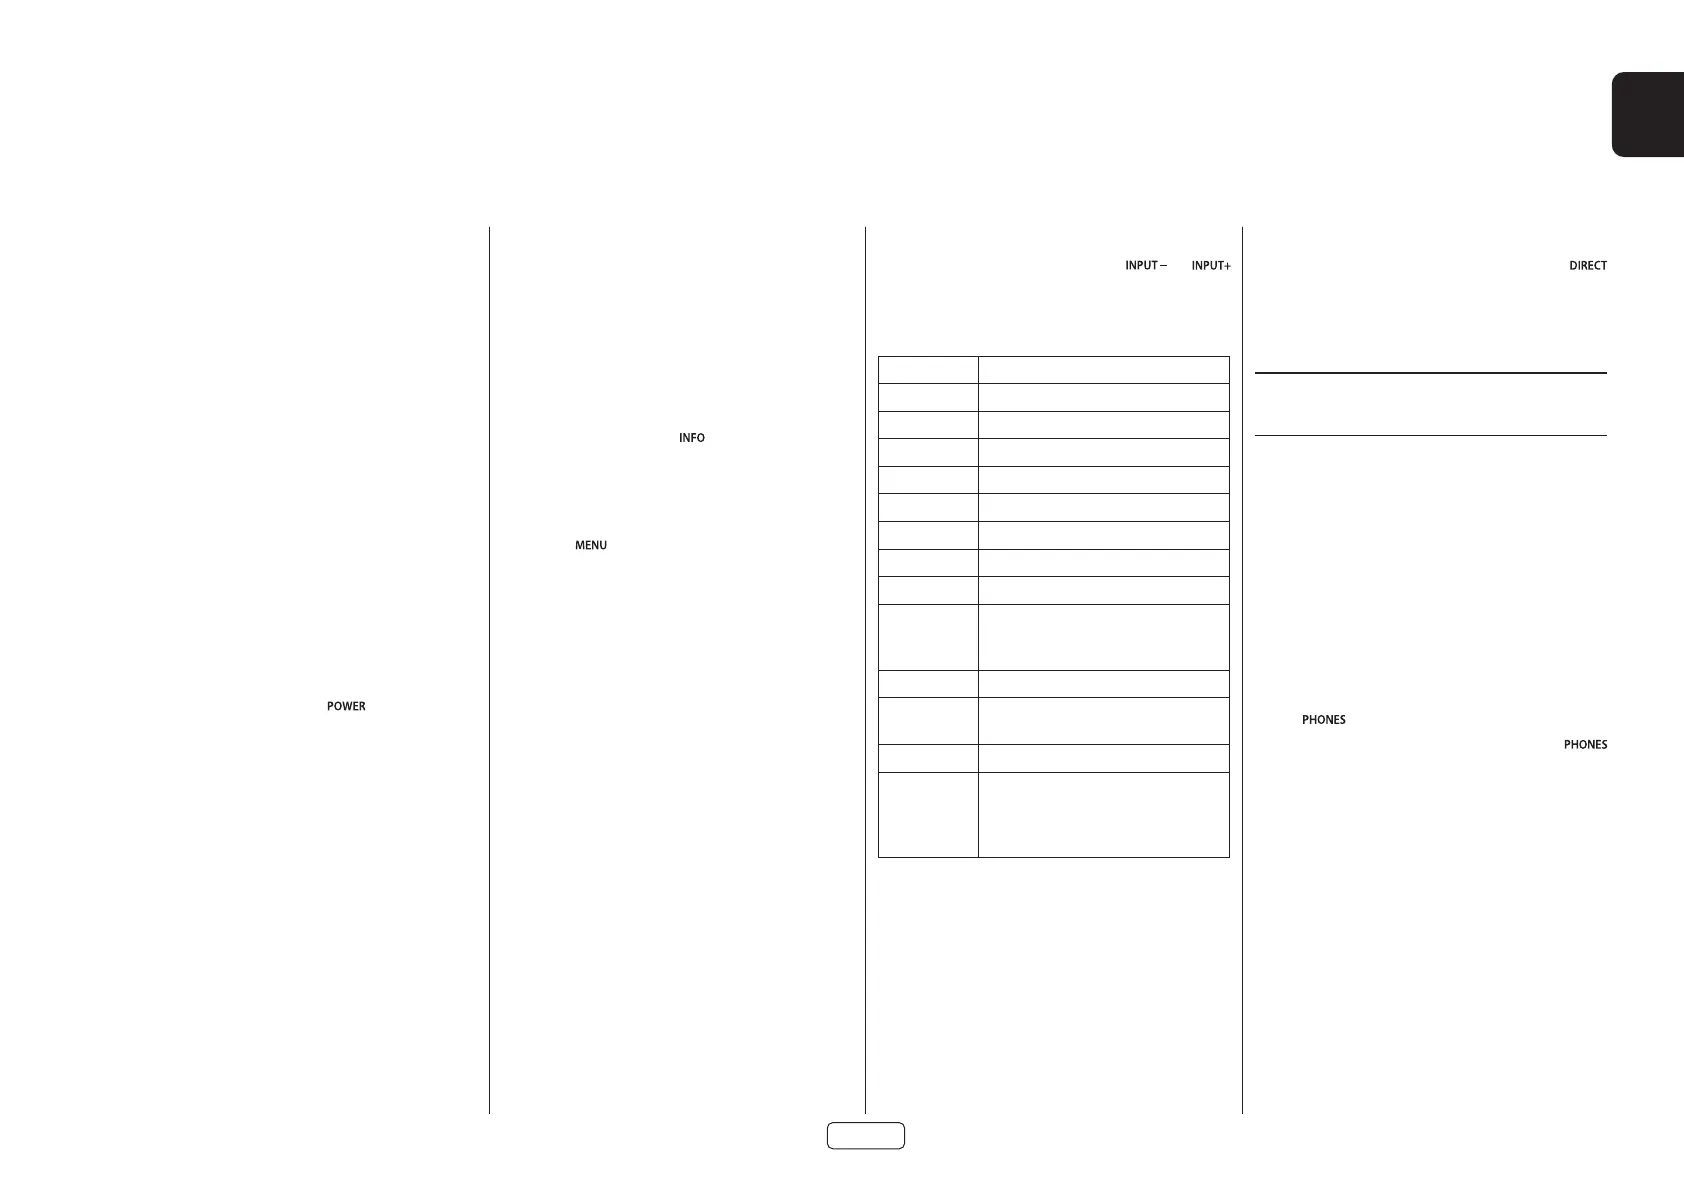
Selecting a source
To select a particular source, press the or
buttons until that source is shown on the front panel display,
or (if available) press the corresponding source button on the
remote. The following sources are available:
STB Set Top Box input
GAME Game console input
AV Audio-Visual input
SAT Satellite input
BD Blu-ray Disc/DVD player input
UHD UHD player input
PVR Personal Video Recorder input
CD Compact Disc player input
FM Internal tuner input
DAB Internal tuner input (this source is market
dependent and may not be available on
your Receiver)
NET Ethernet input
USB External USB solid-state device (e.g. pen
drive) input
AUX Auxiliary (front panel) input
DISPLAY The Audio Return Channel (eARC) from
a compliant display. Use this with a
compliant television using internal TV
tuners.
Most audio inputs have both analog and digital
connections. You must specify the type of connection
used for each input using the ‘Audio Source’ option in the
‘Input Config.’ menu, see page EN-31. Note that an incorrect
setting will result in no sound — the default for inputs with
HDMI is HDMI audio. If you are not using HDMI audio then
this setting must be changed. For inputs that do not have
HDMI, the default is digital audio.
The processing mode and Stereo Direct functions are
remembered and recalled for each individual input.
Stereo Direct
To listen to a pure analog stereo input, press the
button. The Stereo Direct mode automatically bypasses
all processing and any surround functions. In direct mode,
digital processing including Dirac room eq, is shut down if
desired. Digital noise within the processor will be reduced to
an absolute minimum.
NOTE: When Stereo Direct mode is selected, no bass
management is performed, meaning that bass
signals will not be redirected to a subwoofer.
Volume control
It is important to realize that the level of the volume indicator
is not an accurate indication of the power delivered to your
loudspeakers. The Receiver often delivers its full output
power long before the volume control reaches its maximum
position, particularly when listening to heavily recorded
music. In comparison, some movie sound tracks can appear
very quiet, as many directors like to keep maximum levels in
reserve for special effects sequences.
Headphones
To use headphones with the Receiver, plug the headphones
into the jack in the center of the front panel.
When headphones are plugged into the front panel
socket, the outputs for Zone 1 are muted and the audio will be
down-mixed to two channels (2.0). The two-channel down-
mix is required so that the center channel and surround
information can be heard via the headphones.
Operation
 Loading...