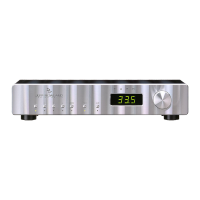
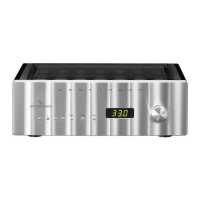
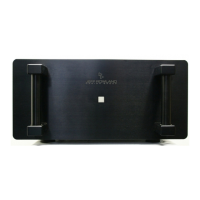
Installation
T
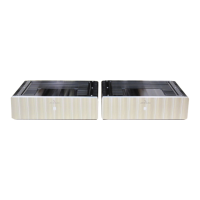
he Cadence Phono Stage is normally installed directly on top of its
companion Preamplifier. Be sure to install the supplied compliant isolation
interface supports underneath the Phono Stage to avoid damage to chassis
components and provide maximum mechanical isolation and decoupling
from the supporting structure.
First, connect the supplied DC Power Cable
1 between the Phono Stage
and Power Supply, as illustrated above. Then connect the AC mains to the
Preamplifier Power Supply using the supplied AC Power Cable. If desired,
the Preamplifier can be located up to twenty (20) inches (one half (0.5)
meter) above or below the Power Supply. The use of custom length DC
cables longer than four meters is not recommended.
The Cadence Phono Stage utilizes circuit technologies which require a
much longer “break-in” period than other preamplifier designs. It is
recommended that a period of at least eight (8) days (200 hours) of
continuous operation be allowed before full sonic performance potential
can be expected.
Rear Panel Connections
A PHONO INPUT (Female XLR): XLR fully balanced or single-ended
inputs (via supplied XLR/RCA adapters) are provided for phono level
signals only. Each INPUT connector conforms to a Pin #1 ground, Pin
#2 negative, Pin # 3 positive standard. Both positive and negative
terminals of each INPUT connector are isolated from ground by several
megohms which eliminates the possibility of ground loops and restores
maximum common mode rejection ratio.
An RCA connector terminated phono interconnect cable can be reterminated to achieve a fully
balanced interface. Please refer this procedure to qualified technical service personnel.
1. Remove existing RCA plugs. Most phono interconnects utilize an internal twisted
conductor pair enclosed within the cable shield, for a total of three conductors. (For
unbalanced RCA use, the negative conductor is soldered to the RCA shell along with
the cable shield.)
2. For each cable (left and right), separate the three conductors and solder the shield
to Pin #1 (ground) of the respective XLR connectors.
3. Determine which conductor within each cable is connected to the positive output
from the cartridge and solder to Pin #3 of the respective XLR connectors. The
cartridge positive outputs are red (right) and white (left).
4. For each cable, solder the remaining conductor to Pin #2 of the respective XLR con-
nectors. This connects the cartridge negative outputs, green (right) and blue (left).
B PHONO OUTPUT (male XLR): Provides balanced impedance for each
output phase. However, signal is only present on Pin #3. Pin #2 is not
signal active and returns to ground (Pin #1) through a small resistance.
C GND: When using the phono option, this thumbscrew provides a
convenient ground connection for turntable grounding. To use, unscrew
the knurled knob several turns, insert the uninsulated or spade terminal
end of the ground wire from the turntable underneath the thumbscrew
and firmly re-tighten.
D POWER SUPPLY INPUT (male XLR): Interconnects the Preamplifier to
the Power Supply via the supplied DC power cable. Caution: Use only
the supplied DC power cable and connect only to the Power Supply
from either the Coherence or Synergy Preamplifier or use the BPS-1
Battery Power Supply or the Cadence AC Power Supply.
Installation / Rear Panel Connections
 Loading...