Threading
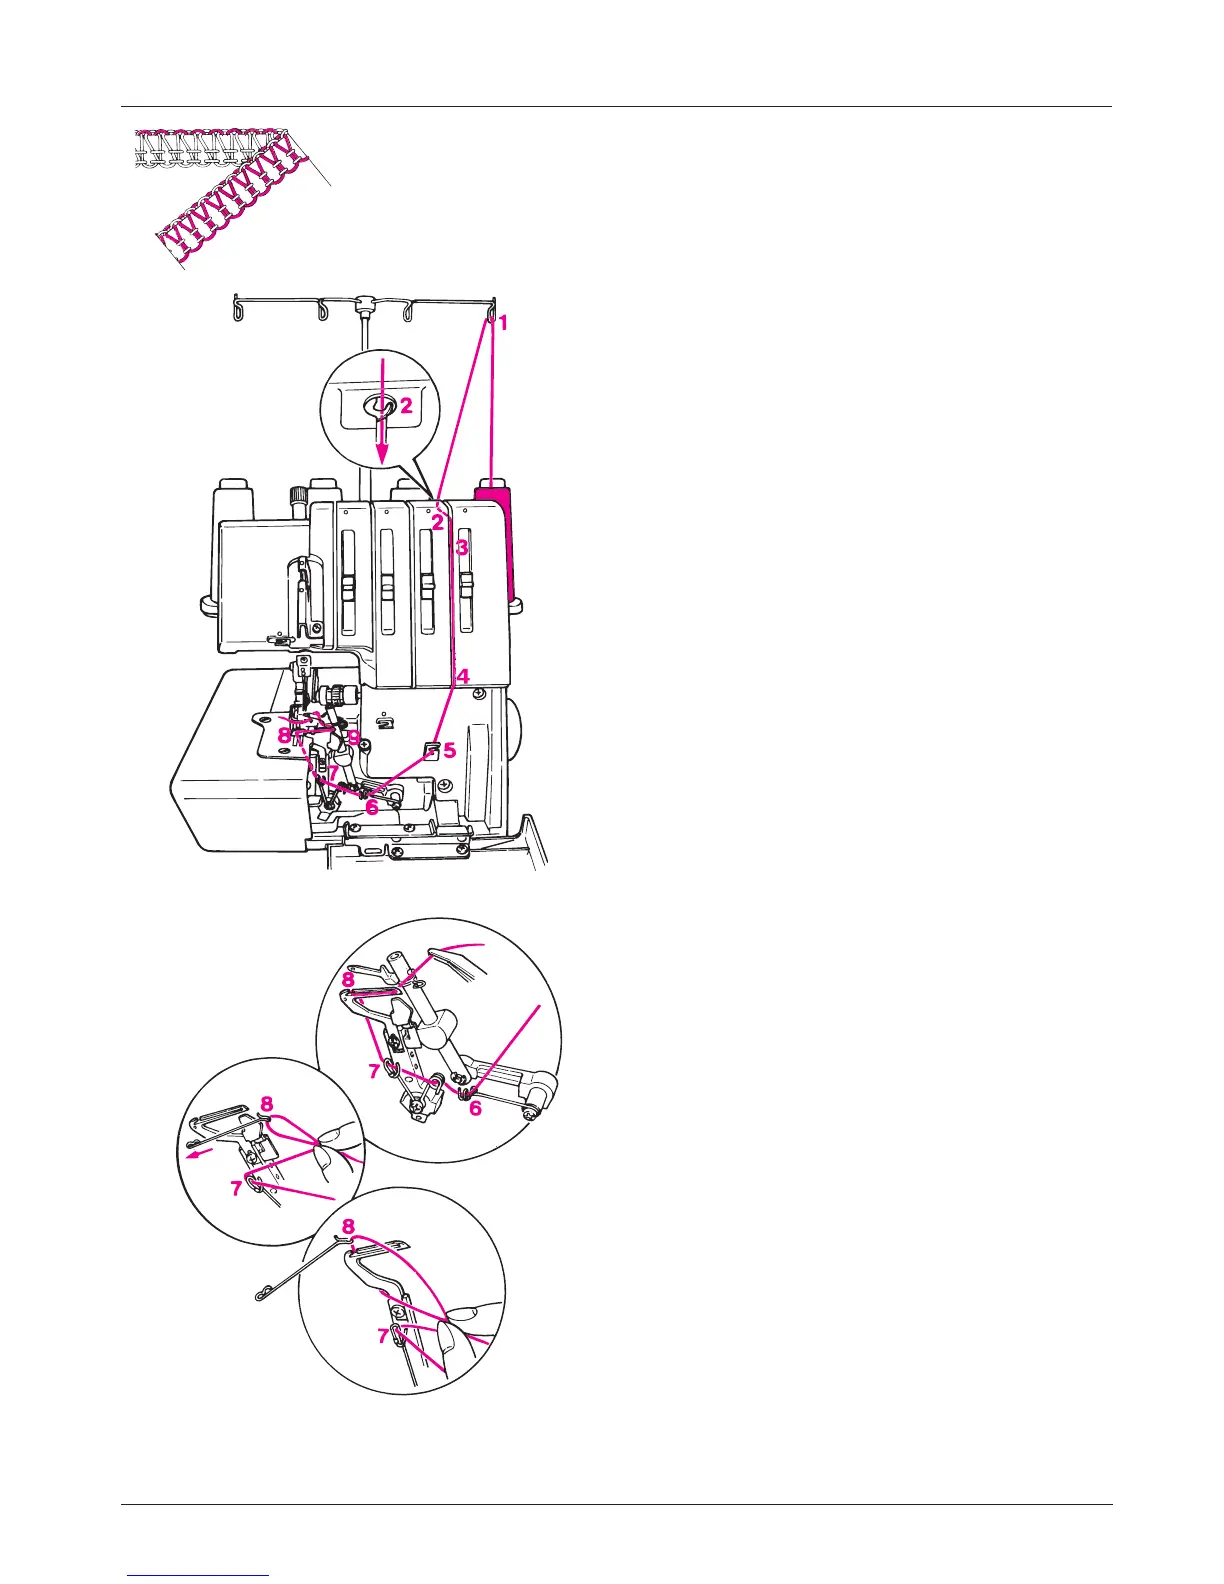
2. Lower looper thread, red markings
Place the spool on the spool holder pin as illustrated.
(1) Bring the thread up from the spool and lay it from
back to front into the guide (right one).
(2) Take the thread with both hands and lay it in the
groove Press the thread down into the 1st guide on
the machine until it clicks into place.
(3) Slip the thread through the groove.
(4,5,6,7) Thread the guides.
(8) Turn the handwheel to bring the looper to its left most
position. Make a thread loop with your right hand. Use
the looper threader to catch the thread loop from the
left and insert the loop from back to front into the slit
on the lower looper. Pull and hold the thread to the
right. Turn the handwheel to bring the looper to the
right side.
(9) Thread the lower looper eye.
(10) Place the thread under the presser foot.
Note:
If the lower looper has to be re-threaded, cut both needle
threads off at the needle and remove surplus thread from
below. Thread the lower looper and then re-thread the
needles.
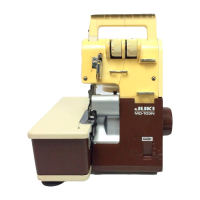
MO-104D
14
 Loading...