Getting Started Guide
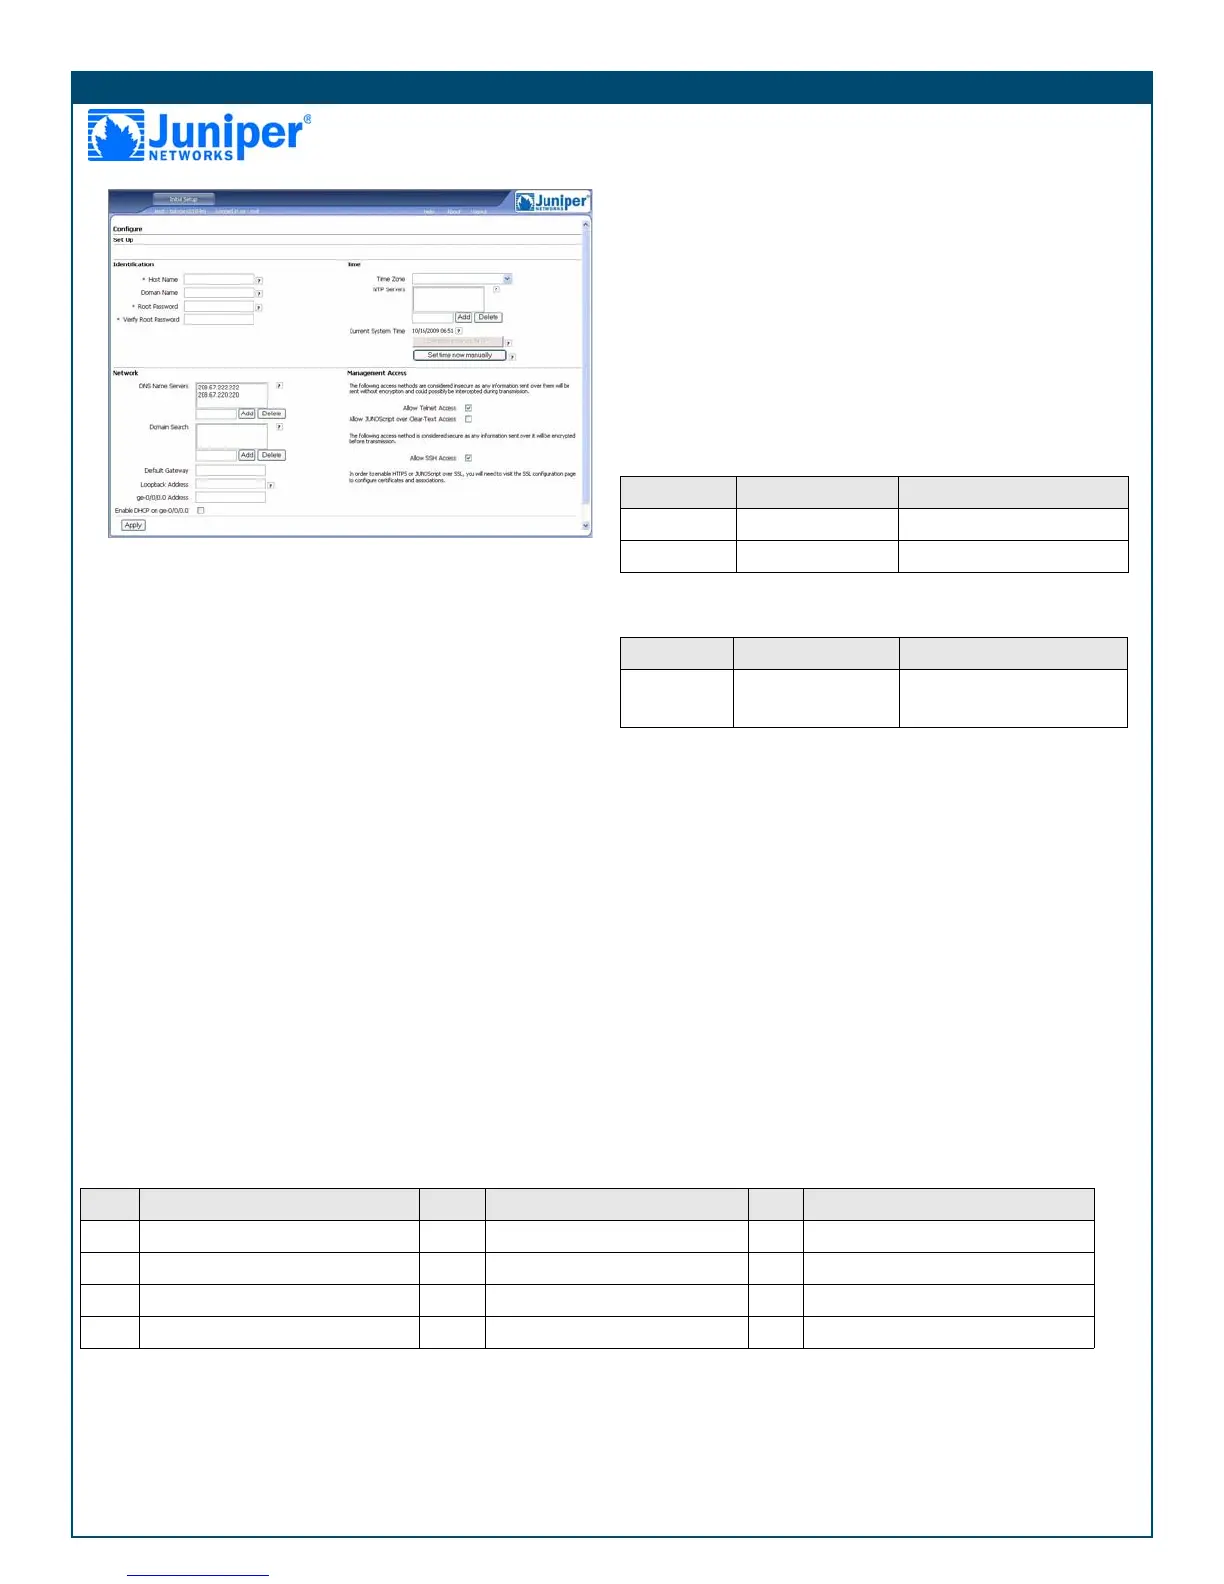
4. Press Enter. The J-Web Initial Setup page is displayed.
Step 5
Configure the basic settings such as Host Name, Domain Name, and
Root Password for your services gateway.
Important: Ensure that you have configured the root password before you
apply the configuration.
Note: All fields marked with an asterisk (*) are mandatory.
Step 6
Click Apply to apply the configuration.
Step 7
Configure an interface as follows:
1. In the J-Web interface, select the Configure tab.
2. Under the Interface Name column, click on the interface you want to
configure.
3. Click the existing logical interface.
4. Make sure that Enable Ethernet Switching is unchecked.
5. Under IPv4 Addresses and Prefixes, click Add.
6. In the IPv4 Address and Prefix field, enter an IP address and a
subnet mask.
Note: You can either configure an IPV4 address to a physical interface or
you can make it part of the L2 VLAN. By default, all ports except the ge-0/0/0
port are in the L2 VLAN.
Note: Before configuring the IPV4 address, the interface should be removed
from the VLAN.
Note: To remove the interfaces from VLAN:
a. In the J-Web interface, under the Configure tab, navigate to Switching
> VLAN.
b. Under VLAN name, select the VLAN and click Edit to select and remove
the interfaces from VLAN.
Note: By default, Ethernet switching is enabled on the ge-0/0/1 and fe-0/0/2
to fe-0/0/7 ports.
7. Click OK to save the changes and click Commit to apply the
changes. The configured IP address is included in the Address
Prefix column.
Step 8
Security policies have the following factory-default settings:
Note: By default, the security policy is Deny-all.
The NAT rule has the following factory-default setting:
Note:
By default, ge-0/0/1 and fe-0/0/2 to fe-0/0/7 are in the trust zone and
ge-0/0/0 is in the untrust zone
.
To add an interface to a specific, preconfigured zone:
1. In the J-Web interface under the Configure tab, navigate to Security
> Zones.
2. Under Zones Lists, click Add and enter a name for the zone in the
Zone Name field.
3. Under Interfaces In This Zone, add an interface to a specific zone.
4. Click OK to save changes and click Commit to apply the changes.
Step 9
Modify the security policy as follows:
1. In the J-Web interface, under the Configure tab, navigate to
Security > Policy.
2. Select the zone direction. For more information on configuring
zones, see the JUNOS Security Configuration Guide.
Source Zone Destination Zone Policy Action
trust untrust permit
untrust trust deny
Source Zone Destination Zone Policy Action
trust untrust Source NAT to untrust zone
interface IP address
PART 2 - CONNECTING AND CONFIGURING THE MEDIA GATEWAY
Step 1
Connect the FXO and FXS ports:
1. Connect an FXS port (FXS1 or FXS2) on the device to an analog
device such as a telephone, fax, or modem through an RJ-11 cable.
2. Connect an FXO port (FXO1 or FXO2) on the device to the central
office (CO) switches or to a station port on a PSTN through an RJ-
11 cable.
3. Connect an Ethernet cable from any of the PoE ports (ge-0/0/0, ge-
0/0/1, fe-0/0/2, fe-0/0/3) to the VoIP phone.
Step 2
Access the J-Web interface:
1. Launch a Web browser from the management device.
Use the instructions below to configure voice support on the services gateway and get started using your device to place
and receive calls.
Step Task Step Task Step Task
1 Connect the FXO and FXS ports. 5 Configure the analog station. 9 Create the dial plan.
2 Access the J-Web interface. 6 Configure the peer call server. 10 Configure the media gateway.
3 Configure the class of restriction. 7 Configure the trunk. 11 Configure the survivable call server.
4 Configure the SIP station. 8 Configure trunk groups.
 Loading...


