Getting Started Guide
Step 8
Configure the trunk groups. A trunk group comprises multiple trunks
specified in the order of precedence in which they must be selected to
route a call.
1. Select Configure > Convergence Services > Gateway > Trunk
Groups. The Trunk Group Configuration page is displayed.
2. Click Add to create a new trunk group.
3. Perform the following mandatory actions:
Step 9
Create the dial plan to enable the peer call server to route outbound calls
placed from SIP telephones / analog stations at the branch to its PSTN:
1. Select Configure > Convergence Services > Dial Plan > Dial
Plan. The Dial Plan Configuration page is displayed.
2. Click Add to create a new dial plan. The New Dial Plan
Configuration page is displayed.
3. Enter a name in the Dial Plan Name field and click Add. The New
Route Pattern Configuration page opens.
4. Perform the following mandatory basic actions:
Note: You can accept the default values for the Preference and Digit
Manipulation fields.
Step 10
Configure the media gateway to enable users to place calls within the
branch and externally when the peer call server is accessible to provide
call routing and other call handling services:
1. Select Configure > Convergence Services > Media Gateway >
Gateway.
The Media Gateway Configuration page is displayed.
2. Click Add and enter the following mandatory settings:
Note: You can accept the default values in the Port (5060) and Transport
(UDP) fields.
Step 11
Configure the survivable call server. This server assumes the
responsibilities of the peer call server when the peer call server is
unreachable.
1. Select Configure > Convergence Services > Call Service.
The Survivable Call Service Configuration page is displayed.
2. Click Add to create a new call service and perform the following
mandatory basic actions:
Note: All other parameters required to configure the call service are optional
and you can accept the default values set for these parameters.
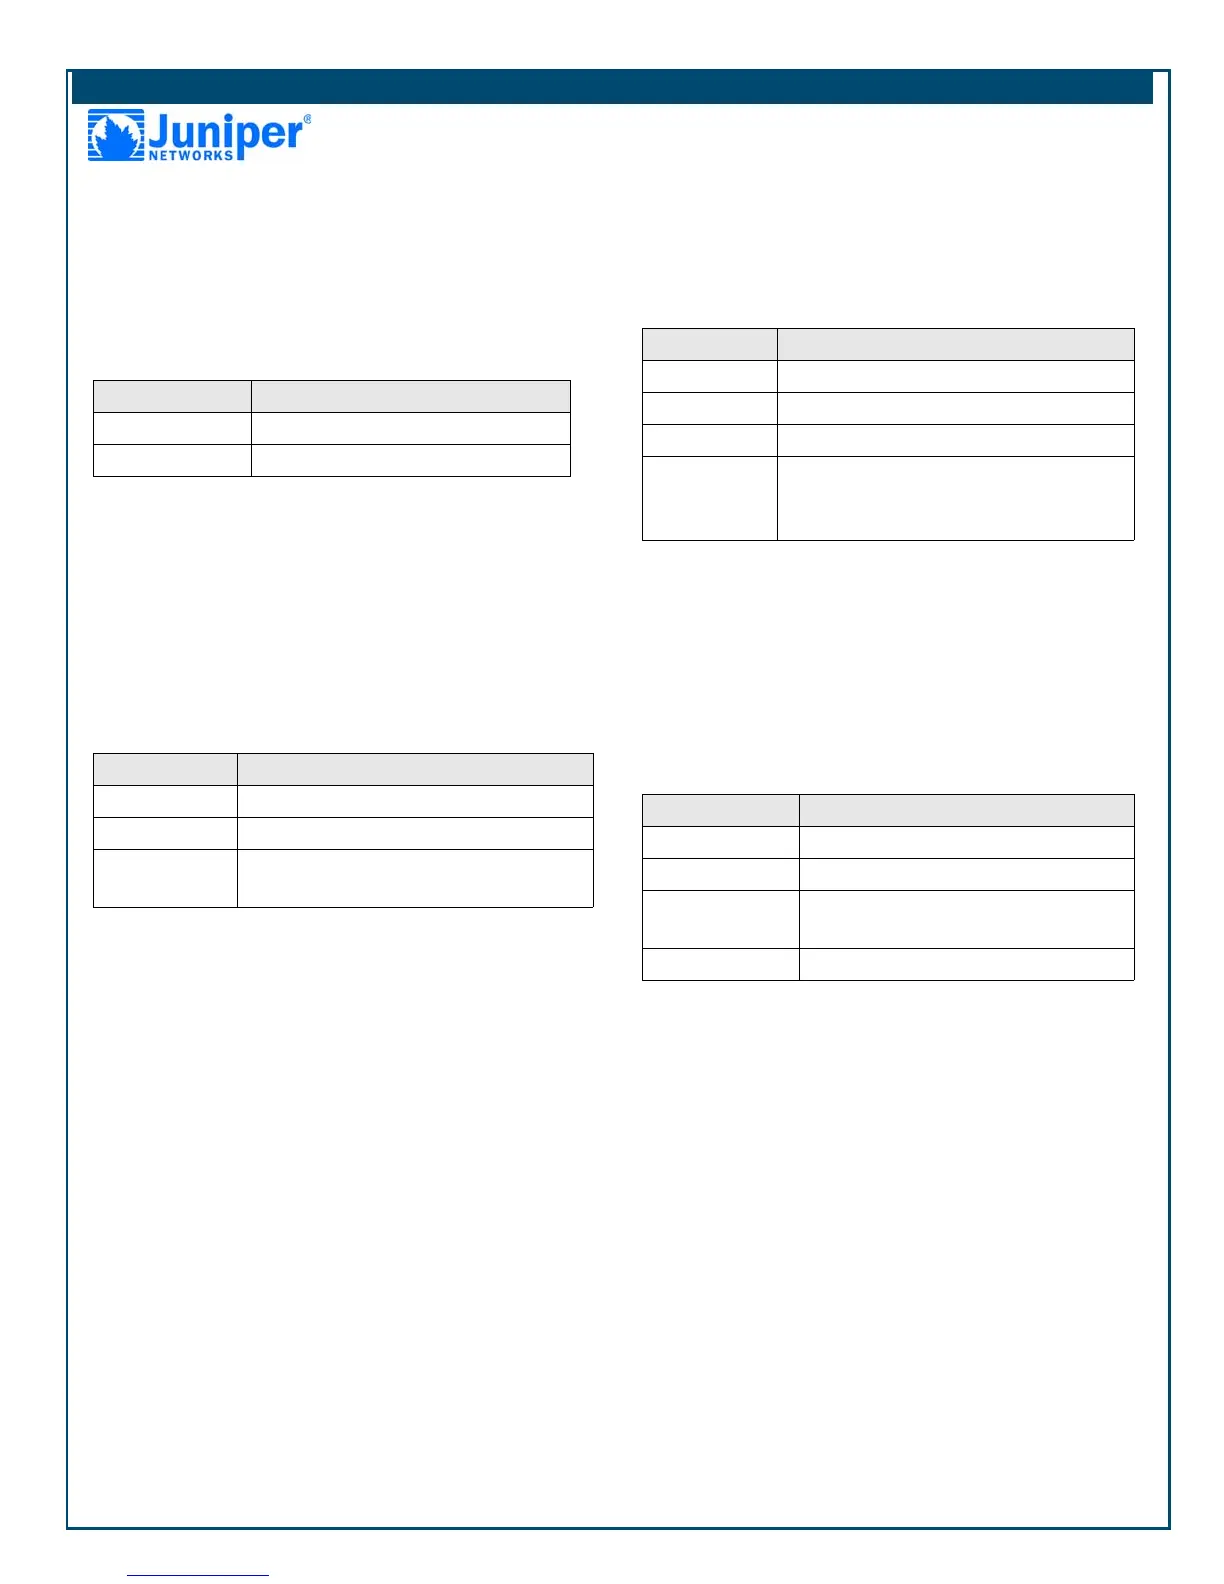
Field Action
Name Specify a name for the trunk group.
Available Trunks Select the trunks applicable to your setup.
Field Action
Route Pattern Specify the route pattern name.
Call type Select the call type. The default is trunk-call.
Trunk-groups Select the preconfigured trunk groups to
include in the route pattern.
Field Action
Media Gateway Specify the device name.
Call Server Select a peer call server to associate with.
Dial Plan Select a preconfigured dial plan.
Zone Specify the service point for the device’s zone
to enable the media gateway and survivable call
server services for the specified zone.
Field Action
Call Service Name Specify the name for the call service.
Call Server Select the peer call server name.
Dial Plan Select the preconfigured dial plan to be used
for the survivable call server.
Zone Specify the name of the zone.
Copyright Notice
Copyright © 2009 Juniper Networks, Inc. All rights reserved.
Juniper Networks, the Juniper Networks logo, JUNOS, NetScreen, ScreenOS, and Steel-Belted Radius are registered trademarks of Juniper Networks,
Inc. in the United States and other countries. JUNOSe is a trademark of Juniper Networks, Inc. All other trademarks, service marks, registered
trademarks, or registered service marks are the property of their respective owners. All specifications are subject to change without notice. Juniper
Networks assumes no responsibility for any inaccuracies in this document or for any obligation to update information in this document. Juniper
Networks reserves the right to change, modify, transfer, or otherwise revise this publication without notice.
P/N 530-030431-01 Rev. 01
You can power off the device in one of the following ways:
• Graceful shutdown—Press and immediately release the Power button. The device begins gracefully shutting down the operating system.
• Immediate shutdown—Press the Power button and hold it for 10 seconds. The device immediately shuts down. Press the Power button again to
power on the device.
Note: You can reboot or halt the system in the J-Web interface by selecting Maintain > Reboot.
For additional configuration information, see the Quickstart Guide for Branch SRX Series Services Gateways at
http://www.juniper.net/us/en/local/pdf/app-notes/3500153-en.pdf.
For detailed software configuration information, see the software documentation available at
http://www.juniper.net/techpubs/software/junos-srx/index.html.
PART 3 - POWERING OFF THE DEVICE
 Loading...


