EasyManua.ls Logo

JVC 0303NYMCREBETEN User Manual

JVC 0303NYMCREBETEN
39 pages
To Next Page IconTo Next Page
To Previous Page IconTo Previous Page
Page #26 background imageLoading...
Page #26 background image
23
Using the Timers
The timers lets you control recording and listening functions auto-
matically.
Three types of timers are available:
DAILY Timer
Use this timer to set wake up everyday to music from any
source, instead of an alarm clock.
REC (Recording) Timer
Unattended recording of radio broadcasts. You can set the
starting time and ending time.
SLEEP Timer
Fall asleep and have your System turn off automatically after
a certain length of time.
Setting the Clock
When you plug the AC power cord into the wall outlet, the time in-
dication 0:00 blinks on the display.
You can set the clock whether the System is on or off.
The clock must be correctly set for the timers to work.
Each setting step must be completed within approx. two
minutes. Otherwise, the setting is cleared and must be re-
peated from the beginning.
The clock may gain or lose one to two minutes per month.
Using the Unit
1
Press the CLOCK/TIMER button.
The hour digit of the time indication blinks on the display.
If the clock is already set and 0:00 is not blinking, press
the CLOCK/TIMER button repeatedly until clock setting
display appears on the display. (In the clock setting display,
the hour digits of the current clock blink on the display.
)
If the clock is already set, the display changes as follows
each time you press the CLOCK/TIMER button.
TIMER
=
ON time
=
REC
=
ON time
=
Clock setting
display
=
Canceled
=
(back to the beginning)
2
Press the
4
or
¢
button to set the hour.
Pressing the ¢ button moves the time forwards and pressing
the 4 button moves it backwards. Holding down the button
moves the hour rapidly.
3
Press the SET button.
The minute digits of the time indication blink on the display.
To return to the hour setting, press the CANCEL button.
4
Press the
4
or
¢
button to set the
minute.
5
Press the SET button.
CLOCK OK appears on the display. Then, the selected time
is set and the seconds start counting from 0.
CAUTION:
If there is a power failure, the clock loses its set-
ting immediately. 0:00 blinks on the display
and the clock must be reset.
FM MODE
FM /AM
AUX
SLEEP
STANDBY/ON
CD
1
CD
2
CD
3
SOUND
MODE
ACTIVE
BASS EX.
SOUND
TURBO
FADE
MUTING
VOLUME
PROGRAM /RANDOM
REPEAT
TAPE
A/B
RDS MODE DISPLAY MODE
SELECT
TAPE
CD
RM-SMXKA6R REMOTE CONTROL
¢
* When the System is in use, the display shows other items as well.
For simplicity, we show here only the items described in this section.
4
SLEEP
SET
SLEEP indicator
REC (Recording) Timer indicator
CLOCK/TIMER
DAILY Timer indicator
Timer indicator
CA_MXKA6.book Page 23 Friday, February 7, 2003 7:56 PM
Question and Answer IconNeed help?

Do you have a question about the JVC 0303NYMCREBETEN and is the answer not in the manual?

JVC 0303NYMCREBETEN Specifications

General IconGeneral
BrandJVC
Model0303NYMCREBETEN
CategorySpeaker System
LanguageEnglish

Summary

Safety and Cautionary Information

Important for the U.K.

Safety advice specific to UK users regarding the mains plug and fuse.

Important Laser Product Warnings

Details on Class 1 laser product safety and warnings.

Proper Ventilation Guidelines

Instructions on ensuring adequate airflow for safe operation and preventing damage.

General Cautions

Broad safety advice including electrical shock, fire, and environmental hazards.

General Safety Instructions

Dos and Don'ts for Safe Equipment Use

Guidelines on proper usage, connections, maintenance, and avoiding hazards.

Introduction and System Overview

Introduction to the Compact Component System

Welcome message and advice on reading the manual.

System Features

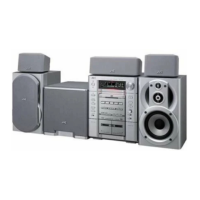
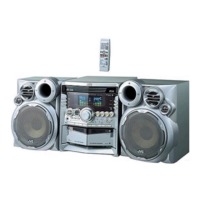
Highlights key functionalities and technologies of the JVC system.

Manual Organization

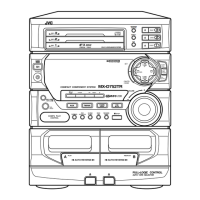
Explains how the instruction manual is structured for easy navigation.

Important Cautions

Critical warnings regarding installation, power cord, and system malfunctions.

Getting Started

Unpacking and Accessories

Lists all items supplied with the JVC System.

Remote Control Setup

How to install batteries and use the remote control.

Connections and Initial Setup

Connecting the FM Antenna

Details on connecting both supplied and optional FM antennas for reception.

Connecting the AM (MW) Antenna

Instructions for connecting the AM loop antenna and external antenna.

Connecting the Speakers

Instructions for connecting left and right speakers to the amplifier.

Connecting External Equipment

How to connect other audio devices like MD recorders or tape decks.

Power Connection and Demo Mode

Plugging into power, demo mode, and COMPU Play overview.

Basic System Operations

Powering the System On and Off

Steps to turn the main unit on and off using the power button.

ECO Mode Explained

How to use the energy-saving ECO mode and its functions.

Volume Adjustment

How to control the sound volume using the unit and remote.

Muting and Sound Effects

Using Fade-out Muting, Active Bass EX, and Sound Turbo features.

Sound Mode Selection

Choosing different sound effect amplifier (SEA) modes for playback.

Remote Control Numeric Input

Using numeric keys on the remote for various inputs.

Tuner Operations

Tuning Radio Stations

How to manually, automatically, or via presets tune into FM/AM stations.

Preset Station Tuning

Methods for recalling preset radio stations using the unit or remote.

Storing Preset Stations

Step-by-step process to save favorite radio stations into memory.

Adjusting FM Reception Mode

Switching between Stereo and Monaural modes for FM reception.

Advanced Tuner Features

Receiving FM Stations with RDS

Using Radio Data System features like station names and program types.

Searching by Program Type (PTY)

Locating radio stations based on program type codes.

Temporary Program Switching (RDS)

Switching to specific program types (TA, NEWS, INFO) temporarily.

CD Player Operations

CD Player Modes Overview

Explains Normal, Program, Random, and Repeat Play modes for CDs.

Disc Indicator Guide

Details on understanding the disc number and rotation indicators.

Playing CDs in Normal Mode

How to load and play CDs continuously.

Unloading CDs from the Tray

Steps to safely remove CDs from the player's disc tray.

Selecting Tracks and Search Play

How to skip tracks, pause, and use fast forward/backward search.

CD Playback Tips

Additional advice on playing CDs, including using DISC SKIP.

Programming CD Track Order

How to create custom playback sequences for CDs.

Playing Programmed CDs

Instructions on how to play back recorded CD programs.

Managing Program Play Mode

Exiting and re-entering the programmed playback mode.

Random Playback Mode

Playing tracks from all CDs in a random sequence.

Repeat Playback Options

How to repeat all tracks, a single disc, or a single track.

Tray Lock Functionality

How to lock and unlock the CD tray for security.

Cassette Deck Operations

Playing Tapes

How to insert, select, and play audio tapes in Deck A or B.

Fast-Winding Tapes

Using fast forward and rewind functions for tapes.

Recording Preparation

Important notes and precautions before starting any recording.

Standard Recording Procedure

Basic steps for recording audio from various sources to tape.

CD Synchro Recording

How to record CDs onto tape automatically.

Tape-to-Tape Dubbing

Instructions for copying tapes from one deck to another.

External Equipment Connection

Listening to External Audio Sources

How to connect and play audio from external devices via AUX input.

Timer Functions

Timer Types Overview

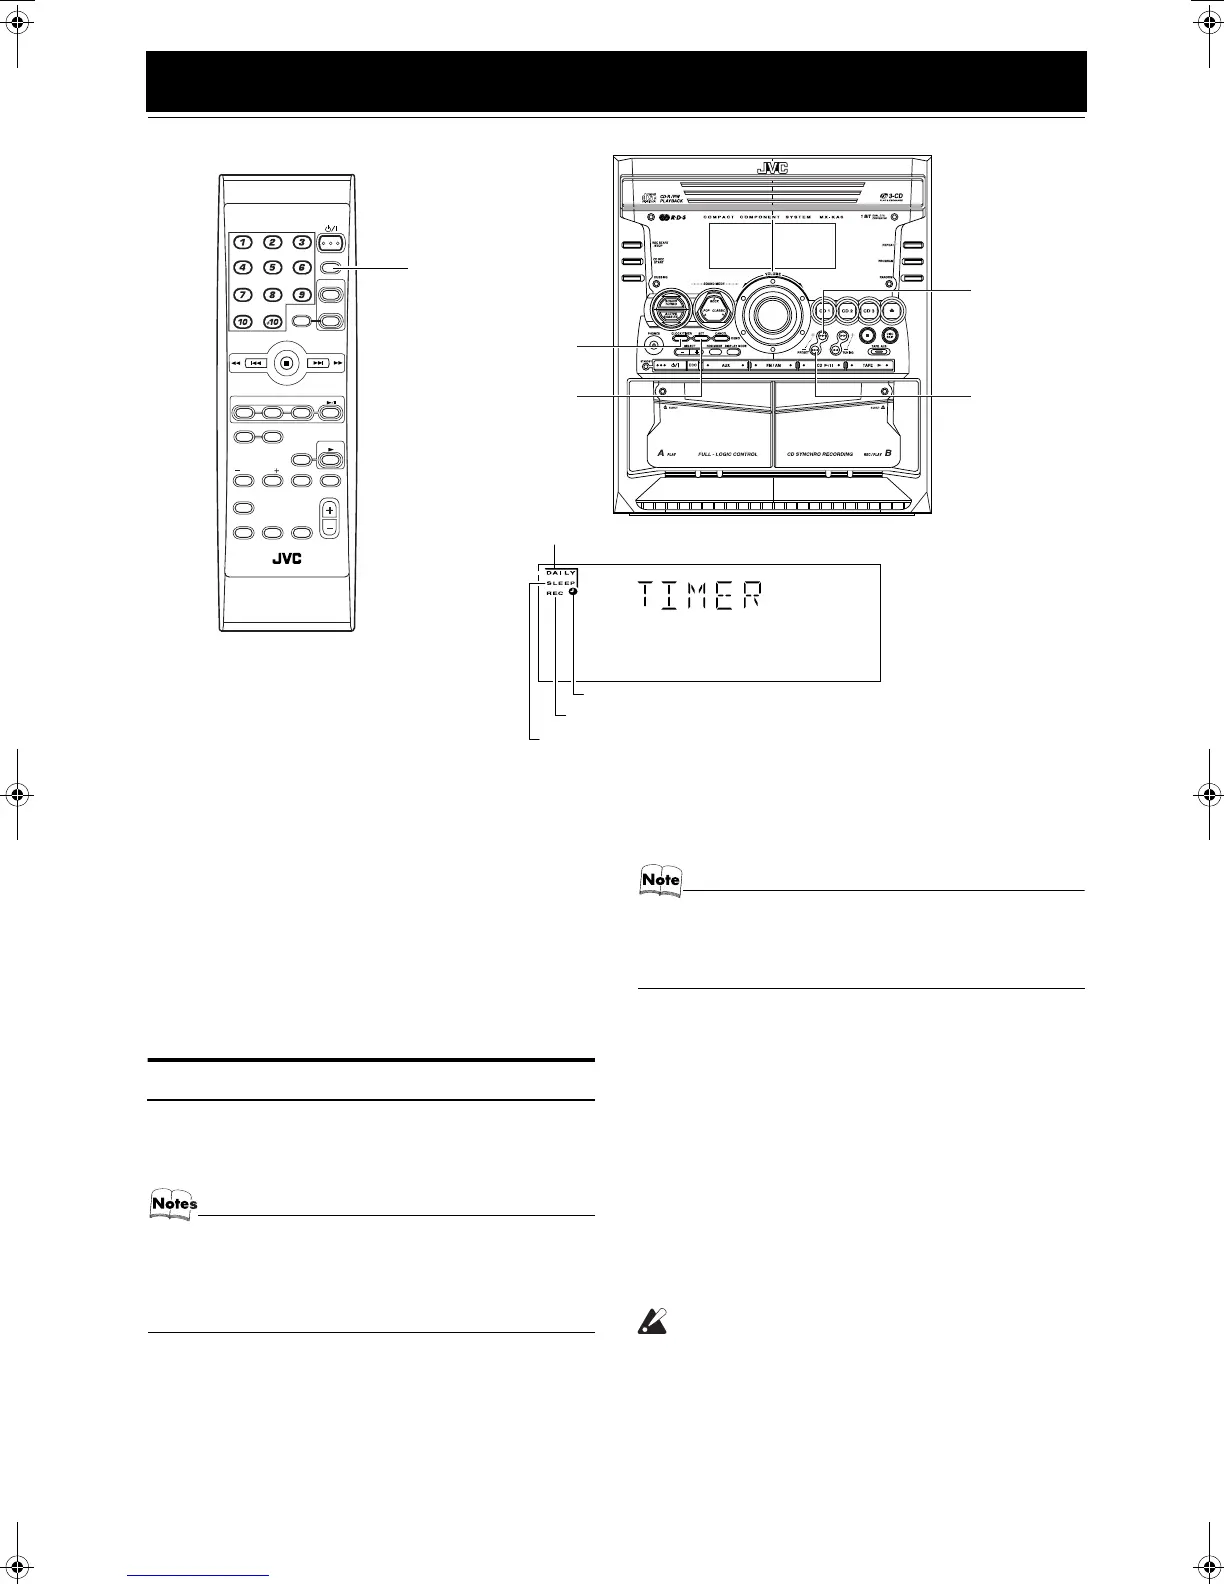
Introduction to DAILY, REC, and SLEEP timers for automated functions.

Setting the System Clock

Steps to set the current time, essential for timer operation.

Setting the Daily Timer

How to set the timer to turn the system on and off daily for music playback.

Managing Daily Timer Activation

How to turn the Daily Timer on, off, or cancel it temporarily.

Setting the Recording Timer

How to program unattended radio recording sessions.

Setting the Recording Timer Details

Specific steps for setting ON/OFF times and selecting the recording source.

Managing Recording Timer Activation

How to cancel and reactivate the Recording Timer.

Sleep Timer and Timer Priority

Setting the Sleep Timer

How to set the system to turn off automatically after a specified time.

Timer Priority Rules

Explains how different timers interact when their times overlap.

Care and Maintenance

Handling Compact Discs

Proper methods for handling, cleaning, and storing CDs.

Cassette Tape and Deck Care

Guidelines for maintaining cassette tapes and the deck mechanism.

General Care and Moisture Issues

Tips for overall system care and handling moisture condensation.

Troubleshooting Common Issues

No Sound or Poor Reception

Solutions for audio problems and radio reception issues.

Disc Tray and CD Playback Problems

Troubleshooting steps for disc tray issues and CD playback errors.

Recording and Remote Control Issues

Solutions for recording failures and remote control non-operation.

System Operation Disabled

How to resolve issues where system operations are unresponsive.

Technical Specifications

Amplifier and Speaker Specifications

Details on output power, input sensitivity, impedance, and speaker types.

CD Player and Tuner Specifications

Technical data for CD capacity, player performance, and tuner frequency ranges.

Unit Dimensions and Power

Physical dimensions, mass, power requirements, and consumption.

Speaker Connections and Specifications

Connecting the Speakers

Diagram and instructions for connecting SP-MXKA3 and SP-MXKA6 speakers.

Connection Precautions

Warnings regarding amplifier compatibility and signal noise during connections.

Speaker System Specifications

Detailed technical specifications for the SP-MXKA3 and SP-MXKA6 speaker models.

Related product manuals