– 33 –
SVCD/VCD/CD Direct Recording
You can easily record sound of a SVCD or VCD without the
PBC function or CD onto a tape.
• You can also record the tracks in order you have made the
program.
• This function cannot be used for recording DVDs.
On the unit ONLY:
1
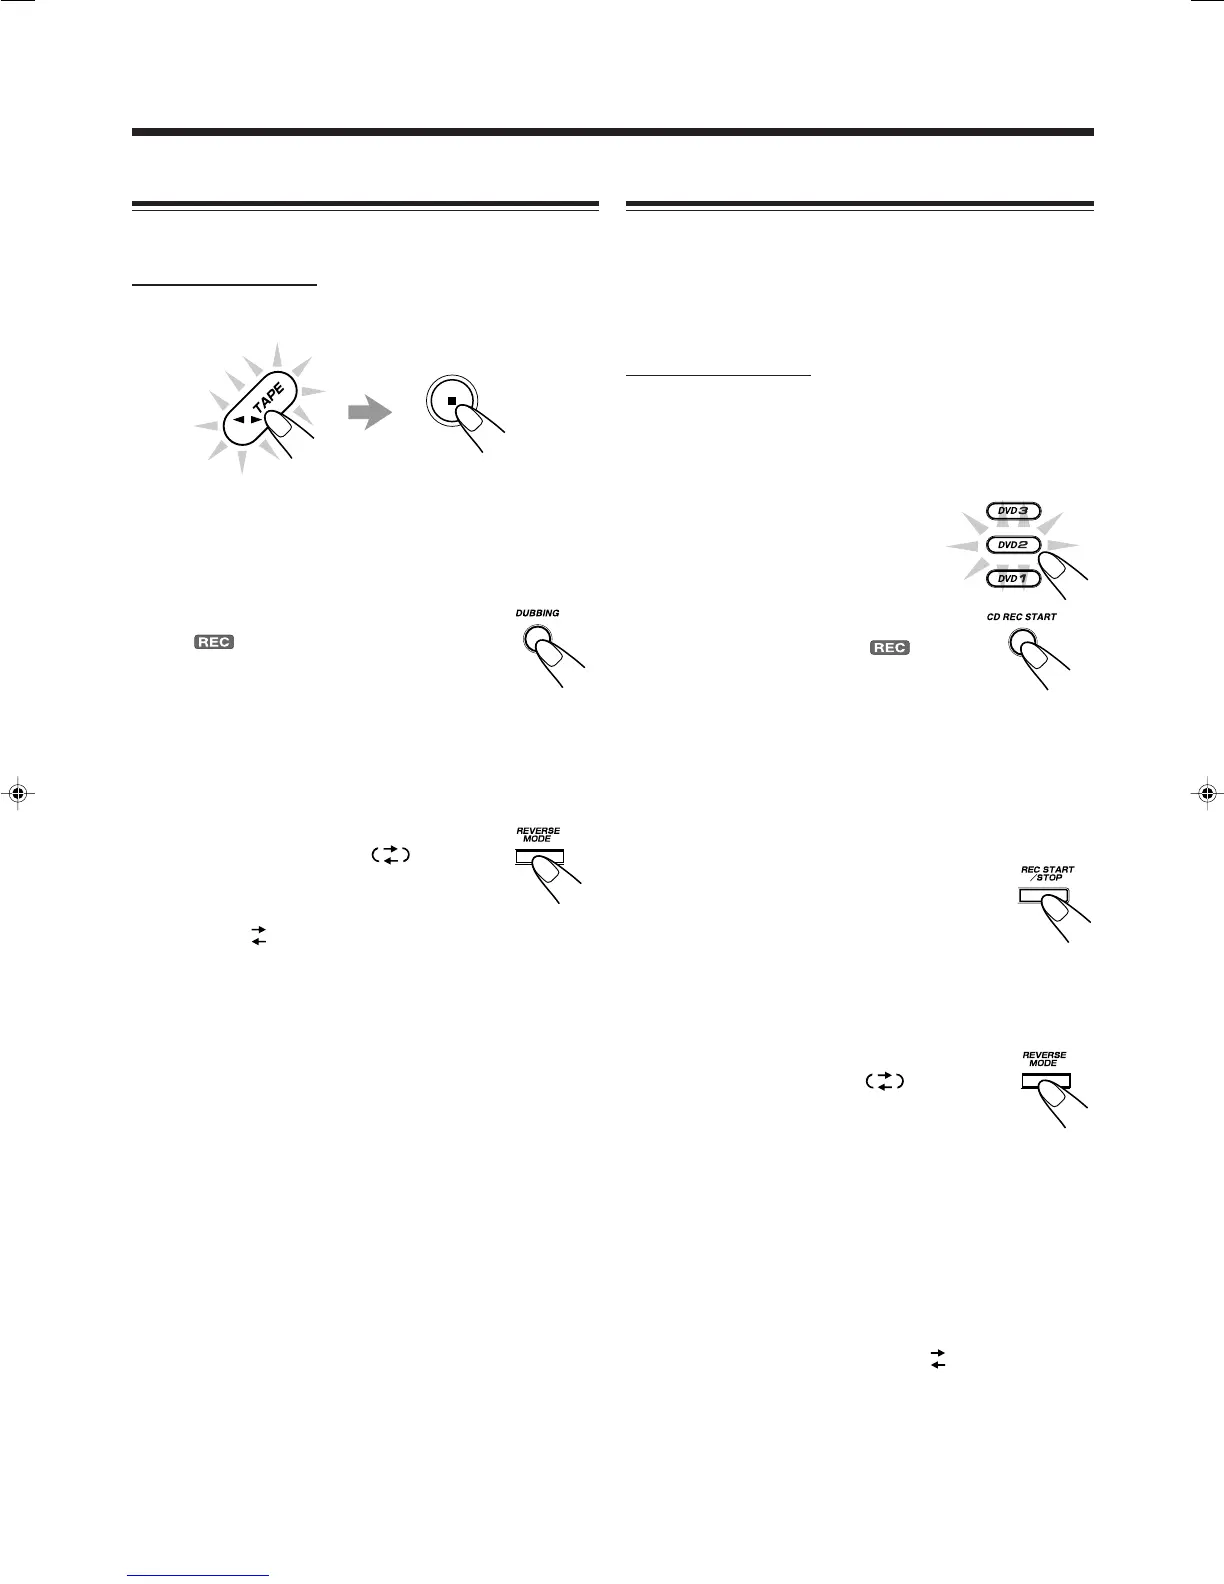
Put a recordable cassette into deck B.
2
Load discs with the label side up.
3
Press one of the disc
number buttons (DVD1,
DVD2, or DVD3) to select
the disc, then 7.
4
Press CD REC START.
“CD REC” appears, and the
(recording) indicator lights up on the
display.
Deck B starts recording and the DVD/SVCD/VCD/CD
player starts playing.
When the recording is done, “CD REC FINISHED”
appears on the display, and the DVD/SVCD/VCD/CD
player and deck B stop.
To stop recording, press REC START/STOP
or 7 so that a 4-second blank portion is
created on the recording tape. (Remember a
4-second blank is important when using
Music Scan—see page 30.)
To record on both sides—Reverse Mode
Press REVERSE MODE so that the Reverse
Mode indicator lights up like— .
• When using the Reverse Mode for SVCD/
VCD/CD Direct Recording, start recording in
the forward (3) direction first. When the tape reaches its
end while recording a song in the forward direction (3),
the last song will be re-recorded at the beginning of the
reverse side (2).
If you start recording on the reverse side (2), recording
will stop when recording is done only on one side (reverse)
of the tape.
To cancel Reverse Mode, press the button again so that the
Reverse Mode indicator lights up like— .
Dubbing Tapes
You can record from one tape to another.
On the unit ONLY:
1
Press TAPE 2 3, then 7.
2
Put the source cassette in deck A, and a
recordable cassette in deck B.
• Put the cassettes in both decks so that the tapes will run
in the forward (3) direction.
3
Press DUBBING.
The (recording) indicator lights up on
the display and dubbing starts.
To stop dubbing, press 7 so that both decks (A and B) stop.
To record on both sides—Reverse Mode
Press REVERSE MODE so that the Reverse
Mode indicator lights up like— .
To cancel Reverse Mode, press the button
again so that the Reverse Mode indicator
lights up like— .
EN32-34.CA-MXDVB10,B9,A9_f 02.4.24, 9:45 AM33
 Loading...