Do you have a question about the JVC GR-AXM230 and is the answer not in the manual?
| Camcorder Media Type | VHS-C |
|---|---|
| Image Sensor Size | 1/4 inch |
| Image Sensor | CCD |
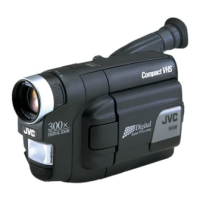
| Optical Zoom | 16x |
| Digital Zoom | 700x |
| Lens Aperture | F/1.6 |
| Focus Adjustment | Automatic |
| Shooting Modes | Auto |
| White Balance | Auto |
| Microphone Type | Microphone - built-in |
| Connector Type | A/V output |
| Screen Size | 2.5 inches |
| Weight | 680 g |
Cautionary notices regarding risk of electric shock and fire hazards.
Notes on product usage, battery recycling, and adapter compatibility.
Explanation of the camcorder's automatic demonstration feature.
Lists all items included with the camcorder package.
Instructions for connecting power and charging the battery pack.
Procedure for conditioning the battery pack to maintain capacity.
Approximate recording times for different battery packs.
Instructions for using the AC adapter for power.
Steps for adjusting the grip and viewfinder for comfortable use.
Instructions for attaching the shoulder strap and mounting the camcorder on a tripod.
Information on recording and playback compatibility between S-VHS and VHS.
Guide to selecting recording modes like SP and EP.
Procedure for setting the tape length for accurate time remaining indication.
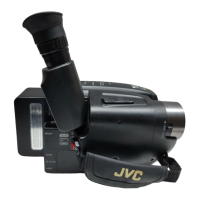
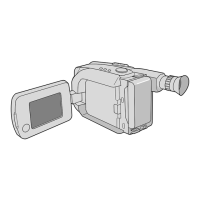
Guidance on shooting using viewfinder/LCD monitor and power switch positions.
Information on auto power-off, retake function, and journalistic/self-recording methods.
Explanation of zoom functions, digital zoom, and the picture stabilizer feature.
Features for quick scene transitions, reviewing, and re-recording.
Instructions for using the video light and important safety warnings.
Details on using snapshot for still images and Night-Alive for low-light shooting.
Explanation of various fade and wipe effects for scene transitions.
Guide to Program AE modes like Sports, Twilight, and High Speed Shutter.
Details on applying digital effects like Sepia, B&W, and Mosaic.
Explanation of Camera Menu settings like Focus, Exposure, and M.W.B.
Overview of System Menu settings including REC MODE, D. ZOOM, and WIDE.
Guide to using auto focus and manual focus for clear images.
Procedure for manually setting white balance for accurate color reproduction.
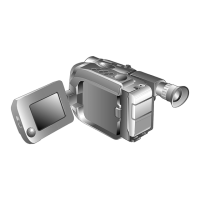
Adjusting LCD monitor brightness and speaker volume during playback.
Instructions for pausing playback and performing high-speed searches.
Features for noise reduction, picture stabilization, and tape segment location.
Guide to applying creative effects during playback.
Diagrams for connecting the camcorder to TVs or VCRs using S-Video and A/V cables.
Instructions for installing batteries and understanding the remote sensor's effective area.
Using the remote control to set Animation and Time-Lapse recording parameters.
Common problems and their possible causes related to power, recording, and playback.
Troubleshooting for tape transport problems like stopping or inability to fast-forward/rewind.
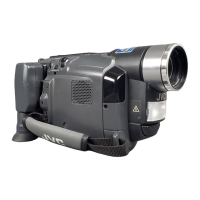
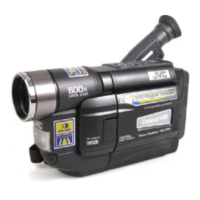
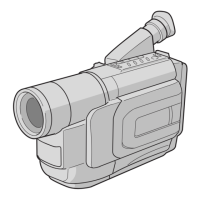
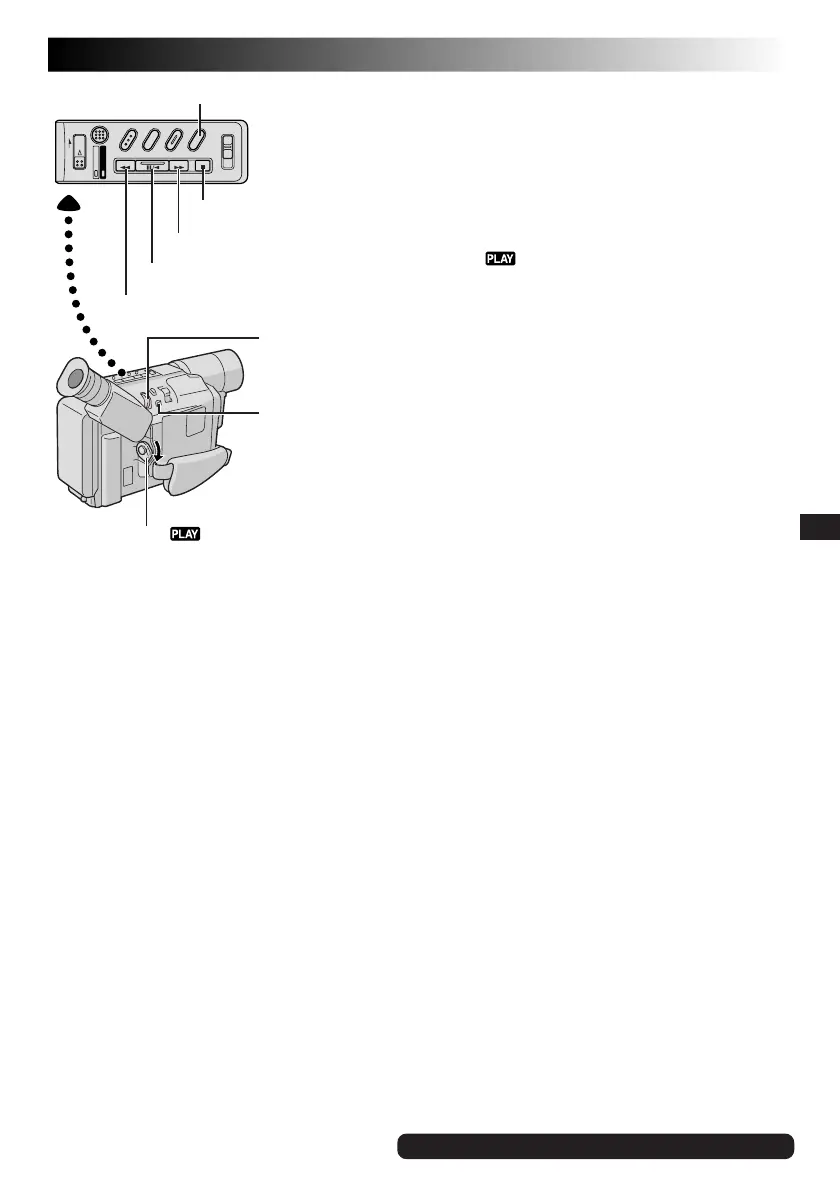
Identification and function of the camcorder's various buttons and controls.
Location and purpose of input/output connectors and status indicators.
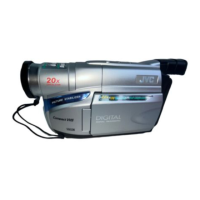
Identification of other camcorder parts like LCD monitor, viewfinder, and sensors.
Explanation of indicators displayed during playback.
Descriptions of warning messages such as TAPE END and LENS CAP.
Precautions for using the AC adapter and the video light, including safety warnings.
Guidelines for safe handling and use of battery packs and cassettes.
Recommendations for storing cassettes and safety guidelines for the main camcorder unit.
Advice on LCD monitor use, potential phenomena, and moisture condensation.
Step-by-step instructions for cleaning the camcorder exterior, lens, and LCD monitor.
Regulatory compliance statement regarding FCC rules for digital devices.
Information on finding authorized JVC service centers and purchasing accessories.
Terms and conditions of the limited warranty provided by JVC.