EN 29
MasterPage: Start_Right
ADVANCED FEATURES
FEATURES FOR RECORDING
LED Light can be used to brighten
the subject in the dark place
during video recording.
1 Press LIGHT repeatedly to change the
setting.
2 Press the Recording Start/Stop Button to
start video recording or SNAPSHOT to shoot a
still image.
NOTES:
● Be careful not to point the LED Light directly to
eyes.
● If the light does not reach the subject when the
LED Light setting is “ON”, the Night-Scope
function will be activated, and makes it possible to
shoot the subject brighter.
● Since subjects are shot at a reduced shutter
speed when the LED Light setting is “ON”, they
will appear slightly blurred.
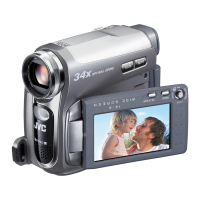
This feature lets you record still images that look
like photographs onto a tape.
1 Set the Power Switch to “REC”.
2 Press SNAPSHOT.
● The “O” indication appears and a still image will
be recorded for approx. 5 seconds, then the
camcorder re-enters the Record-Standby mode.
● You can perform Snapshot also during recording. A
still image will be recorded for approx. 5 seconds,
then the normal recording resumes.
● If the image taken by snapshot is too dark or too
bright, select
(墌 pg. 30) or “SPOTLIGHT”.
(墌 pg. 32)
Motor Drive Mode
Keeping SNAPSHOT pressed in step 2 provides
an effect similar to serial photography.
(Interval between still images: approx. 1 second)
The camcorder’s Full Range AF system offers
continuous shooting ability from close-up (as
close as approx. 5 cm to the subject) to infinity.
However, correct focus may not be obtained
depending on the shooting condition. In this
case, use the manual focus mode.
1 Set the Power Switch to “REC”.
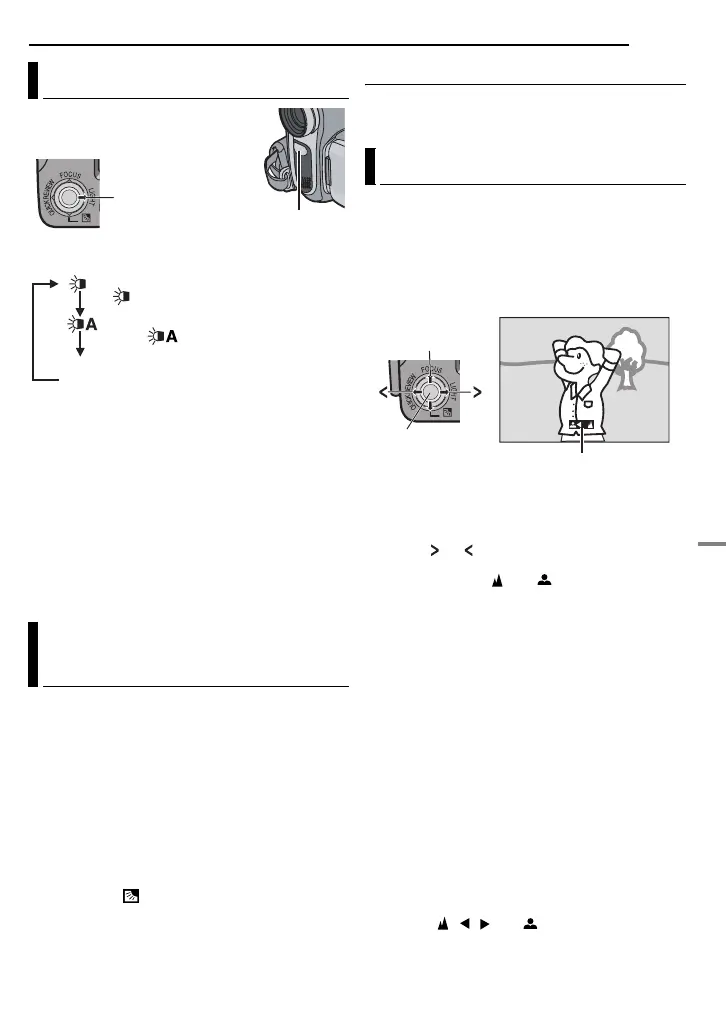
2 Set the recording mode to “M”. (墌 pg. 20)
3 Press FOCUS. The manual focus indicator
appears.
4 Press or to focus on a subject.
● When the focus level cannot be adjusted any
further or closer, “ ” or “ ” will blink.
5 Press SET. Focus adjustment is complete.
To reset to Auto Focus
Press FOCUS twice.
Manual focus is recommended in situations
listed below.
● When two subjects overlap in the same scene.
● When illumination is low.*
● When the subject has no contrast (difference in
brightness and darkness), such as a flat, one-
colour wall, or a clear, blue sky.*
● When a dark object is barely visible in the LCD
monitor or the viewfinder.*
● When the scene contains minute patterns or
identical patterns that are regularly repeated.
● When the scene is affected by sunbeams or light
reflecting off the surface of a body of water.
● When shooting a scene with a high-contrast
background.
* The following low-contrast warnings appear
blinking: , , and .
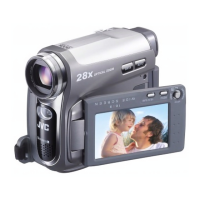
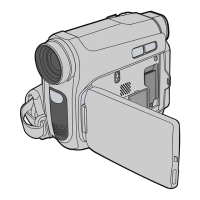
LED Light
Snapshot (Record Still Image On
Tape)
LED Light
LIGHT
No
display
Turns off the light.
The light is on always.
( appears.)
The light turns on automatically when
dark. ( appears.)
Manual Focus
Manual focus indicator
SET
FOCUS
 Loading...