34 EN
PLAYBACK
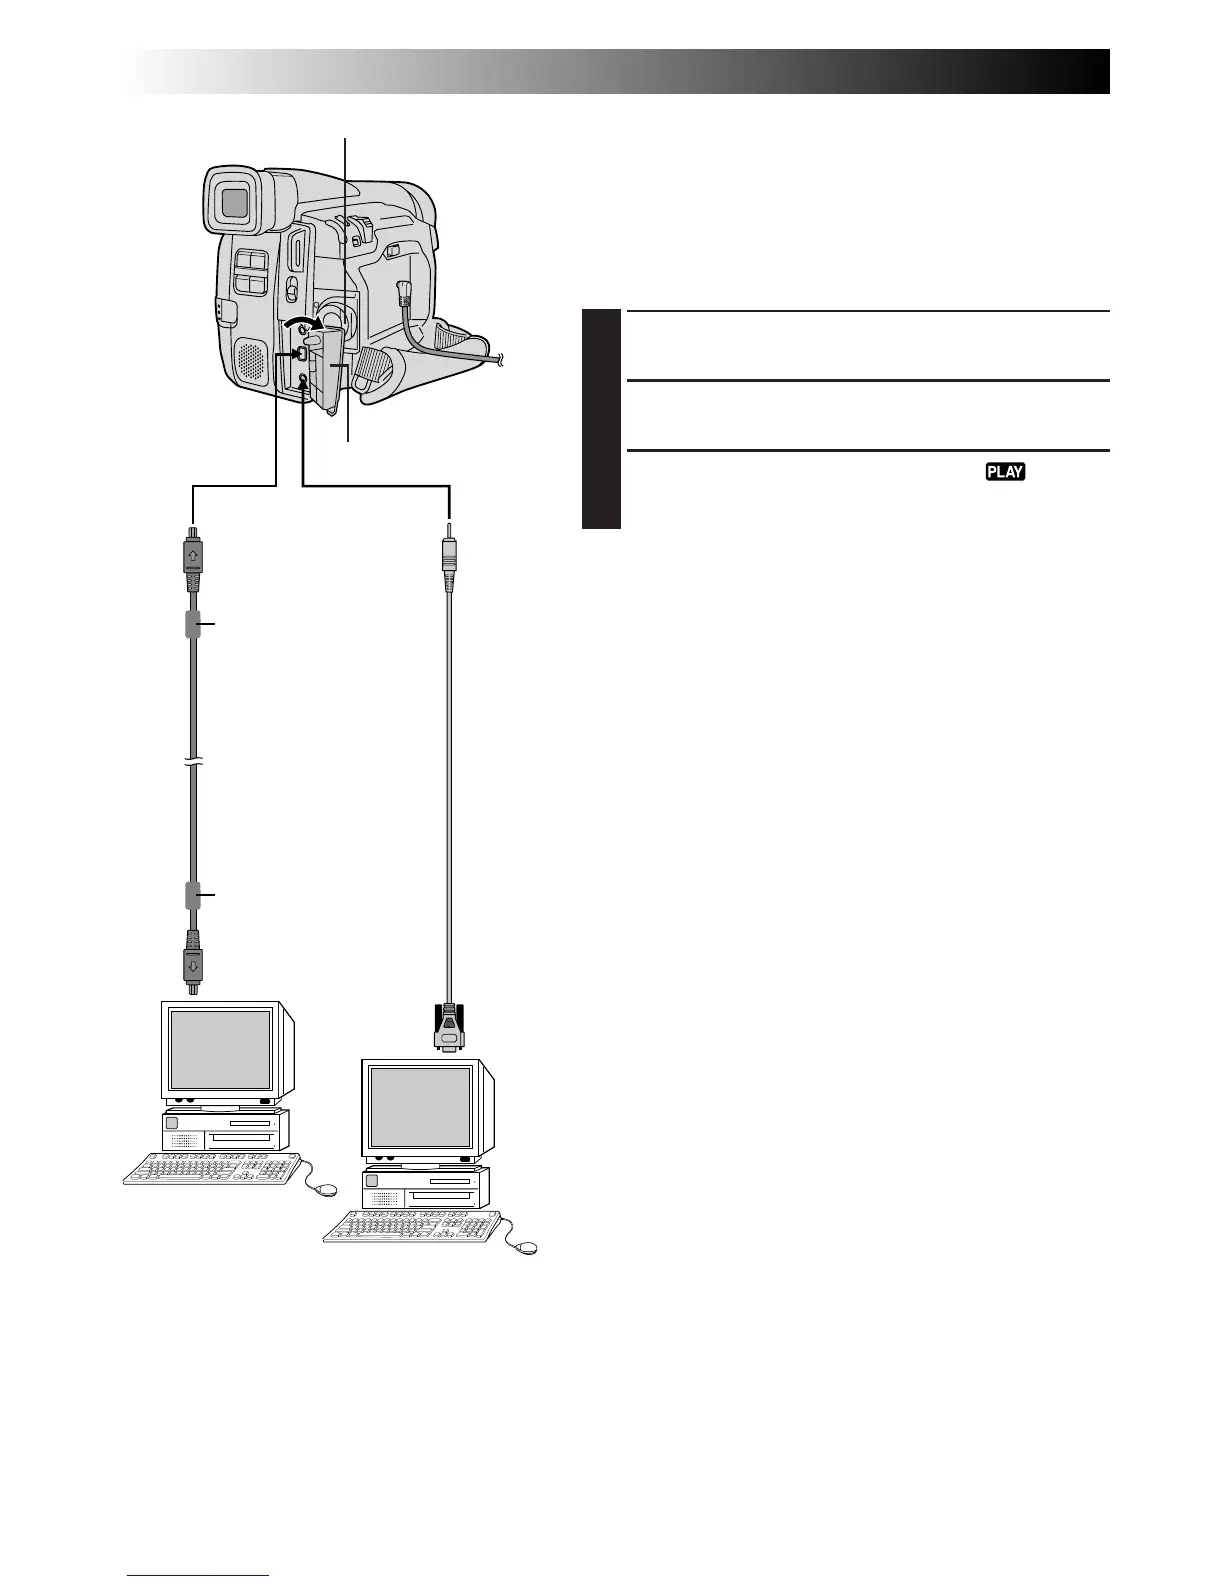
Advanced Connections
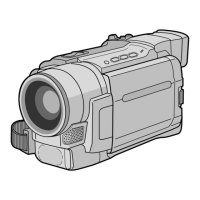
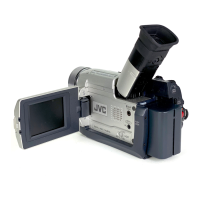
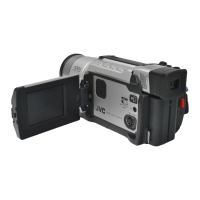
Connection To A Personal Computer
This camcorder can transfer still images to a PC using
image transfer software (GR-DVL45/DVL40 owners:
provided, GR-DVL25/DVL20 owners: optional software
such as the HS-V4KIT) when connected as shown in the
illustration. It is also possible to transfer still images to a PC
with a DV connector-equipped capture board installed.
1
Make sure the camcorder and PC are turned off.
2
Connect the camcorder to your PC using the
appropriate cable as shown in the illustration.
3
Turn the camcorder’s Power Switch to “ ” and
turn on the PC.
NOTES:
●
It is recommended to use the AC Power Adapter/
Charger as the power supply instead of the battery pack
(
Z
pg. 7).
●
Never connect the PC connection cable and the DV
cable simultaneously to the camcorder. Connect only
the cable you wish to use to the camcorder.
●
The date/time information cannot be captured into the
PC.
●
Refer to the instruction manuals of your software.
●
Also refer to the manufacturer’s instruction manual for
the DV connector-equipped capture board.
●
Be sure to use a DV cable with core filters.
To
DV IN/OUT
To RS-232C
DV cable
(optional)
To DV
connector
PC connection
cable**
To PC
Power Switch
Core filter
PC with DV
connector-equipped
capture board
PC
Core filter
* When connecting cables, open this cover.
** Provided with GR-DVL45/DVL40, optional
for GR-DVL25/DVL20.
Connector cover*
 Loading...