Do you have a question about the JVC GR-DVL210 and is the answer not in the manual?
| Recording Media | MiniDV |
|---|---|
| Optical Zoom | 10x |
| Lens Diameter | 30.5 mm |
| Screen Size | 2.5 inches |
| Weight | 1.2 lbs |
| Image Stabilizer | Electronic |
| Focus Adjustment | Auto/Manual |
| Display Type | LCD |
| Microphone | Built-in |
| Battery Type | Lithium-ion |
| Image Sensor | CCD |
| Focus | Auto/Manual |
| Exposure Control | Auto/Manual |
| White Balance | Auto/Manual |
| Audio Output | Stereo |
| USB Interface | Yes |
| IEEE 1394 (FireWire) | Yes |
| Optical Sensor Size | 1/4 inch |
| Connector Type | USB, FireWire |
| Effective Pixels | 680, 000 pixels |
| Lens | Zoom lens |
| LCD Screen | 2.5" LCD monitor |
| Viewfinder | Color |
| Audio Recording | 16-bit, 12-bit |
| Video Output | Composite |
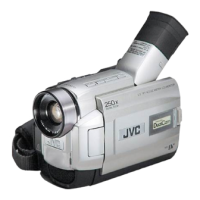
| Type | MiniDV |
Warning about not removing covers to avoid electric shock.
Warning about not exposing the apparatus to rain or moisture.
General cautions for camcorder usage, ventilation, and battery disposal.
Precautions against eye injury and equipment damage from sunlight.
Instructions on how to attach the lens cap for protection and correct fit.
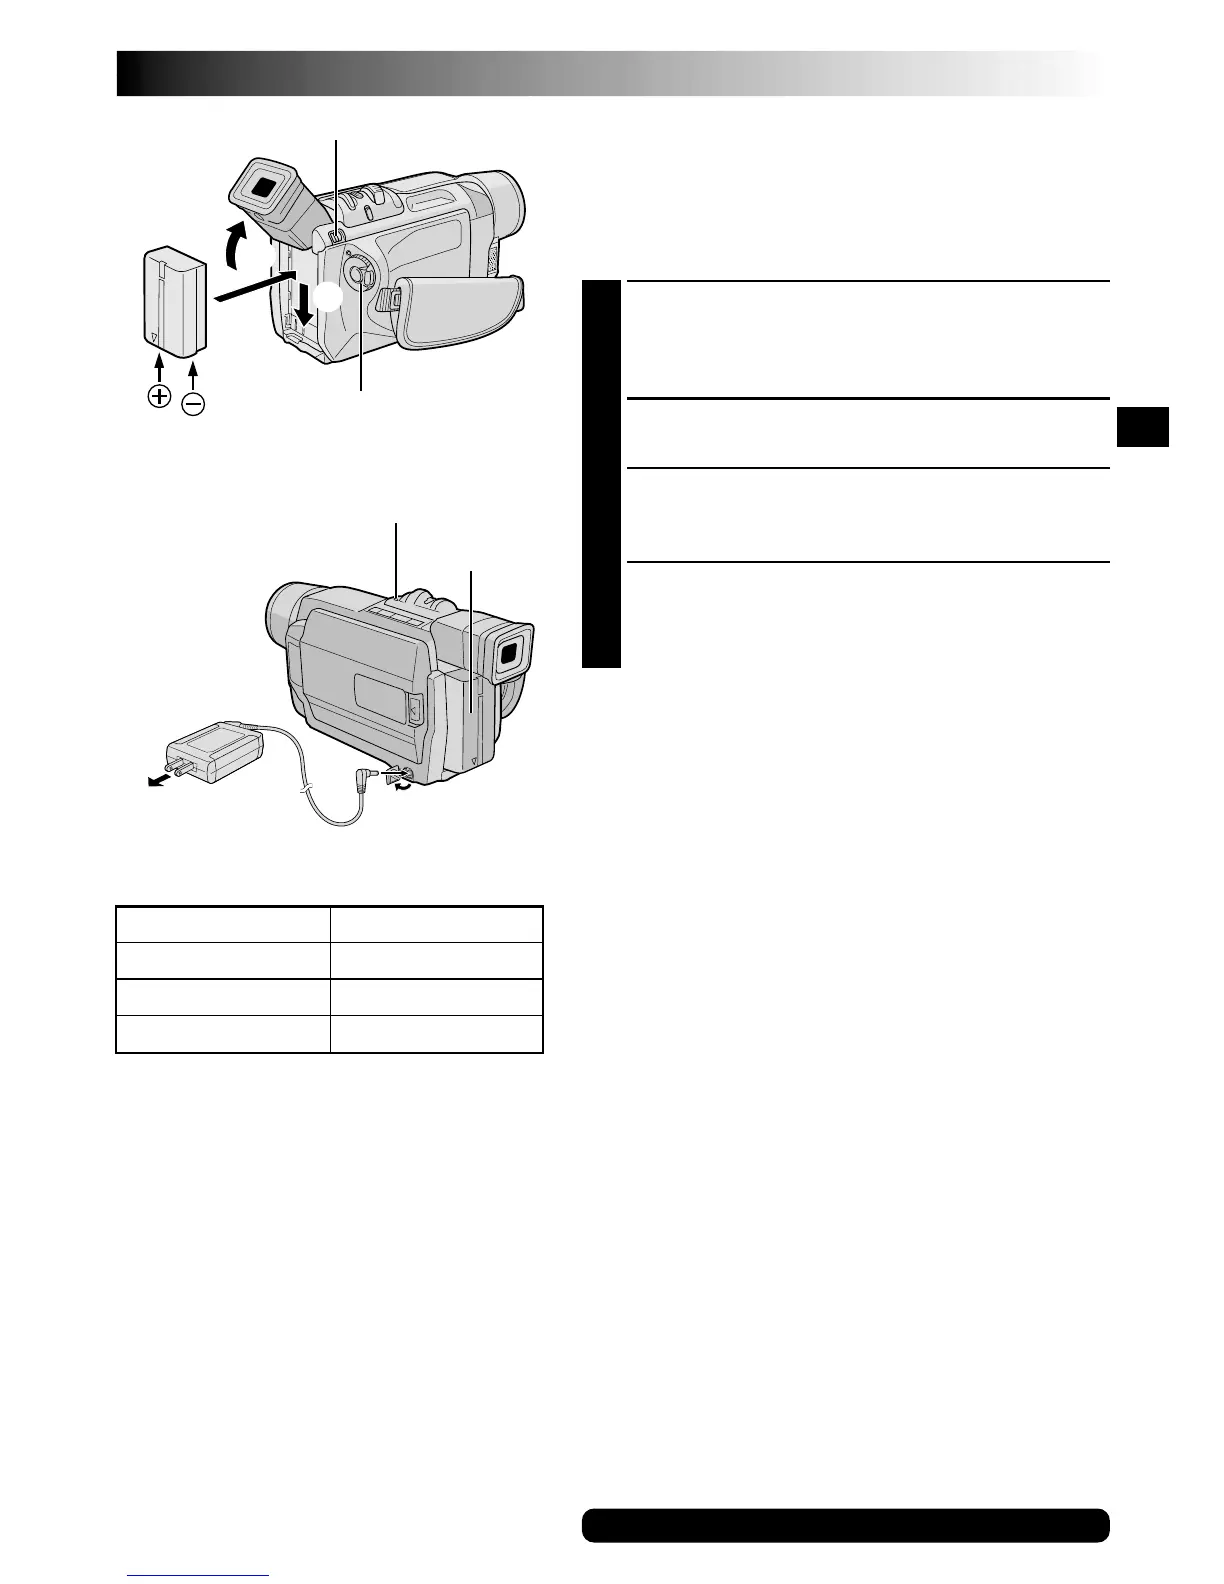
Details on using AC adapter and charging the battery pack.
Instructions on adjusting the grip for comfortable operation.
Guidance on adjusting the viewfinder for clear focus.
Steps for securely attaching the shoulder strap.
Advice on mounting the camcorder onto a tripod.
How to set the camcorder's internal date and time.
Procedure for inserting and removing a cassette tape.
How to select the tape recording mode (SP or LP).
Core steps for recording video with the camcorder.
Instructions for playing back recorded video tapes.
Connecting to TV/VCR with S-Video and A/V inputs.
Connecting to TV/VCR with only A/V inputs.
Detailed recording features like snapshot, night-alive, AE, etc.
Navigating menus for detailed camcorder settings.
Procedures for transferring video content.
Operating the camcorder remotely.
Connecting the camcorder to other devices.
Detailed notes and explanations on various items.
Solutions for common problems encountered with the camcorder.
Instructions for cleaning and maintaining the camcorder.
Alphabetical listing of controls, connectors, indicators, and terms.
Important warnings and precautions for safe usage.
Glossary of technical terms used in the manual.
Technical details and specifications of the camcorder.