EasyManua.ls Logo

JVC GR-FX12 User Manual

JVC GR-FX12
56 pages
To Next Page IconTo Next Page
To Previous Page IconTo Previous Page
Page #19 background image
EN19
Fade/Wipe Effects
These effects let you make pro-style scene transitions.
Fade- or wipe-in works at recording start, and fade- or
wipe-out works at recording end.
1
Set the Power Switch to “ ”.
2
Press FADE/WIPE repeatedly until the desired mode’s
name and indication appear.
3
They are displayed for approx. 2 seconds, then the
name disappears so that only the indication remains.
The effect is reserved.
3
Press the Recording Start/Stop Button to activate fade-
in/out or wipe-in/out.
4
To cancel a fade or wipe, press FADE/WIPE
repeatedly until “OFF” appears.
“OFF” is displayed for approx. 2 seconds and the
fade/wipe standby mode is cancelled.
Recording Start/Stop Button
FADE/WIPE Button
Power Switch
FADER
Fades in/out to a black screen.
MOSAIC (Fader)
Gradually turns/returns the picture into/from a mosaic
pattern.
SHUTTER (Wipe)
A black screen moves in from the top and bottom, closing
over the image like a shutter, or a new image pushes open
the black screen vertically from the centre.
SLIDE (Wipe)
A black screen moves in from the left to gradually cover
the image, or a new image moves in from right to left.
DOOR (Wipe)
Wipes in as the two halves of a black screen open to the
left and right, revealing the scene, or wipes out and the
black screen reappears from left and right to cover the
scene.
CORNER (Wipe)
Wipes in on a black screen from the upper right to the
lower left corner, revealing the scene, or wipes out from
lower left to upper right, leaving a black screen.
WINDOW (Wipe)
Wipes in on a black screen from the centre of the screen
towards the corners, revealing the scene, or wipe out from
the corners to the centre, leaving a black screen.
NOTE:
Pressing and holding the Recording Start/Stop
Button allows you to vary the length for the
image during fade in/out or wipe in/out.

Other manuals for JVC GR-FX12

Question and Answer IconNeed help?

Do you have a question about the JVC GR-FX12 and is the answer not in the manual?

JVC GR-FX12 Specifications

General IconGeneral
Optical Zoom16x
FocusAuto/Manual
Effective Pixels680, 000
ViewfinderColor LCD
LCD Screen2.5 inches
Image Sensor1/4-inch CCD

Summary

Safety Precautions and Handling

General Safety Precautions

Covers warnings, cautions, and notes regarding the safe operation and handling of the camcorder.

Battery Disposal and Handling

Guidelines for proper recycling, disposal, and safe handling of batteries to prevent hazards.

Getting Started and Setup

Powering the Camcorder

Covers using AC power and battery packs, including charging procedures and battery notes.

Date, Time, and Video Settings

Setting Date and Time

Step-by-step guide to set the camcorder's date and time for accurate recording and playback.

Recording Formats and Modes

Selecting Recording Format

Guide to setting the recording format (S-VHS ET, S-VHS) based on tape type and desired recording quality.

Choosing Recording Mode

Instructions on how to select between SP and LP recording modes to balance recording time and quality.

Cassette Handling and Basic Recording

Basic Recording Procedures

Covers basic recording, shooting using viewfinder or LCD monitor, and journalistic/self-recording.

Advanced Recording Features

Menu Screen Explanations

Explanation of Camera and System Menu settings for camcorder configuration.

Focusing Procedures

Explains auto focus limitations and provides steps for manual focus adjustment for precise image sharpness.

White Balance Adjustment

Steps for manually setting white balance to ensure accurate color reproduction under various lighting conditions.

Playback Connections and Dubbing

Connecting to TV or VCR

Diagrams and instructions for connecting the camcorder to a TV or VCR using A/V and S-Video cables.

Remote Control Unit Operations

Remote Control Unit Functions

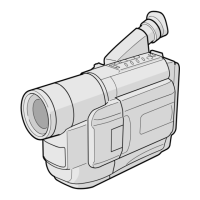
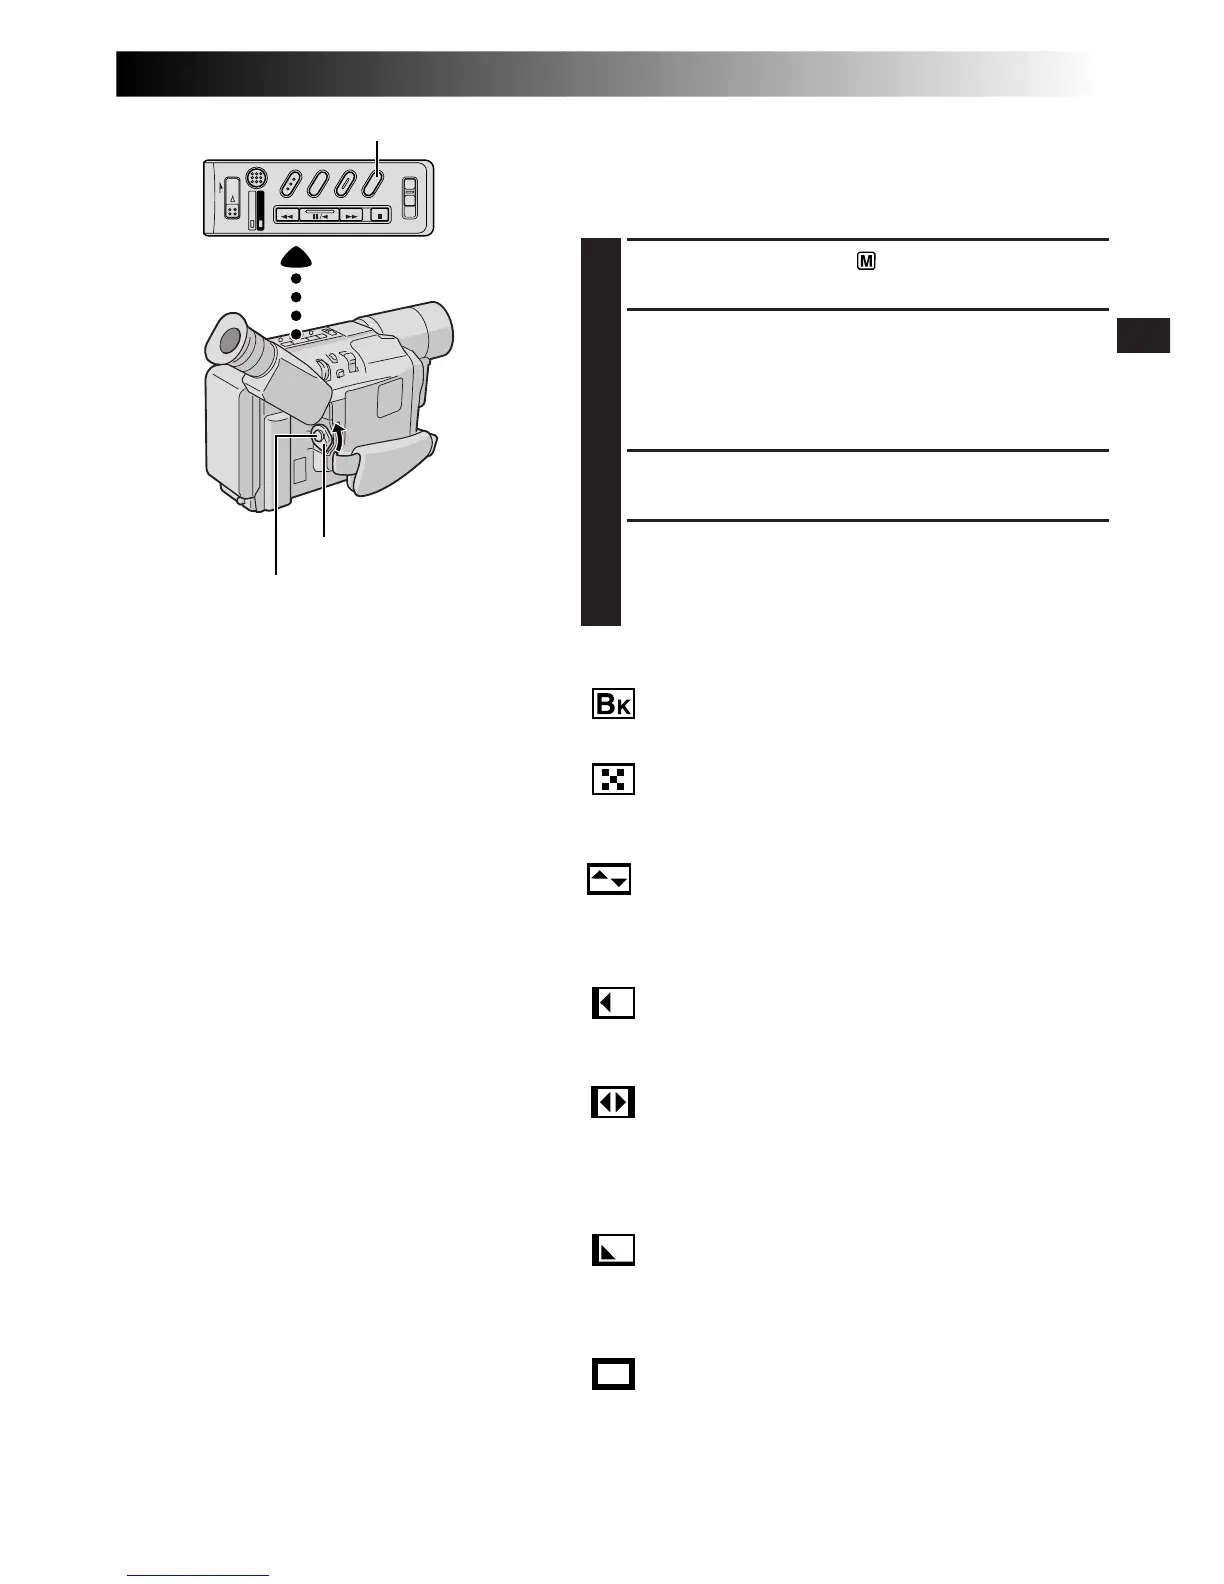
Overview of buttons and functions available on the remote control unit for operating the camcorder remotely.

Insert Editing via Remote

Detailed steps for performing insert editing using the remote control to record new scenes over existing footage.

Audio Dubbing via Remote

Guide to recording new soundtracks onto prerecorded tapes using the remote control and the built-in microphone.

Performing Automatic VCR Editing

Guide to performing automatic editing from the camcorder to a VCR, including starting and stopping the process.

Troubleshooting Common Issues

Power Supply Problems

Troubleshooting steps for issues related to no power supply or sudden power loss in the camcorder.

Recording Performance Problems

Solutions for problems like unable to record, recording not starting, or animation/time-lapse unavailability.

Playback Picture Problems

Troubleshooting steps for issues such as no playback picture, blurred picture, or lack of color on TV.

Tape Transport Malfunctions

Solutions for problems related to tape stopping during fast-forward/rewind or inability to perform these actions.

Display and Indicator Problems

Troubleshooting for missing indications, low battery warnings, lens cap indicator, and incorrect date/time display.

Image and Focus Issues

Solutions for vertical lines, bright spots, unclear images, out-of-focus issues, and hot LCD monitors.

Error Codes and Malfunctions

Guidance on interpreting error numbers (E01-E06) and handling serious malfunctions by consulting a dealer.

Indications and Warnings

Camcorder Warning Messages

Guides on interpreting warning messages like low battery, tape end, lens cap, condensation, and head cleaning.

Cautions and Safety Guidelines

Video Light Safety

Important safety warnings regarding the video light's heat, handling, and usage near flammable materials.

Battery Handling and Precautions

General precautions for handling batteries, including types, installation, and avoiding leaks or explosions.

Main Unit Safety and Usage

Safety guidelines for the main unit, including avoiding water, dust, extreme temperatures, and physical shock.

Camcorder Specifications

Camcorder Technical Specifications

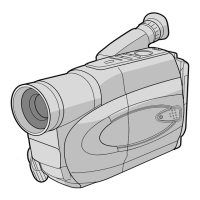
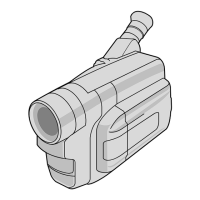
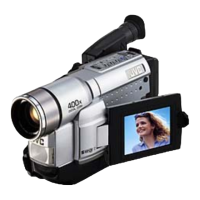
Detailed technical specifications for the camcorder, including format, power, dimensions, weight, and components.

Related product manuals