1
1
5
S
S
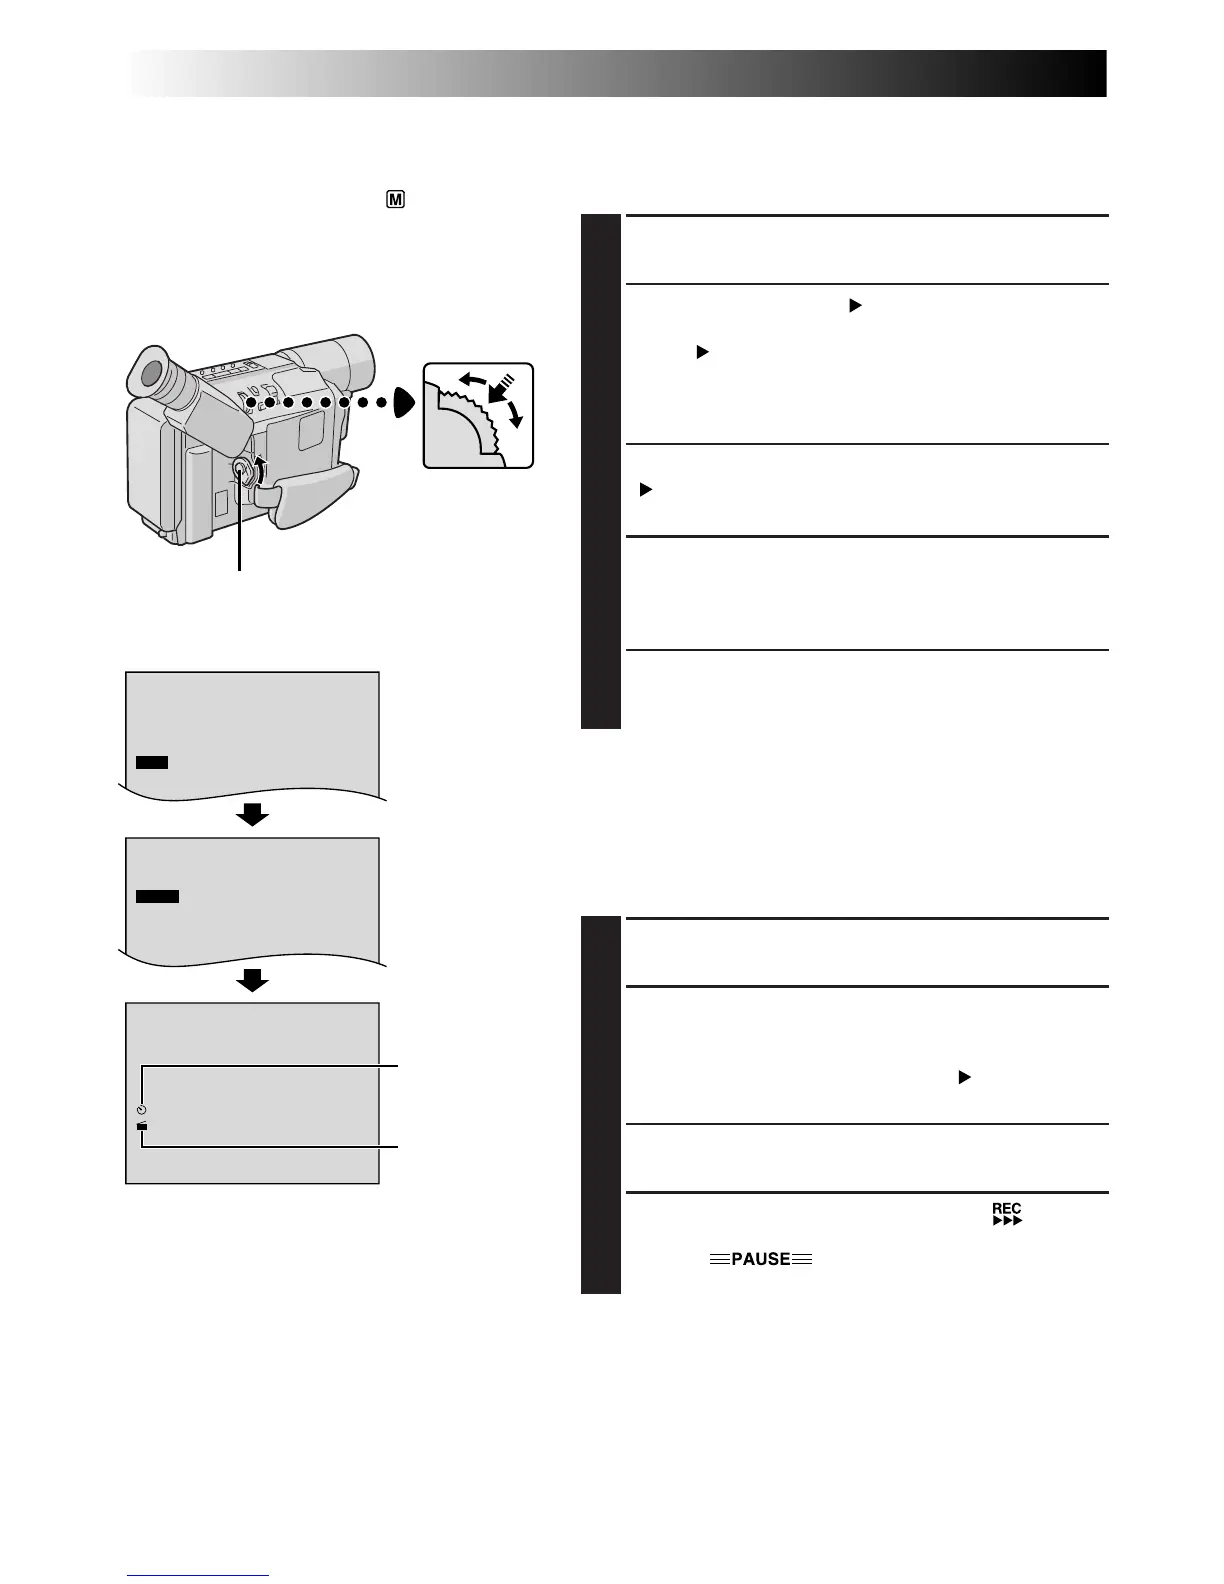
MENU Wheel
Recording Start/Stop Button
REC TIME Menu
Display
Recording time
indicator
Interval time
indicator
INT. TIME Menu
Animation
You can shoot a series of pictures, each slightly different,
of the same object for a brief period of time.
1
Press MENU. The Menu Screen appears.
2
Rotate MENU to select “ TO SYSTEM MENU” and
press it to display SYSTEM MENU. Rotate MENU to
select “
NEXT” and press it to display the next page.
Then, rotate MENU to select “REC TIME” and press it.
The REC TIME Menu appears. Rotate MENU to select
the desired recording time, then press it.
3
The Menu Screen reappears with the highlight bar on
”
RETURN”. Press MENU again to close the Menu
Screen.
4
Press the Recording Start/Stop Button after focusing
on the subject. The recording stops automatically
after the selected period of time.
•Repeat step 4 for the desired number of pictures.
5
To release the Animation mode, set “REC TIME” in
the Menu screen to “OFF”.
NOTE:
Before performing the following steps, make
sure that:
●
The Power Switch is set to “ ”.
●
The camcorder is in the Record-Standby
mode.
●
The recording mode is set to “SP”.
NOTES (for Animation and Time-Lapse):
●
For best results, make sure the camcorder is secured when shooting in Animation or Time-Lapse mode.
●
Fade- or wipe-in/out cannot be performed during Animation or Time-Lapse shooting.
●
Before performing other operations following Animation or Time-Lapse recording, make sure the Animation
or Time-Lapse mode is deactivated.
●
Animation and Time-Lapse are canceled when the power is shut off or when the cassette is ejected.
Time-Lapse
You can record sequentially at preset time spans. Leaving
the camcorder aimed at a specific subject, you can record
subtle changes over an extended period of time.
1
Set “REC TIME” (Z step 1 and 2 of “Animation”
above).
2
Rotate MENU to select “INT. TIME” and press it. The
INT. TIME Menu appears. Rotate MENU to select the
desired interval time, then press it. The Menu Screen
reappears with the highlight bar on “
RETURN”.
Press MENU again to close the Menu Screen.
3
Press the Recording Start/Stop Button. Recording and
intervals alternate automatically.
4
To release the Time-Lapse mode, when “ ” is not
displayed, press the Recording Start/Stop Button to
display “
”, then set “REC TIME” and
“INT. TIME” in the Menu Screen to “OFF”.
 Loading...