Uploading a Recording
Clip via a Web Browser
n
0
Upload
clips recorded
in the SD card to a preset
FTP server.
0
You can upload selected clips, all clips, or those
appended with an OK mark.
Configuring the FTP Server for
Uploading
(A P162 [Configuring the FTP Server for
Uploading] )
Uploading Video Clips
1
Access the main page of the camera.
Access the page via a web browser on devices
such as a smartphone, tablet terminal, or PC.
(A P165 [Connecting from a Web Browser
n] )
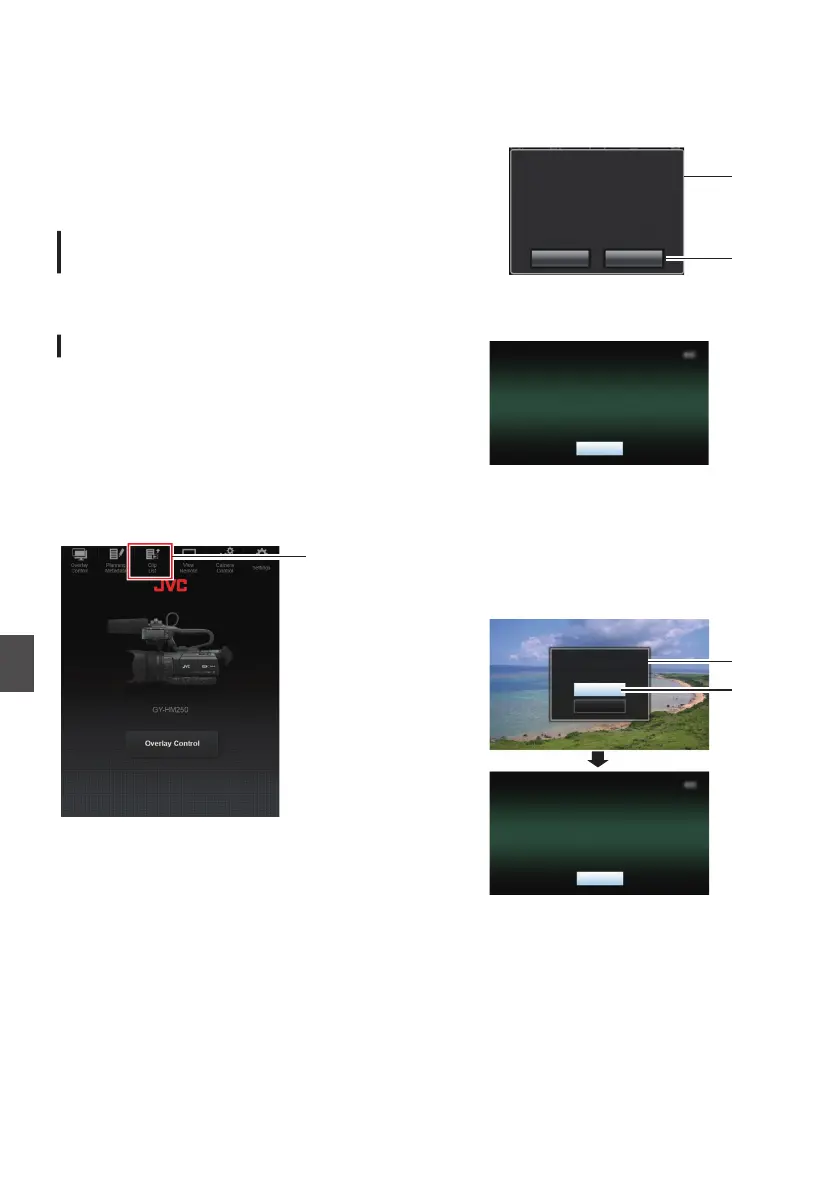
2
Display the clip list.
Tap (click) the
[Clip List] tab to display the clip
list.
.
3
Set the camera recorder to the “Remote
Edit Mode
”.
You can switch to “Remote Edit Mode” from a
web browser or through operation of the
camera.
o
Switching from a web browser
A
You will see a message indicating
“It is
necessary to change the camera mode
to "Remote Edit Mode". Change the
mode.” on the web browser.
.
A
B
ChangeCancel
It is necessary to change the camera
mode to "Remote Edit Mode".
Change the mode.
B
Tap (click) [Change] to switch the
camera to the Remote Edit mode.
.
o
Switching from the camera
A
“Change to Remote Edit Mode?
” is
displayed on the display screen of the
camera unit.
B
Select [Change
] and press the Set button
(R) to switch to the Remote Edit mode.
.
B
A
Exit
Remote Edit Mode
Cancel
Change
Remote Edit Mode?
Change to
170
Uploading a Recording Clip via a Web Browser n
Connecting to the Network n
 Loading...