EasyManua.ls Logo

JVC KW-XG706 User Manual

JVC KW-XG706
42 pages
To Next Page IconTo Next Page
To Previous Page IconTo Previous Page
Page #40 background imageLoading...
Page #40 background image
2
PEMASANGAN (BINGKAI-DALAM DASH)
Ilustrasi berikut menunjukkan sebuah tipe pemasangan. Namun, Anda harus melakukan penyetelan yang
sesuai pada mobil tertentu. Dalam hal ini, lihat buku petunjuk yang disertakan dengan kit instalasi.
Dalam beberapa kasus, tergantung pada jenis dan model mobil, tidaklah dimungkinkan untuk menginstal
unit ke konsol tengah. Jika anda mempunyai suatu pertanyaan atau informasi yang diperlukan mengenai
alat-alat pemasangan, konsultasikan pada penyalur audio mobil JVC atau sebuah perusahaan yang
mensuplai alat-alat.
Jika anda tidak yakin bagaimana memasang unit ini dengan benar, biarkan dipasang dengan teknisi yang
berkualitas.
Sebelum memasang unit
Apabila memasang unit, pastikan Anda menggunakan sekrup yang tersedia sebagaimana yang
diinstruksikan. Jika menggunakan sekerup yang lain, ada kemungkinan bagian itu menjadi longgar atau
rusak.
Sewaktu mengencangkan sekrup atau baut, hati-hati, jangan sampai menjepit kabel sambungan yang
manapun.
INSTALLATION (IN-DASH MOUNTING)
The following illustration shows a typical installation. However, you should make adjustments
corresponding to your specific car. In this case consult the manual included with the installation kit.
In some case, depending on the type and the model of your car, it is not possible to install the unit into the
center console. If you have any questions or require information regarding installation kits, consult your
JVC car audio dealers or a company supplying kits.
If you are not sure how to install this unit correctly, have it installed by a qualified technician.
Before installing the unit
When mounting the unit, be sure to use the screws provided, as instructed. If other screws are used,
there is a possibility that parts could become loose or damaged.
When tightening screws or bolts be careful not to pinch any connection cord.
1 Remove the audio system originally installed together with the mounting brackets.
Note: Be sure to keep all the screws and parts removed from your car for future use.
2 Attach the mounting brackets (removed from the car), to this unit (see below).
3 Connect the wires (see diagram ).
4 Fix this unit to the car using the screws removed in step 1.
See “Caution” below.
The following example shown is for installation in a Toyota. For more details, consult your JVC
car audio dealer.
1 Lepaskan sistem audio yang semula diinstal bersama dengan pemasangan braket.
Catatan: Pastikan Anda menyimpan semua sekerup dan komponen yang dilepaskan dari mobil
untuk penggunaan nantinya.
2 Pasangkan braket montasi (yang dilepaskan dari mobil) ke unit ini (lihat di bawah).
3 Hubungkan kabel kawat (lihat diagram ).
4 Pasang unit ini ke mobil dengan menggunakan sekerup yang dilepaskan pada langkah 1.
Lihat “Awas” di bawah.
Berikut adalah contoh pemasangan pada mobil Toyota. Untuk rincian lebih lanjut, tanyakan
kepada penyalur audio mobil JVC.
Screws supplied for this unit
Sekerup disediakan untuk unit ini
Mounting bracket removed from the car
Braket montasi dilepaskan dari mobil
Screws supplied for this unit
Sekerup disediakan untuk unit ini
Screw removed from the car in step 1
Sekerup yang dilepaskan dari mobil pada langkah 1
Securely connect the ground wire to the metal body of the car using the
screw originally fixed to the metal body of the car.
Hubungkan kawat ground dengan kencang ke bodi logam mobil dengan
menggunakan sekerup yang tadinya dipasang ke bodi logam mobil.
Mounting bracket removed from the car
Braket montasi dilepaskan dari mobil
Screws supplied for this unit:
Sekerup disediakan untuk unit ini:
Select the proper screw type, fitting to your car.
Pilih tipe sekerup yang sesuai, pasangkan ke mobil Anda.
Binding screws (M5 × 8 mm)
Sekerup jepit (M5 × 8 mm)
Flat countersunk screws (M5 × 8 mm)
Sekerup benaman datar (M5 × 8 mm)
Caution:
To install the mounting brackets to the unit, use only the supplied screws (M5 × 8 mm).
If you use any screw longer than 8 mm, the unit can be damaged.
Awas:
Untuk menginstal braket pemasangan ke unit, gunakan hanya sekerup yang disediakan (M5 × 8 mm).
Jika Anda menggunakan sekerup yang lebih panjang dari 8 mm, unit bisa rusak.
Install the unit at an angle of less than 30°.
Pasang unit pada suatu sudut kurang dari 30˚.
If there is an interfering tab on the mounting bracket,
bend it flat.
Jika ada tonjolan yang mengganggu braket pemasangan,
tekuk sehingga rata.
Install1_KW-XG706_009A_f.indd 2 4/13/07 9:10:09 AM
Question and Answer IconNeed help?

Do you have a question about the JVC KW-XG706 and is the answer not in the manual?

JVC KW-XG706 Specifications

General IconGeneral
Max Power Output50W x 4
BluetoothYes
Radio TunerAM/FM
Pre-Output Voltage2.5V
USBYes
Touch PanelYes
Steering Wheel Control ReadyYes
Backup Camera InputYes
Video OutputYes
AUX InputYes
Wireless Android AutoYes
Wireless Apple CarPlayYes
Display TypeTFT LCD
USB PortYes
Supported Audio FormatsMP3 / WMA / AAC / WAV / FLAC
DIN Size2 DIN
AUXYes
Display Size6.8 inch
Equalizer13-band
Playback FormatsMP3 / WMA / AAC / WAV / FLAC
DisplayTFT LCD

Summary

Laser Safety Information

Laser Product Warnings and Precautions

Covers safety warnings related to laser radiation and handling, including not opening the unit.

Driving and Temperature Safety Advice

Provides safety recommendations for operation while driving and in varying car temperatures.

Initial Setup and Control Panel

Preparing the Unit: Demo Mode and Clock Setting

Instructions for disabling the display demonstration and setting the current clock time.

Control Panel, Display, and Remote Usage

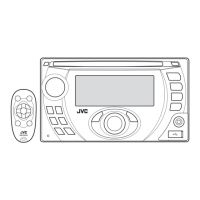
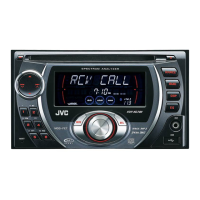
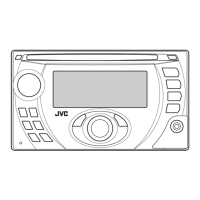
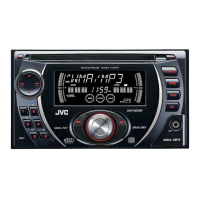
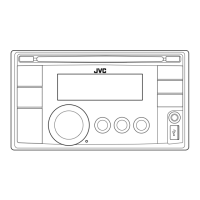
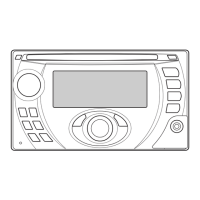
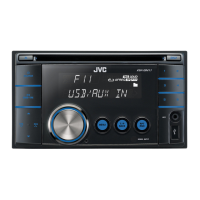
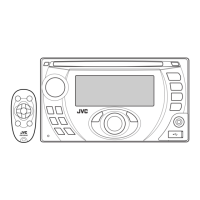
Explains the unit's controls, display indicators, and remote operation.

Audio Source Operations

Radio Tuning and Presetting Stations

Guide to finding and listening to FM/AM radio, including automatic station storage.

Disc Playback and Control

Procedures for inserting, ejecting discs, and managing playback modes like track selection.

USB Device Audio Playback

Connecting and playing music files from a USB storage device.

Bluetooth Device Pairing and Audio Streaming

Steps to pair and connect Bluetooth phones and audio devices for wireless music playback.

Bluetooth Phone and Messaging Functions

Using the unit for making calls, receiving calls, and managing text messages via Bluetooth.

CD Changer System Connection and Operation

How to connect and operate a JVC CD changer for audio playback.

iPod and D. Player Integration

Connecting and controlling compatible iPod and D. players for music playback.

Connecting Other Audio Sources

Guide for using auxiliary inputs and other external components for audio playback.

Sound and System Settings

Preset Sound Mode Selection

Choosing from various equalizer presets to enhance audio quality.

Advanced Sound Adjustments (PSM)

Fine-tuning bass, treble, fader, balance, and subwoofer levels.

System Configuration and Display Options

Customizing dimmer, display options, and other system parameters.

Bluetooth Settings Management

Customizing Bluetooth connection and behavior, such as auto-connect.

Assigning Titles to Radio Presets

Naming saved radio stations for easier identification.

Maintenance and Troubleshooting

Disc Handling and Unit Care

Recommendations for maintaining discs and the unit's performance, including cleaning.

General Unit and Sound Troubleshooting

Resolving common problems like no sound, distorted audio, or unit malfunctions.

Connectivity and Playback Error Solutions

Troubleshooting issues with USB, Bluetooth, and disc playback errors.

Technical Specifications

Audio, Tuner, and CD Player Specifications

Detailed technical data for audio components, radio reception, and CD playback.

USB Device and General Unit Specifications

Technical details for USB compatibility, file formats, and unit dimensions.

Installation and Wiring

Installation Warnings and Parts List

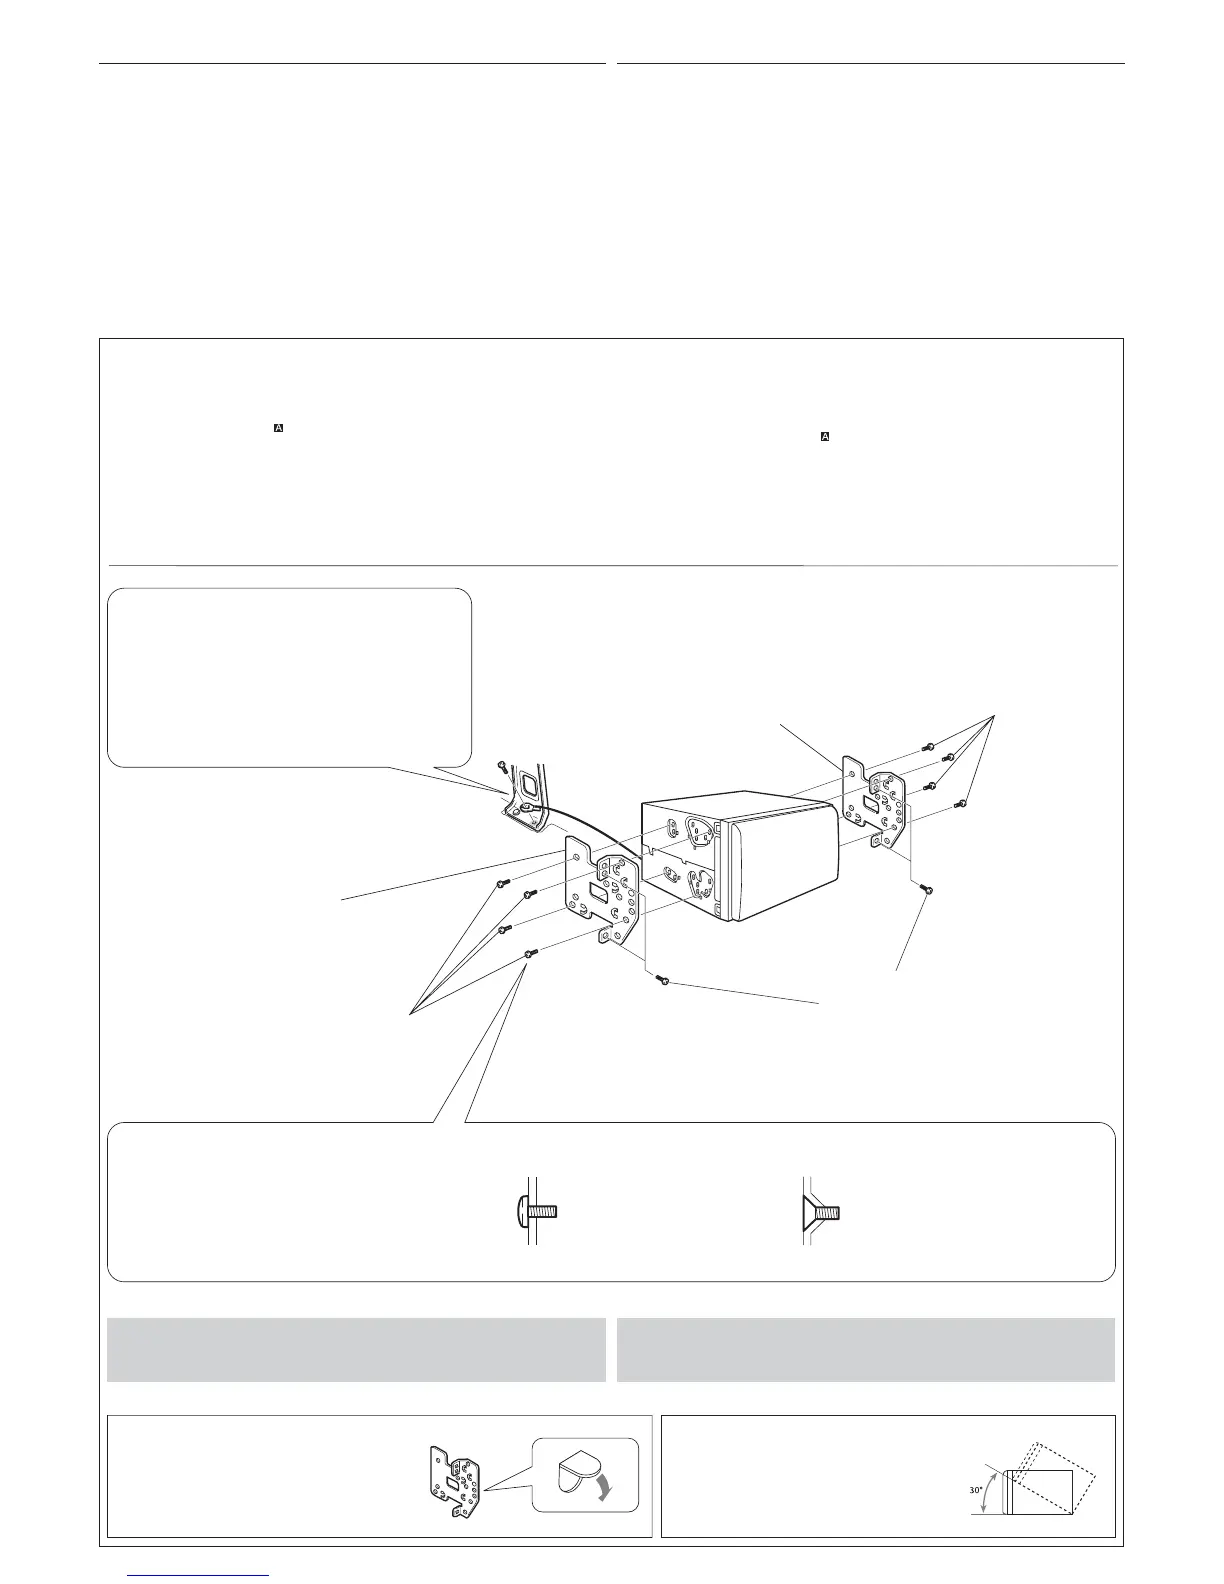
Essential safety precautions and a list of supplied installation components.

In-Dash Mounting Procedure

Step-by-step guide for installing the unit into a car's dashboard.

Electrical Connections and Wiring Diagrams

Instructions for connecting power, speakers, and antennas.

Connecting External Amplifiers and Components

Diagrams and guidance for integrating external audio equipment.

Related product manuals