EasyManua.ls Logo

JVC MX-GA8 User Manual

JVC MX-GA8
32 pages
To Next Page IconTo Next Page
To Previous Page IconTo Previous Page
Page #2 background imageLoading...
Page #2 background image
Caution –– STANDBY/ON button!
Disconnect the mains plug to shut the power off completely.
The STANDBY/ON button in any position does not
disconnect the mains line. The power can be remote
controlled.
Precaución –– Interruptor
STANDBY/ON!
Desconectar el cable de alimentación para desactivar la
alimentación totalmente. Cualquier que sea la posición de
ajuste del interruptor
STANDBY/ON, la alimentación no
es cortada completamente. La alimentación puede ser
controlada remotamente.
Warning, Cautions and Others
Avisos, precauciones y otras notas
G-1
CAUTION
To reduce the risk of electrical shocks, fire, etc.:
1. Do not remove screws, covers or cabinet.
2. Do not expose this appliance to rain or moisture.
PRECAUCIÓN
Para reducir riesgos de choques eléctricos, incendio, etc.:
1. No extraiga los tornillos, los cubiertas ni la caja.
2. No exponga este aparato a la lluvia o a la
humedad.
1 cm
1 cm
15 cm
15 cm
15 cm
15 cm
15 cm
10 cm
CA-MXGA8 CA-MXGA8
Caution: Proper Ventilation
To avoid risk of electric shock and fire, and to prevent damage, locate the apparatus as follows:
1 Front: No obstructions and open spacing.
2 Sides/ Top/ Back: No obstructions should be placed in the areas shown by the dimensions below.
3 Bottom: Place on the level surface. Maintain an adequate air path for ventilation by placing on a stand with a height
of 10 cm or more.
Precaución: el aparato debe estar bien ventilado
Para evitar posibles riesgos de descargas eléctricas e incendios y prevenir cualquier posible daño, coloque el aparato del
modo siguiente:
1 Parte delantera: No ponga nada delante, deje el espacio libre.
2 Laterales/ parte superior/ parte trasera: No se debería colocar nada en las áreas y las distancias que se detallan a
continuación.
3 Parte inferior: Coloque el aparato sobre una superficie recta. Debe haber buena circulación de aire; para ello, coloque
el aparato sobre una base a una altura mínima de 10 cm.
Front view
Vista delantera
Side view
Vista lateral
Safety_MXGA8[JW].pm6 03.3.19, 5:05 PM1

Other manuals for JVC MX-GA8

Question and Answer IconNeed help?

Do you have a question about the JVC MX-GA8 and is the answer not in the manual?

JVC MX-GA8 Specifications

General IconGeneral
CD PlayerYes
BluetoothNo
USB PortYes
FM RadioYes
Audio Channels2.0
Radio TunerFM
Remote ControlYes
Speaker Configuration2-way
FunctionsCD, Radio

Summary

Safety and Warning Information

Electrical Safety and Moisture Precautions

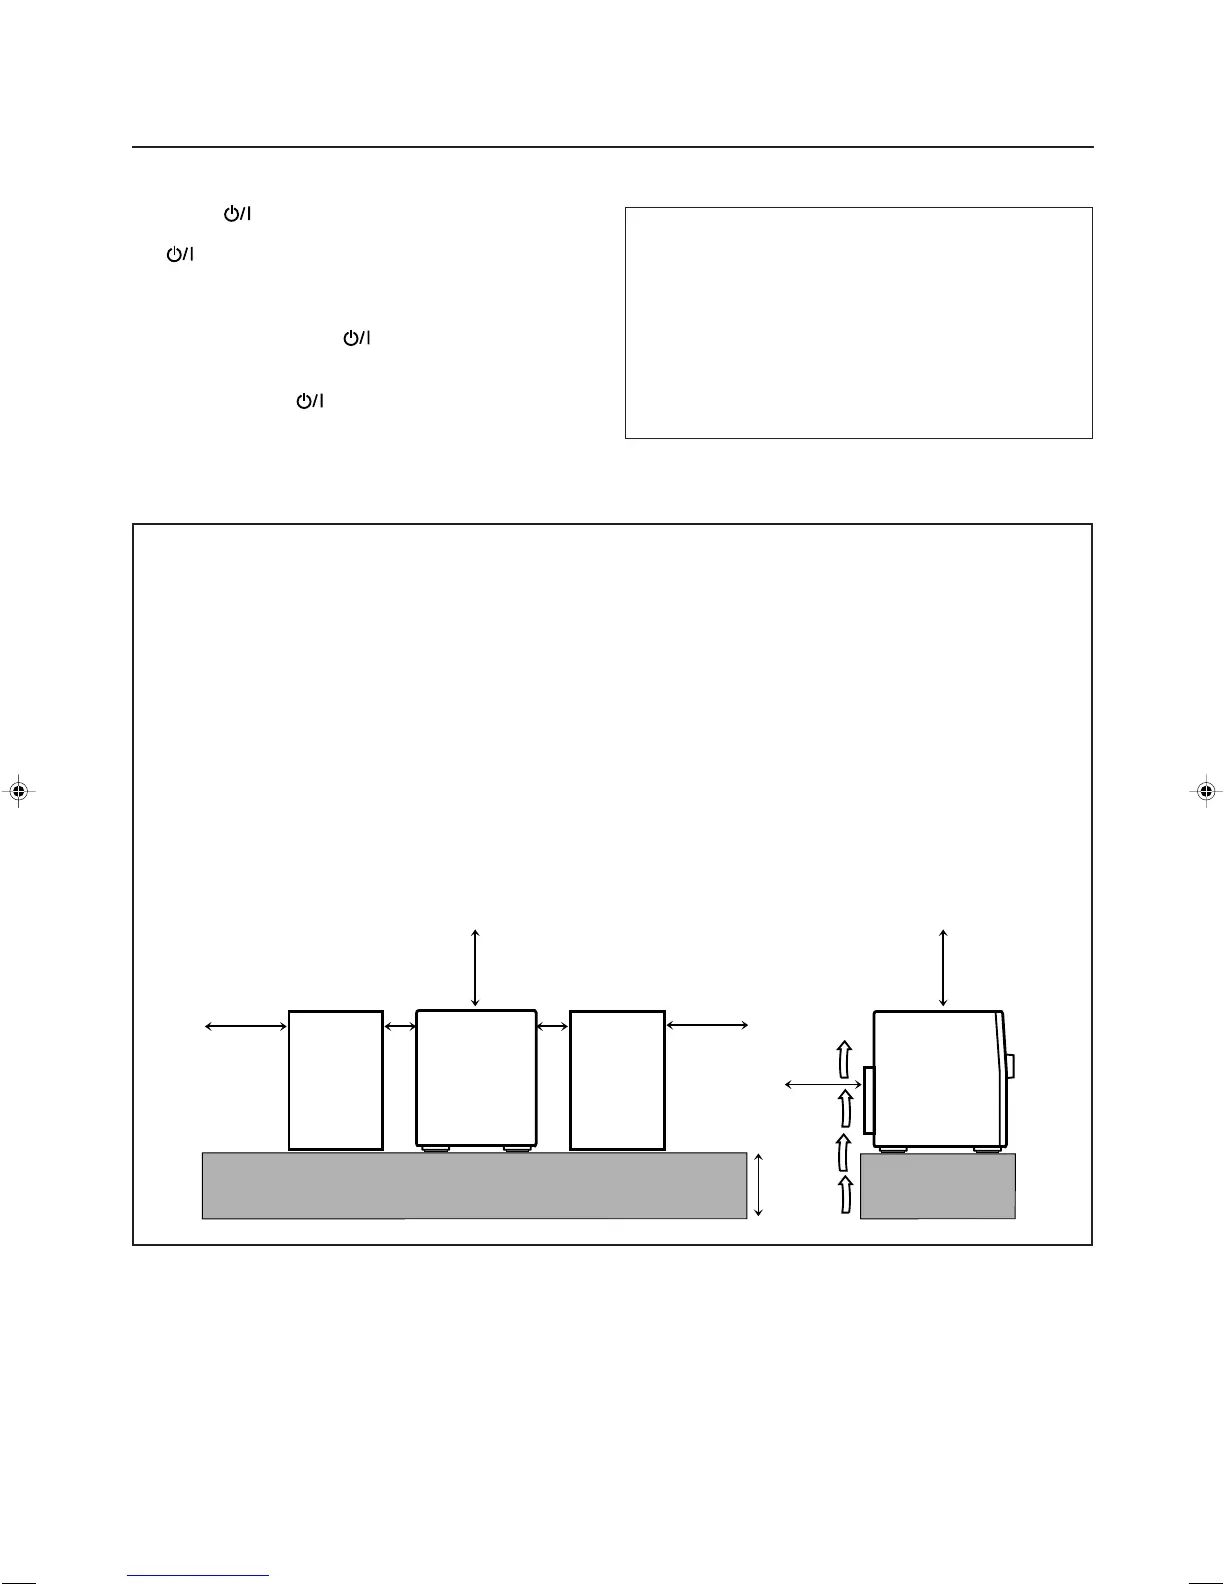
Warns against removing covers, exposing unit to rain/moisture, and proper ventilation.

Laser Product Safety

Laser Product Safety Labels and Statements

Describes laser safety labels and Class 1 product warnings.

Unit Controls and Display

Front Panel Button Identification

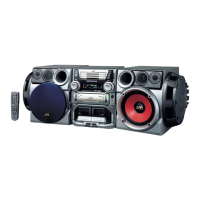
Details buttons and indicators on the front panel of the main unit.

Unit Controls and Display Indicators

Front Panel Controls Continued

Continues the description of front panel buttons and their functions.

Remote Control Guide

Remote Control Button Functions

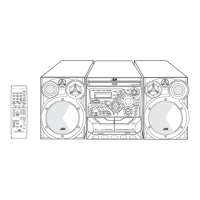
Identifies and explains the functions of each button on the remote control.

System Connection and Setup

Speaker Connections

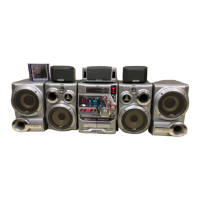
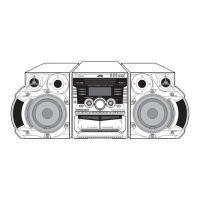
Guide to connecting the main and subwoofer speakers to the unit.

Basic Unit Operations

Power Management: On, Off, and Standby

How to turn the unit on, off, and place it in standby mode.

Selecting Audio Input Sources

How to switch between radio, CD, tape, and AUX inputs.

Audio Adjustments and Enhancements

Volume Level Control

How to control the audio volume level using unit or remote.

Radio Reception

Station Presetting and Recall

Saving and selecting favorite radio stations.

Advanced CD Playback

Basic CD Playback Controls

Controls for stopping, pausing, and resuming CD playback.

MP3 CD Playback Navigation

CD Program Playback

Programming Custom Track Order

Arranging custom playback order for CD tracks (up to 32 tracks).

Tape Recording Procedures

Recording Audio onto Cassettes

Guide to recording audio sources onto cassette tapes.

Tape and CD Recording Methods

CD to Tape Synchronization

Recording tracks from a CD to tape automatically.

Timer Functions: Daily Timer

Setting the Daily Timer

Setting the unit to turn on/off automatically at a set time daily.

Timer Functions: Recording Timer

Setting the Recording Timer

Setting the unit to record radio broadcasts automatically.

Troubleshooting Common Issues

Resolving Operational Problems

Solutions for common problems like display, sound, and playback issues.

Related product manuals