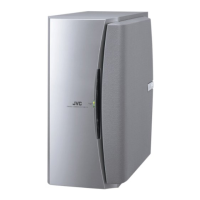
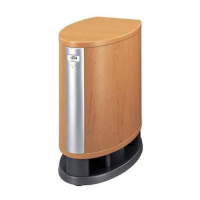
SP-PW100
1-4
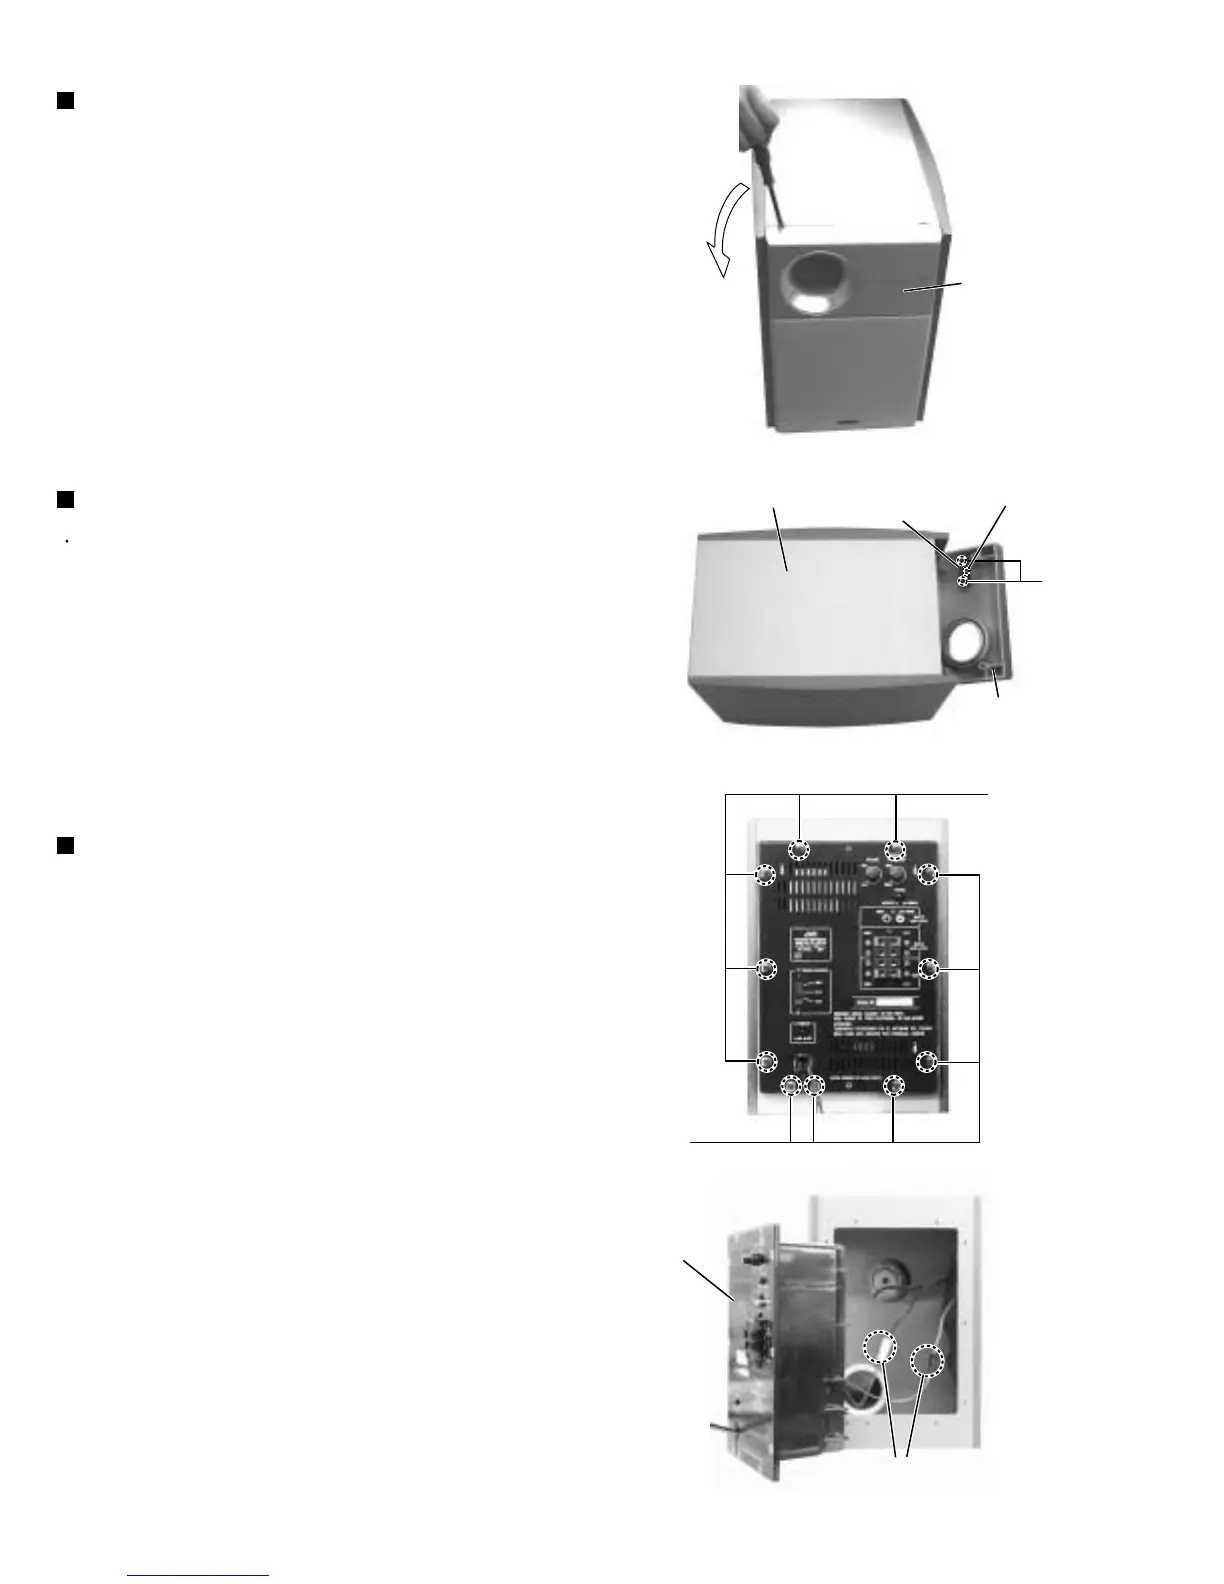
Place the bottom of the front panel upward.
While inserting a minus driver, etc. in the two
grooves, remove the four holders that are fixing the
front panel.
Note:
1.
2.
Removing the front panel (See Fig.5)
Remove the front panel.
Remove the two screws B attaching the LED board.
1.
Removing the LED board (See Fig.6)
Remove the eleven screws C attaching the amplifier
box on the back side of the main body
Remove the speaker cord connector connecting the
amplifier box and the speaker.
1.
2.
Removing the amplifier box
(See Fig.7, 8)
Exercise care not to damage the main body and
the front net when inserting the minus driver.
For this purpose, insert the minus driver
together with cloth and the like.
Fig.5
Fig.6
Fig.7
Fig.8
Front panel
Bottom of main body Connector
LED board
B
C
C
Front panel
Amplifier box
Speaker cord connector
 Loading...