CONNECTIONS
•
Do not switch the power on until all the connections are com-
pleted.
•
Insert the plugs firmly, or poor contact will result, causing
noise.
•
When the pin-plug cords are employed, always connect the
white plug to the left channel terminal. This helps to avoid
reversed connections.
•
When using the Compu Link Control System version 3, do not
connect the power cord to the SWITCHED AC OUTLET of an
amplifier or receiver. In the B version, turn the deck
POWER switch ON. Otherwise, the automatic power on/
STANDBY function cannot be carried out.
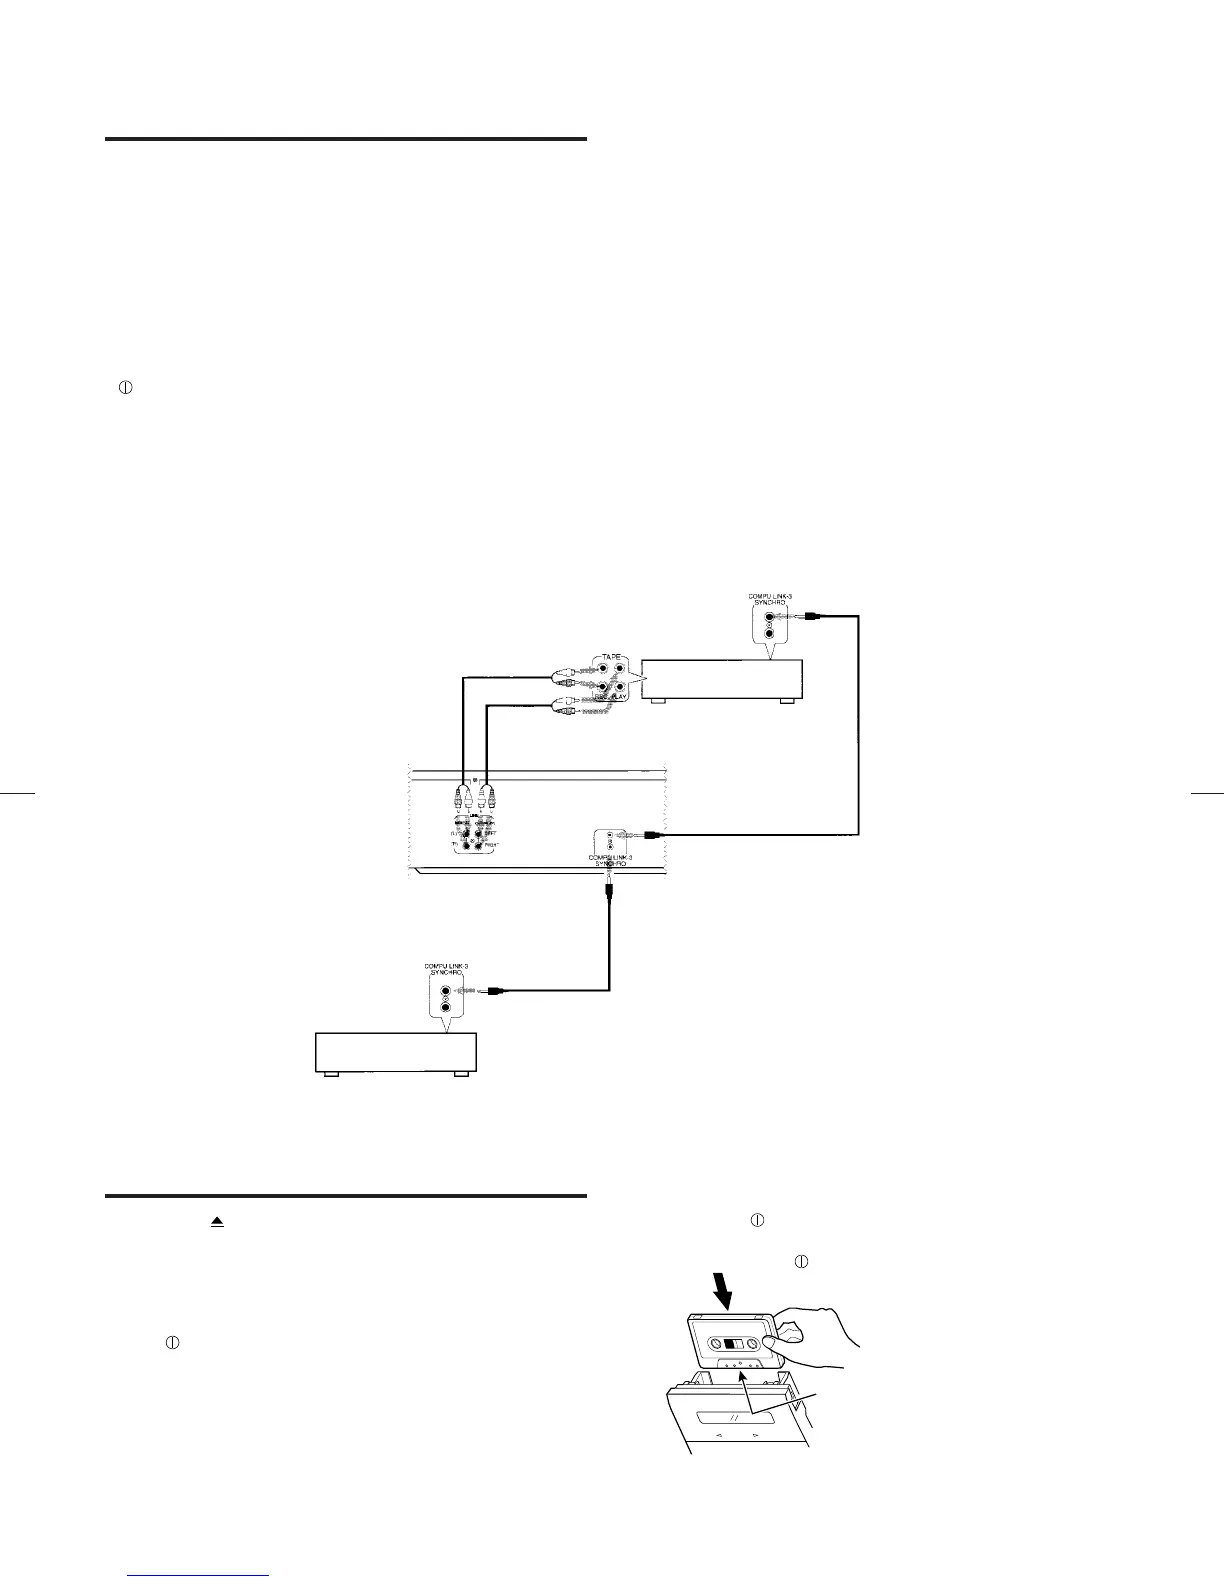
1. Connection to a stereo amplifier
Note:
When installing the deck, be sure to install at a distance from
your amplifier. If they are stacked, noise (hum) may occur.
2. Remote cable connection for COMPU LINK
•
By connecting a remote cable, COMPU LINK functions (auto-
matic power on/STANDBY, automatic source selection, syn-
chronized recording and DDRP recording) can be performed.
In this time the provided pin-plug cords must be also con-
nected.
•
When making synchronized recording with a CD player, con-
nect the remote cable to the COMPU LINK-3/SYNCHRO
jacks.
Notes:
1. When making synchronized recordings, only a single deck
should be connected to the amplifier.
2. If a component is not a JVC COMPU LINK component,
bypass it when making the remote cable connections.
3. This deck can be connected with an amplifier and a CD
player which have the COMPU LINK-1/SYNCHRO jacks for
COMPU LINK performance. (See page 9 for details.)
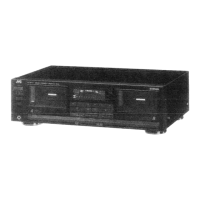
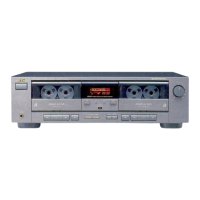
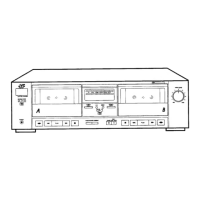
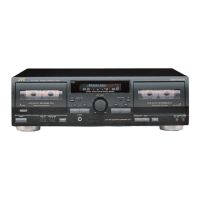
CASSETTE LOADING
1. Press the (eject) button to open the cassette holder.
2. Load a cassette as shown.
3. Press the cassette holder to close it. Be sure to obtain the
click sound to close the holder securely.
Notes for the B version:
•
If the POWER switch is set to OFF while the tape is mov-
ing, you might not be able to remove the cassette. If this hap-
pens, switch the power on again before attempting to remove
the cassette.
•
Setting the POWER switch to OFF during playback or
recording may cause a malfunction. Always stop playback
before setting the
POWER switch to OFF.
Stereo amplifier
Remote cable
(provided)
Remote cable
(provided with
CD player)
CD player
Deck
Load the cassette with the
tape-exposed edge down.
–5–
id8/i10371/ 09/23/99 Page 5
 Loading...