Remove the Plastic Strip from the Remote Control
The unit has a pre-installed
lithium CR2025 battery. Remove
the protective tab to activate the
remote control battery.
Connections
•
Soundbar Sockets Overview
•
Quick Start Guide
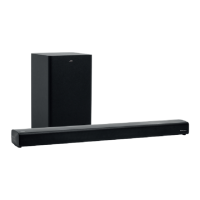
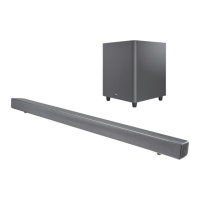
2.1 Ch Wireless Soundbar with
wired subwoofer
TH-D337B
Thank you for purchasing your new JVC Soundbar.
We recommend that you spend some time reading this Quick Start
Guide in order that you fully understand how to connect your
Soundbar to your TV.
Use your Soundbar instruction manual and TV instruction manual to
choose the best way to connect your Soundbar and TV together.
Unpacking
•
Remove all packaging from the unit. Retain the packaging. If you
dispose of it please do so according to any local regulations.
To get the most from this product, you may need to buy an
Optical cable.
Battery Replacement for the Remote Control
1. Gently push the tab of the battery tray in and slide it free
from the remote control.
2. Replace with a new
battery
3. Slide the battery tray back into the remote
control.
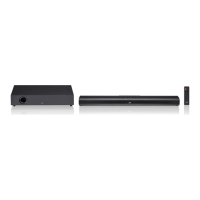
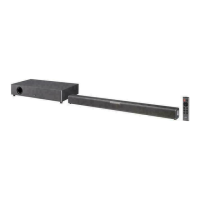
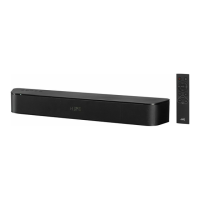
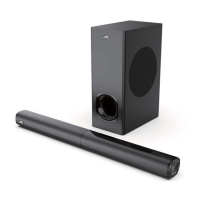
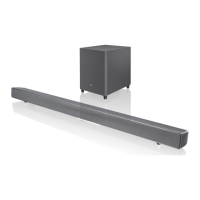
Main Unit
Remote Control
(battery included)
Subwoofer
Wall Bracket × 2
Screw × 4
Dowel × 4
Mains Cable × 2
Coaxial Cable
3.5 mm to 3.5 mm
Stereo Audio Cable
Subwoofer Cable
Instruction Manual
Quick Start Guide
Connecting to the TV
Method 1: OPTICAL / COAXIAL Connection
Use an optical cable (not included) / coaxial cable
(included) to connect the soundbar’s OPTICAL /
COAXIAL socket to the OPTICAL OUT / COAXIAL
OUT socket of the external device. The simplest
option is to connect your soundbar directly to your
TV. If you connect the soundbar to another external
device (e.g. Blu-Ray player), you will hear the sound
from that device through the soundbar.
After the connection is complete,
1. Press
on the unit or remote control to switch
on the unit.
2. Press SOURCE repeatedly to select Optical or
Coaxial mode.
The unit may not be able to decode all digital audio formats from the input
source. In this case, the Optical / Coaxial indicator will ash quickly, and
the unit will prompt “Unsupported sound format, please refer to the
Instruction Book”. This is NOT a defect. Ensure that the audio setting of
the input source (e.g. TV, game console, DVD player, etc.) is set to PCM with
optical / Coaxial input.
• DO NOT connect the soundbar with the
TV through its RCA sockets or headphone
socket.
• Before connecting the optical cable, remove
the protective cap of the OPTICAL socket.
Ensure the unit is disconnected from the mains socket before connecting it to other devices.
COAXIAL
(TV/BD/DVD)
OPTICAL
(TV/BD/DVD)
AC~
SERVICE ONLY AUX (BD/DVD) SUBWOOFER OUT
COAXIAL
(TV/BD/DVD)
OPTICAL
(TV/BD/DVD)
AC~
SERVICE ONLY AUX (BD/DVD) SUBWOOFER OUT
1. COAXIAL Socket
2. AC~ Socket
3. OPTICAL Socket
1
2
3
4
5
6
4. SERVICE ONLY Socket
5. AUX Socket
6. SUBWOOFER OUT Socket
Install the battery correctly in the battery compartment. Normally the battery’s
positive polarity (+) will face up.
Operating Your Remote Control
•
Connecting an External
Audio Device
Use a 3.5mm to 3.5mm stereo audio cable
(included) to connect the soundbar’s AUX
socket to the headphone socket of the
external devices.
After the connection is complete,
1. Press
on the unit or remote control to
switch on the unit.
2. Press SOURCE on the unit or remote
control repeatedly to select AUX IN
mode to play audio from your input
device.
• Ensure the colours on the cable plugs match with
the colours on the input and output sockets.
• DO NOT connect the soundbar and TV by using
the AUX socket.
COAXIAL
(TV/BD/DVD)
OPTICAL
(TV/BD/DVD)
AC~
SERVICE ONLY AUX (BD/DVD) SUBWOOFER OUT
3.5mm to 3.5mm stereo
audio cable (included)
Rear View of the Soundbar
3.5mm to RCA Stereo Audio Cable
(not included)
or
Blu-ray Player / DVD
Player / Recorder
Set-top Box
Satellite Receiver Game
Console
Video
Camera
MP3 Player or
Mobile Device
COAXIAL
(TV/BD/DVD)
OPTICAL
(TV/BD/DVD)
AC~
SERVICE ONLY AUX (BD/DVD) SUBWOOFER OUT
1
2
Optical cable (not included)
TV
Rear View of the Soundbar
Coaxial cable (included)
Blu-ray Player / DVD
Player / Recorder
Set-top Box
Satellite Receiver Game Console Video Camera
or
TH-D337B_QSG_Final200611V5.indd 1 15/06/2020 16:59