3
English
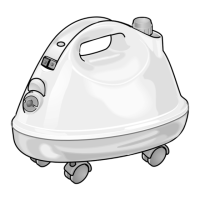
1. Equipment features
A1 Unit socket
A2 Safety cap
A3 Funnel inlet for filling boiler
A4 Steering rollers
A5 Heater switch
A6 Indicator lamp – low water warning
C1 Steam gun
C2 Release button
C3 Steam switch
C4 Steam control
C5 Steam hose
C6 Accessory plug
D1 Extension tube
D2 Release button
E1 Spot nozzle
E2 Circular brush
F1 Hand nozzle
F2 Terry-towelling slip-on
G1 Floor nozzle
G2 Retaining clips
G3 Large floor cloth
2. Getting started
2.1 Unpacking the cleaner
While you are unpacking the steam cleaner,
check that all accessories have been included.
If any items are missing, please contact your
dealer.
If you notice any damage that has been caused
in transit, please inform your dealer immediate-
ly.
Do not dispose of the packaging materials as
domestic refuse. They can be recovered for use
again. Take the packaging to an official collec-
tion point for recycling.
2.2 Attaching the accessories
• Turn the container over, and press the swivel
casters into the holes provided until they lock
into place
• Firmly insert the accessory plug (C6) into the
socket (A1).
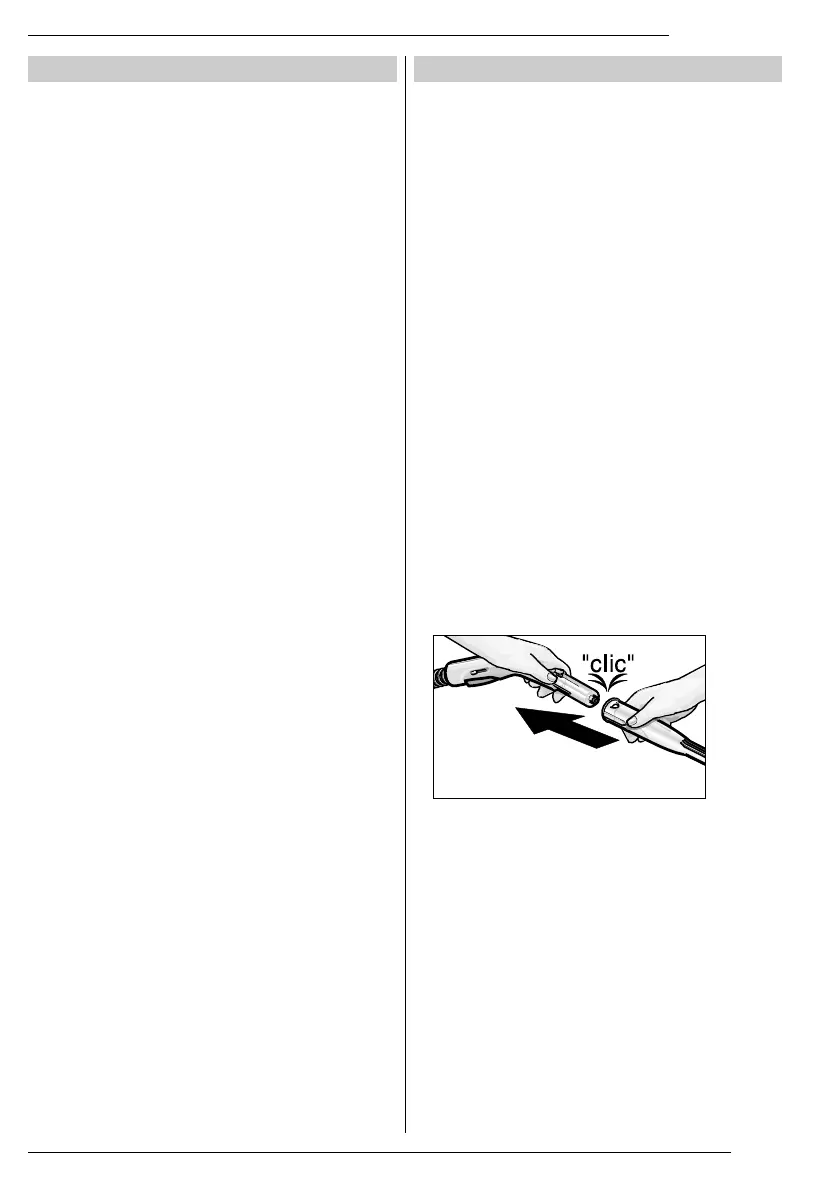
• Attached the required accessory to the steam
gun (C1) by pushing the tubular end of the
accessory onto the steam gun (C1). Push the
accessory onto the steam gun as far as ne-
cessary for the release button (C2) on the
steam gun to lock into place (see Fig. 1).
Fig. 1: Attaching accessories to the steam gun (C1)
• Use the extension tubes (D1) if required. At-
tach one or both tubes onto the end of the
steam gun.
• Push the required accessory onto the free
end of the extension tube (D1).
• To detach the accessories, press the release
button (C2 or D2) and pull the items apart.
• The circular brush (E2) can be attached to
the spot nozzle (E1) to obtain better cleaning
results. Line up both grooves in the circular
brush (E2) with the lugs on the spot nozzle
and turn the brush clockwise as far as it will
go.
 Loading...