8 English
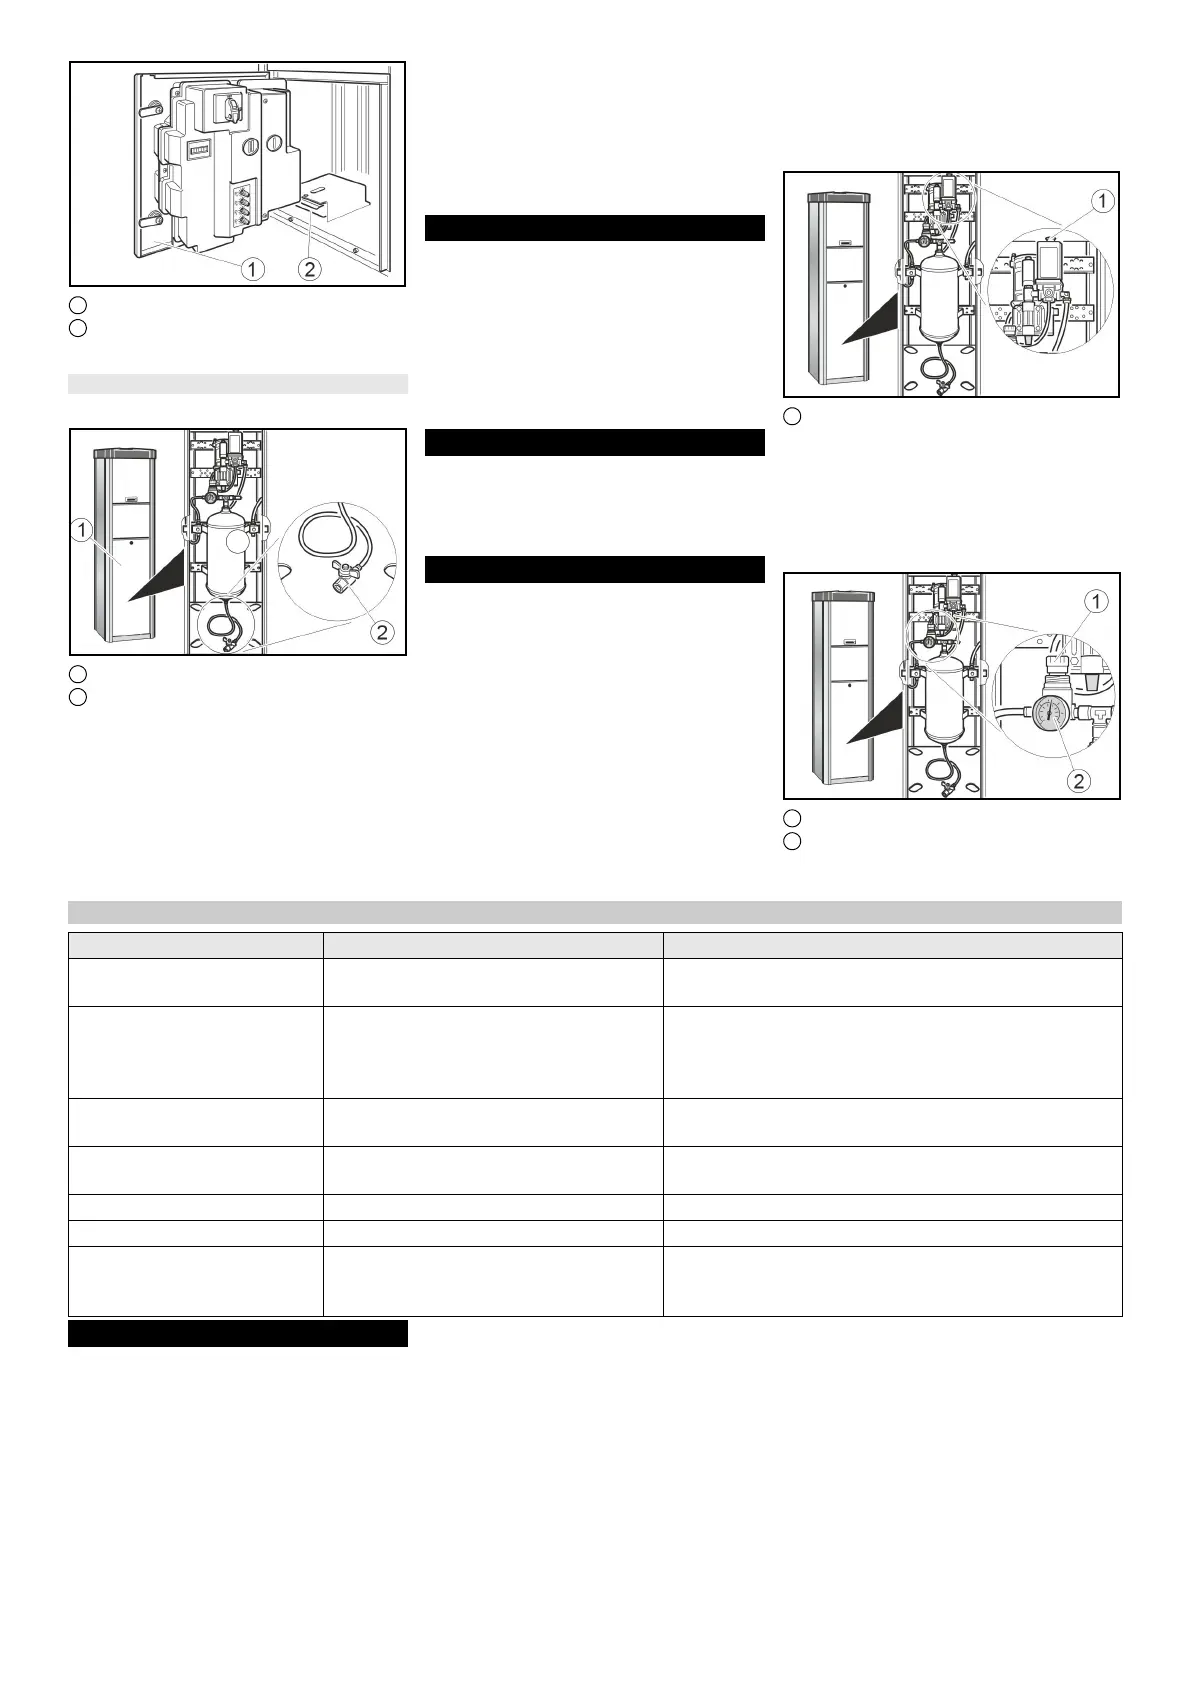
1 Door
2 Coin cassette
2. Remove and empty the coin cassette.
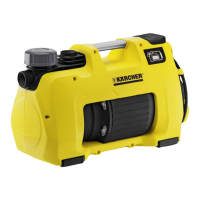
Drain the condensate
1. Remove the cover.
1 Bar cover
2 Condensate drain valve
2. Hold the condensate drain valve over a
shaft or collecting container.
몇 WARNING
Risk of injury, risk of damage
The water stream escaping from the con-
densate drain valve can cause injury or
damage.
Never point the condensate drain valve at
people, animals, the device or electrical
components.
3. Slowly open the condensate drain valve
and drain the condensate.
4. Close the condensate drain valve.
5. Attach the cover.
Transport
몇 CAUTION
Risk of injury, risk of damage
Be aware of the weight of the device during
transportation.
1. When transporting in vehicles, secure
the device against slipping and tipping
over according to the applicable guide-
lines.
Storage
몇 CAUTION
Risk of injury and damage
Be aware of the weight of the device during
storage.
Troubleshooting guide
DANGER
Danger from electric shock.
Before working on the device, set the main
switch to “OFF” and disconnect the on-
board power supply.
The device does not work
Check the on-site voltage supply.
Set the main switch to "ON" position.
Contact customer service.
The device does not start after the valve
connector has been connected to the
tyre.
Check that the valve connector is seated
correctly.
Check the condition of the hose and of
the valve connector.
Press the “tyre flat” button.
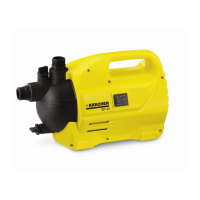
There is no compressed air
Pull the compressor on-button upward.
1 Compressor on-button
The compressor is overheated: Wait un-
til the compressor has cooled off.
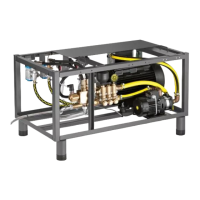
The tyre pressure is too low
Check the pressure on the pressure
gauge. Readjust the pressure reducer if
necessary.
1 Pressure reducer
2 Pressure gauge
Malfunctions with information shown on the display
Warranty
The warranty conditions issued by our rele-
vant sales company apply in all countries.
We shall remedy possible malfunctions on
your appliance within the warranty period
free of cost, provided that a material or
manufacturing defect is the cause. In a war-
ranty case, please contact your dealer (with
the purchase receipt) or the next author-
ised customer service site.
(See overleaf for the address)
Fault Cause Rectification
ER1 Unstable pressure measurement due to
defective valve connector or hose
Replace the valve connector.
Replace the hose.
ER2, ER7 The tyre pressure is too low.
Unstable pressure measurement due to
defective valve connector or hose.
Check the tyre pressure on the pressure gauge and re-
adjust the pressure reducer if necessary.
Replace the valve connector.
Replace the hose.
ER3 The tyre pressure is too low. Check the pressure on the pressure gauge and read-
just the pressure reducer if necessary.
ER4 The tyre pressure is too high. Check the pressure on the pressure gauge and read-
just the pressure reducer if necessary.
ER5 The voltage supply is disturbed. Contact customer service.
ER6, ER8, ER9, ERU, ERB Malfunction in the electronics. Contact customer service.
ERP The valve connector came loose during in-
flation.
The tyre pressure is not stable.
Check that the valve connector is seated correctly.
Check the pressure on the pressure gauge and read-
just the pressure reducer if necessary.