English 9
Scope of delivery
The scope of delivery for the appliance is shown on the
packaging. Check the contents for completeness when
unpacking. If any accessories are missing or in the
event of any shipping damage, please notify your deal-
er.
Warranty
The warranty conditions issued by our relevant sales
company apply in all countries. We shall remedy possi-
ble malfunctions on your appliance within the warranty
period free of cost, provided that a material or manufac-
turing defect is the cause. In a warranty case, please
contact your dealer (with the purchase receipt) or the
next authorised customer service site.
(See overleaf for the address)
Safety devices
몇 CAUTION
Missing or modified safety devices
Safety devices are provided for your own protection.
Never modify or bypass safety devices.
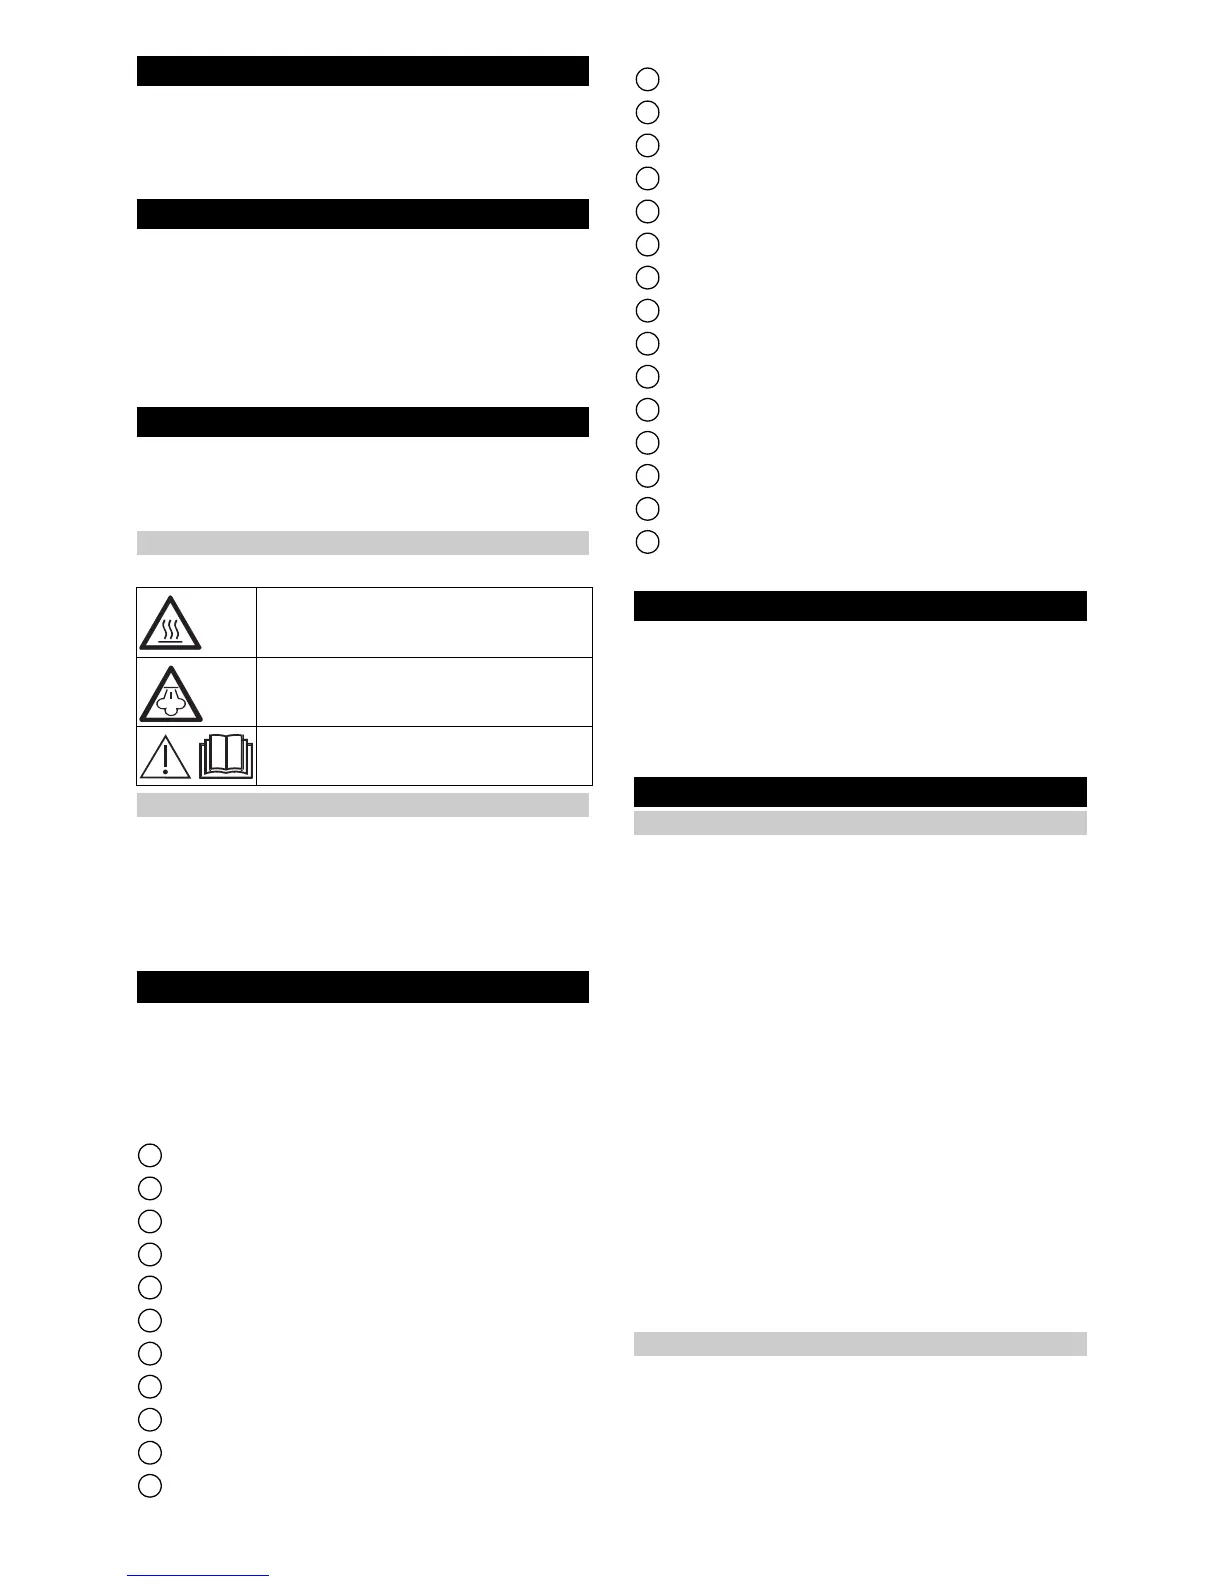
Symbols on the appliance
(according to type of appliance)
Safety lock
The safety lock seals the steam boiler from the steam
pressure present. If the pressure regulator is defective
and overpressure occurs in the steam boiler, an pres-
sure relief valve opens in the safety lock and steam
leaks out through the lock.
Prior to restarting the appliance, contact the responsible
KÄRCHER Customer Service.
Appliance description
The maximum amount of equipment is described in
these operating instructions. Depending on the model
used, there are differences in the scope of delivery (see
packaging).
For the figures, please refer to the graphics page.
Illustration A
1 Safety lock
2 Filling hole for water
3 Switch
4 Child lock
5 Carrying handle
6 Grid connection cable with mains plug
7 Indicator light (green) - grid voltage present
8 Steam boiler
9 Steam nozzle
10 Unlocking button
11 ** Steam hose
12 Steam gun
13 Unlocking button
14 Steam connector
15 Spotlight nozzle
16 Round brush
17 Power nozzle
18 Manual nozzle
19 Manual nozzle microfibre cover
20 ** Manual nozzle microfibre cover (2 x)
21 ** Extension tubes (2 pcs)
22 Unlocking button
23 ** Floor nozzle
24 Hook and loop fastener
25 ** Micro fibre cloth
26 Measuring jug
** Optional
Initial Start-Up
During initial start-up, a small cloud of smoke may be
emitted from the steam nozzle. The appliance requires
a short run-in time. At the start, the steam output is very
irregular and damp, single droplets of water may even
leak out. The steam volume that leaks out increases
constantly until the maximum quantity has been
reached after approx. 1 minute.
Installation
Installing accessories
1. Push the open end of the accessory onto the steam
nozzle or steam gun until the unlocking button of the
steam nozzle or steam gun engages.
Illustration F
Illustration I
Illustration J
2. Push the open end of the accessory onto the spot-
light nozzle.
Illustration K
3. Connect the connection pipes with the steam nozzle
or steam gun.
a Push the 1st extension tube onto the steam noz-
zle or steam gun until the unlocking button of the
steam nozzle or steam gun engages.
The connection pipe is connected.
b Push the 2nd extension tube onto the
1st extension tube.
The connection pipes are connected.
Illustration N
4. Push the accessory and/or the floor nozzle onto the
free end of the extension tube.
Illustration O
The accessory is connected.
Disconnecting accessories
1. Push the child lock down.
Illustration G
The switch is locked.
2. Push the unlocking button and pull the parts apart.
Illustration L
Illustration M
Risk of burns, surface of appliance be-
comes hot during operation
Risk of scalding from steam
Read operating instructions

 Loading...