23
Appliance preparation
■To prevent used water spillage from making your work surface dirty and to avoid burning yourself, don’t forget to
attach the drip tray.
■Remove and refill the water tank (1-2).
■Refill the coffee bean container (3).
First use
■Turn on the appliance by plugging it in then pressing the on/off button (4).
■The machine pre-heats. At the end of the cycle, the symbols and start button start to flash.
■Put a 0.6L container underneath the two coffee and steam nozzles.
■Press the start/stop button (5). The machine starts and rinses the hydraulic circuits (coffee and steam) for around
2 minutes. At the end of the initialisation cycle, the coffee types menu appears. (6)
■You are advised to rinse the circuit if you have not used your machine for several days (see the chapter on Maintaining
Your Appliance).
A. Water tank lid
B. Water tank
C. Used grounds collector
D. Coffee outlet and height-adjustable handle
E. Grid and removable drip tray
F. Coffee bean container lid
Coffee bean container
G. Coffee grounds fineness adjustment knob
H. Metal grinder
I. Cleaning tablet funnel
J. Cup grid (may vary according to model)
K. Water level float
Graphic screen
L. On/off button
M. Coffee and favourites button
N. Steam button
O. Settings button
P. Navigation button
Q. + or - button
R. Start/stop button
S. Steam nozzle
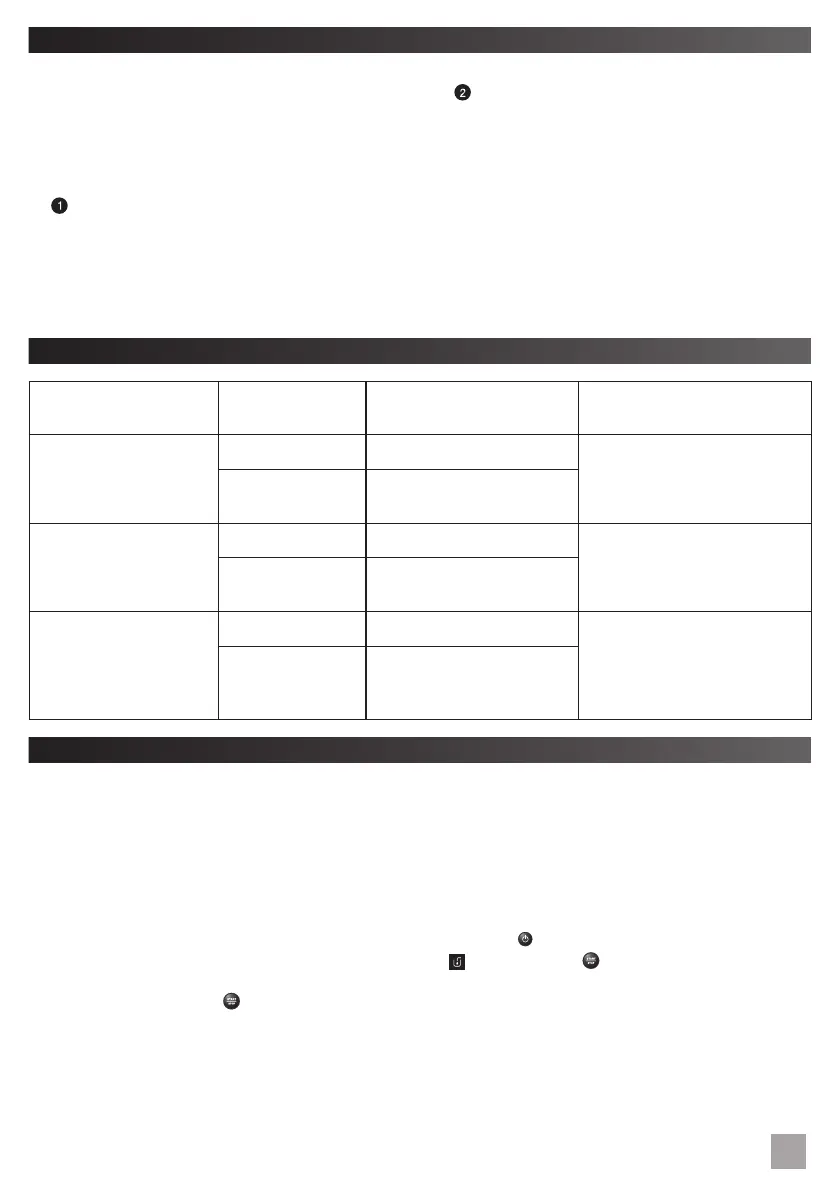
APPLIANCE DESCRIPTION
BEVERAGE PREPARATION
TYPES OF COFFEE
Number of
possible cups
Possible settings
Volume (ml)
Possible settings
Strength
RISTRETTO
1 20 to 30 ml (per 10 ml)
1 to 3 beans
2 x 1
2 x 20 to 30 ml (per 10 ml)
In two cycles
ESPRESSO
1 30 to 70 ml (per 10 ml)
1 to 3 beans
2 x 1
2 x 30 to 70 ml (per 10 ml)
In two cycles
COFFEE
1 80 to 180 ml (per 10 ml)
1 to 3 beans
2 x 1
2 x 80 to 180 ml
(per 10 ml)
In two cycles
BEVERAGE PREPARATION
 Loading...