Page 11
High Altitude Derate
Locate the high altitude conversion sticker in the unit
literature bag. Fill out the conversion sticker and affix next
to the unit nameplate.
Refer to table 2 for high altitude adjustments.
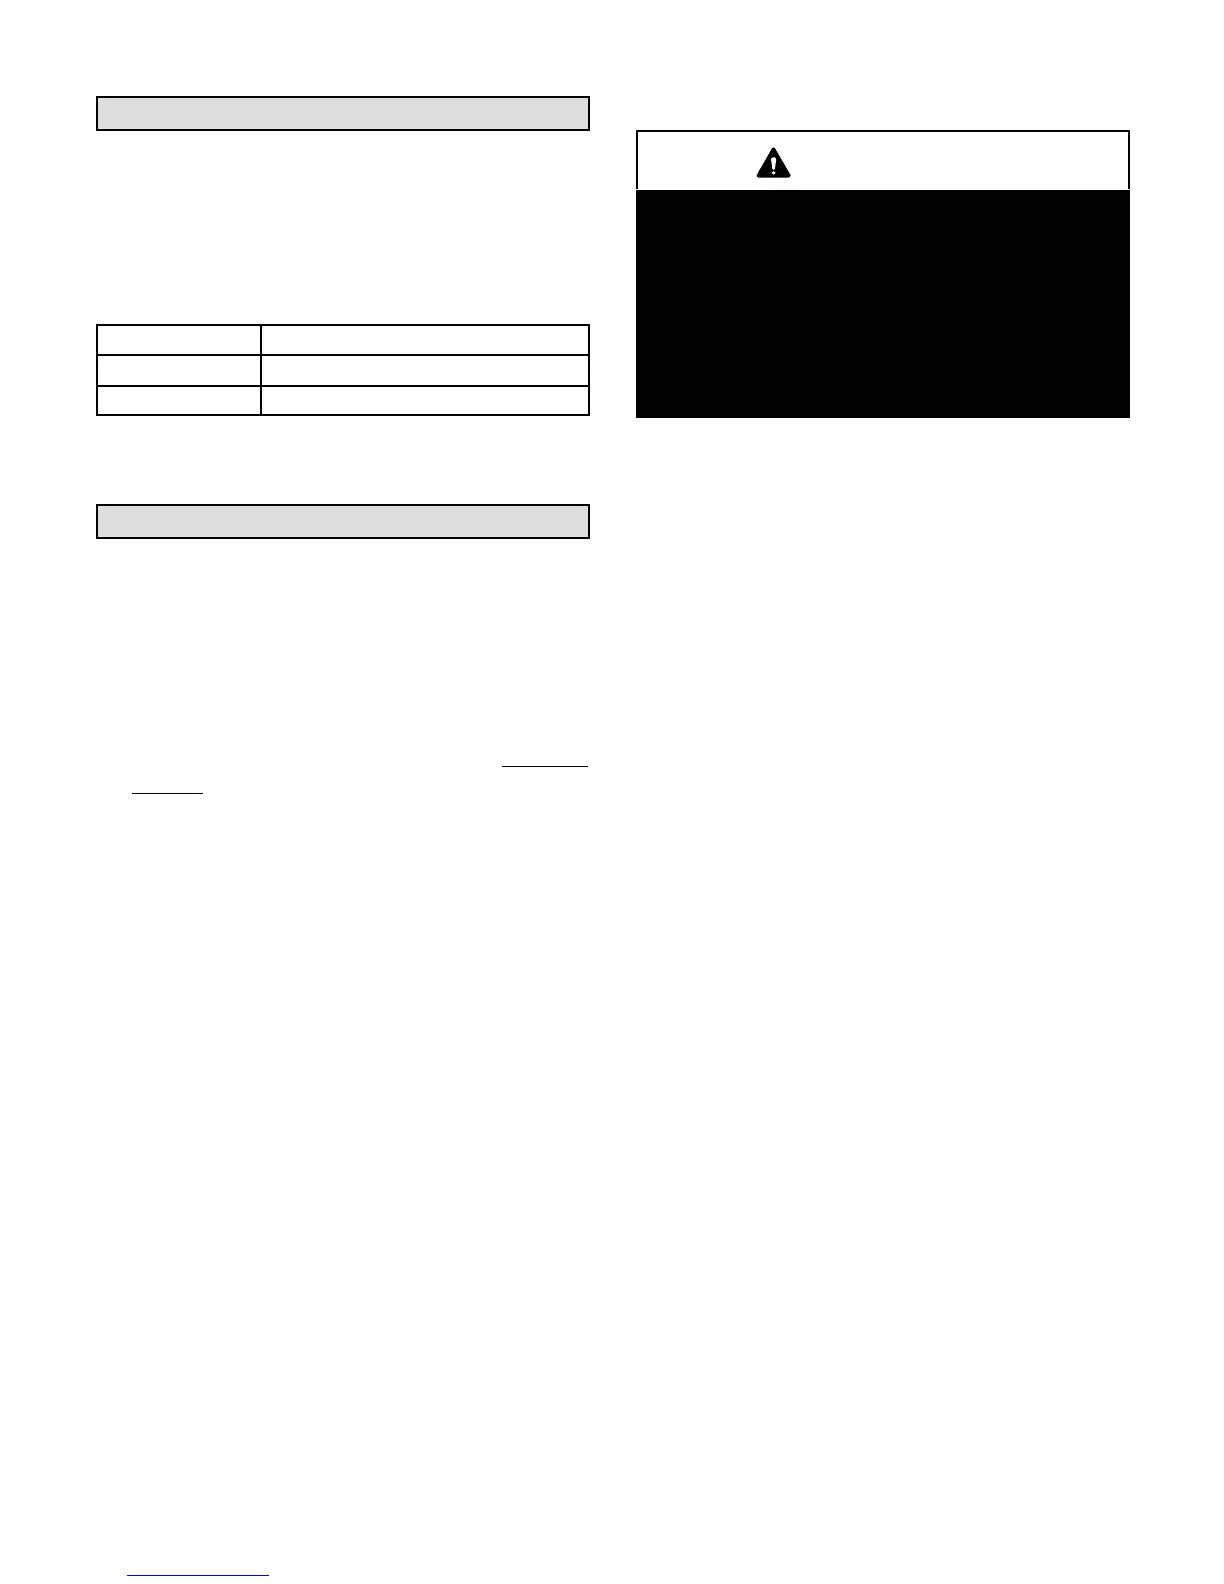
TABLE 2
HIGH ALTITUDE DERATE
Altitude Ft.* Gas Manifold Pressure
2000-4500 See Unit Nameplate
4500 And Above Derate 2% / 1000 Ft. Above Sea Level
*Units installed at 0-2000 feet do not need to be modified.
NOTE ‐ This is the only permissible derate for these units.
Electrical Connections
POWER SUPPLY
Do not apply power or close disconnect switch until
installation is complete. Refer to start-up directions.
Refer closely to unit wiring diagram.
Refer to unit nameplate for minimum circuit ampacity
and maximum fuse size.
1- 230/460/575 volt units are factory wired. For 208V
supply, disconnect the orange wire (230V) at all
control power transformer(s). Reconnect the red
wire (208V). Tape the exposed end of the 230V
orange wire.
2- Route power through the bottom power entry area.
On gas units or units with electric heat, connect
power wiring to TB2. On cooling only units,
connect power to F4. If unit contains an optional
factory-installed circuit breaker or disconnect
switch, connect line voltage to CB10 or S48. See
unit wiring diagram.
3- Connect separate 120v wiring to optional GFCI
outlet.
CONTROL WIRING
CAUTION
Electrostatic discharge can affect electronic com
ponents. Take precautions during unit installation
and service to protect the electronic controls. Pre
cautions will help to avoid control exposure to elec
trostatic discharge by putting the unit, the control
and the technician at the same electrostatic poten
tial. Neutralize electrostatic charge by touching
hands and all tools on an unpainted unit surface,
such as the gas valve or blower deck, before per
forming any service procedure.
A-Thermostat Location
Room thermostat mounts vertically on a standard 2” X 4”
handy box or on any non-conductive flat surface.
Locate thermostat approximately 5 feet (1524mm)
above the floor in an area with good air circulation at
average temperature. Avoid locating the room
thermostat where it might be affected by:
-drafts or dead spots behind doors and in corners
-hot or cold air from ducts
-radiant heat from sun or appliances
-concealed pipes and chimneys
B-Control Wiring
The Unit Controller will operate the unit from a
thermostat or room sensor based on the System
Mode. The default System Mode is the thermostat
mode. Refer to the Unit Controller Installation and
Setup Guide to change the System Mode. Use the
menu navigation arrows and select button; SETTINGS
> CONTROL. Options are: “WIRED THERMOSTAT”
and “NETWORK”.
Thermostat Mode
1- Route thermostat cable or wires from subbase to
control area above compressor (refer to unit
dimensions to locate bottom and side power entry).
IMPORTANT - Unless field thermostat wires are rated
for maximum unit voltage, they must be routed away
from line voltage wiring. Use wire ties located on the front
border of the control panel to secure thermostat cable.
Use18 AWG wire for all applications using remotely
installed electro-mechanical and electronic
thermostats.
 Loading...