9
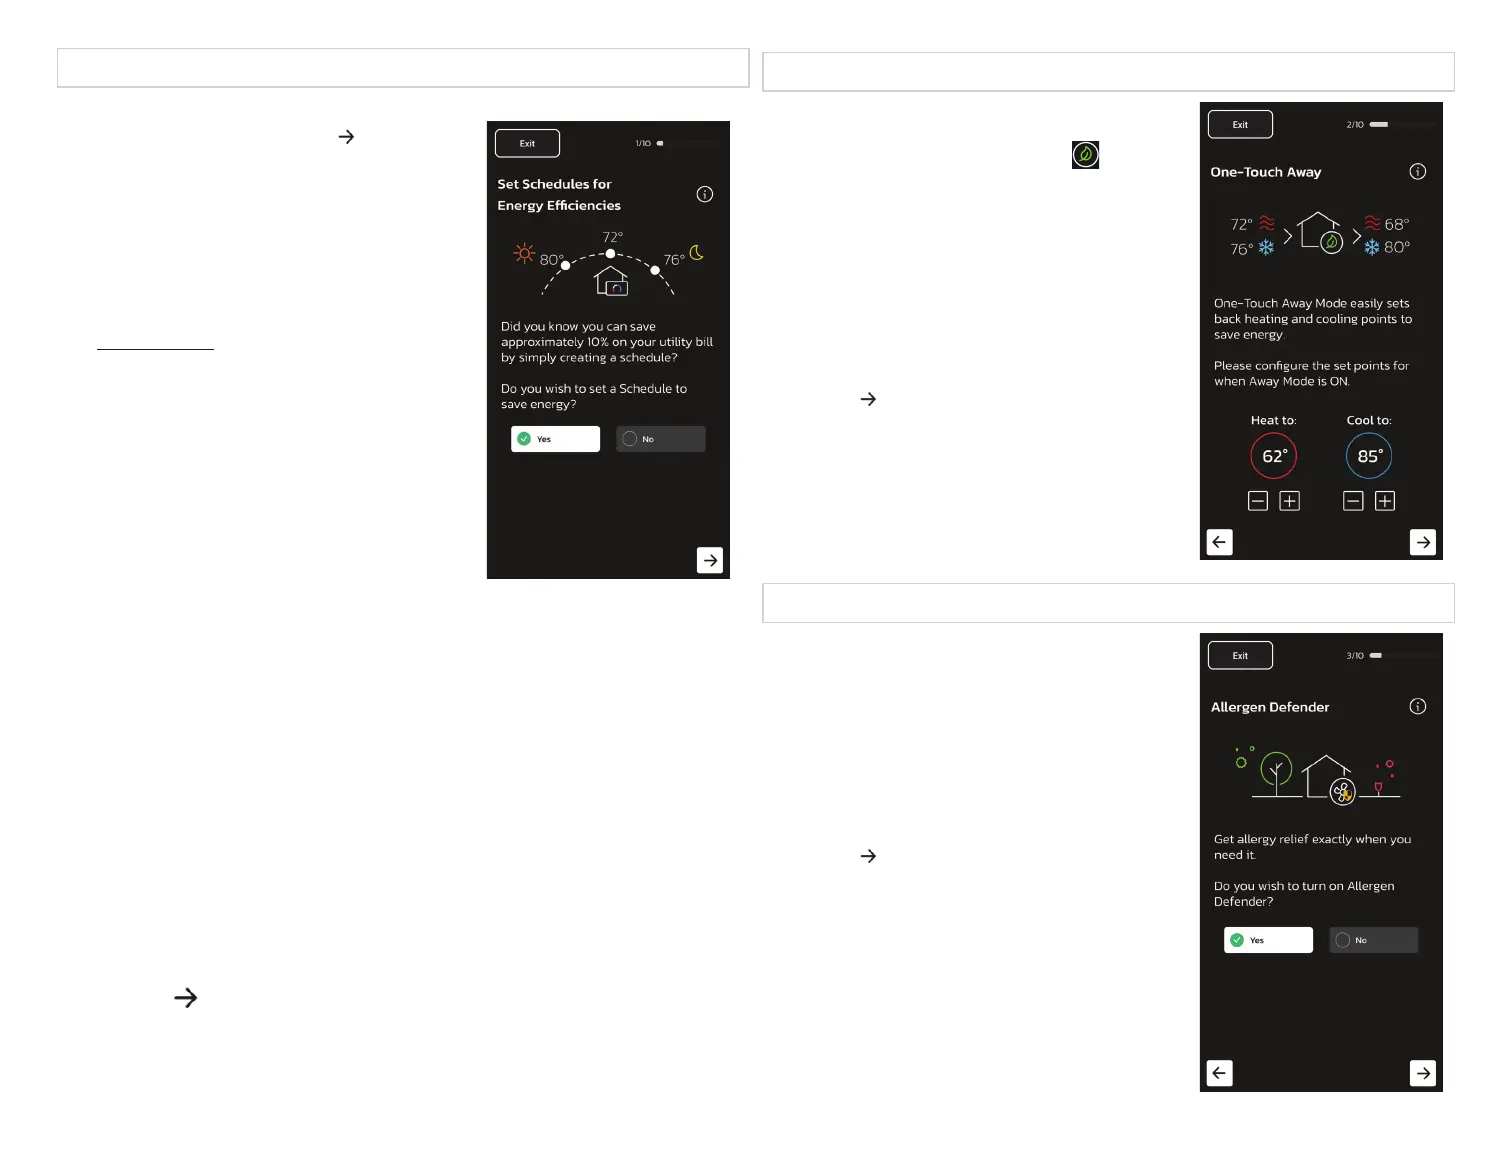
Screen 1 - Set Schedules for Energy Efciencies
1. Press Yes to set a schedule for energy
efciency or press No and to bypass
this step.
NOTE: Homeowners can press Exit at any
point of the customization process
to end the process. If at a later point
the homeowner wishes to continue
the process, the system will pick up
where it last ended.
Pressing Yes
The Save Energy screen displays. This
screen enables users to set a schedule.
a. Press Add Period to customize a new
schedule.
b. Press Options.
c. Enter a name for the schedule in the
Schedule Name eld.
The new name immediately displays
at the top of the screen.
d. Press Day Grouping to select All
Days, Individual Days, or Weekdays/
Weekends.
This selection determines when
the Energy Efciency schedule will
operate.
e. Press System Mode to select Cool
Only, Heat Only, or Heat/Cool.
f. Press Field Mode to select On, Auto,
or Circulate.
NOTE: Homeowners can reset Energy Efciency schedules by pressing
Restore to Default Settings. All schedules are cleared and new
schedules can be set.
g. Press Back to return to the Save Energy screen.
NOTE: Users can press Add Period to employ more than one schedule or
delete a schedule by pressing Delete Period.
h. Press to advance to the next screen.
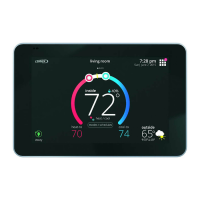
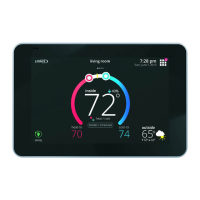
Screen 2 - One Touch Away
The thermostat reduces system output and
energy use (when home occupants are away)
with just a touch of the Away icon . Touch
the icon again once occupants are home and
the thermostat will restore normal heating and
cooling schedules.
1. Press (-) or (+) to adjust the temperature
for Heat to and Cool to.
The thermostat references the
programmed temperature when the Away
button is pressed.
2. Press to advance to the next screen.
Screen 3 - Allergen Defender
The Allergen Defender feature monitors for
poor air quality and high pollen levels in the
area (based on the ZIP code registered in
the thermostat) and automatically increases
the fan speed to clean the indoor air when
outdoor air quality is less than ideal.
1. Select Yes to activate Allergen Defender
or select No to opt out the feature.
2. Press to advance to the next screen.
 Loading...